40
User Controls
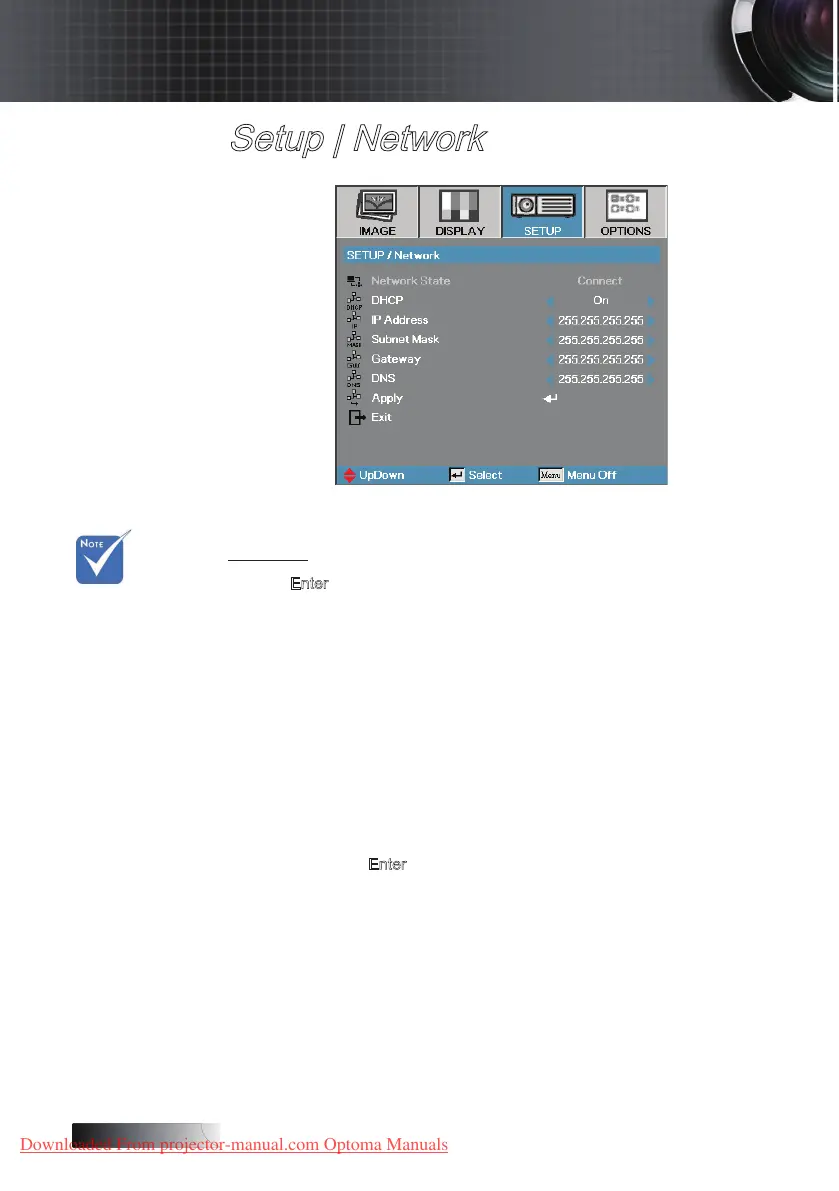
Setup | Network
Network
Press Enter to apply Network settings. If the connection is successful,
the OSD display will show the following dialogue box.
4
Network State—to display network information.
4
DHCP:
On: Assign an IP address to the projector from the DHCP server
automatically.
O: Assign an IP address manually.
4
IP Address—Select an IP address
4
Subnet Mask—Select subnet mask number.
4
Gateway—Select the default gateway of the network connected to the
projector.
4
DNS—Select DNS number.
4
Apply—Press Enter to apply the selection.
v Use
straight-thru
cable when
connecting to
a hub, switch
or a router.
v Use crossover
cable for direct
PC to projector
connection.
Downloaded From projector-manual.com Optoma Manuals