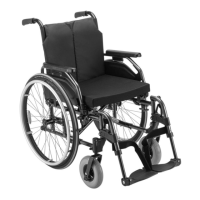
They are located on the underside of the battery packs (see fig.5).
5
Installing the fuse
1) Remove the battery packs (see Page31).
2) Remove the fuse from the supplied protective cover.
3) Insert the fuse into the slot provided (see fig.5).
4) Reinstall the battery packs (see Page31).
Removing the fuse
> Prerequisite: The control unit is switched off.
1) Remove the battery packs (see Page31).
2) Take the fuse out of the slot (see fig.5).
3) Reinstall the battery packs (see Page31).
8.2 Side panels
INFORMATION
Additional information for adjusting the control panel position: see Page42.
The side panels protect the user and his/her clothing from getting dirty.
The installed armrests offer the user additional support for the forearms.
8.2.1 Removing/installing the side panels
To make getting in from the side easier or for transportation, the side panels can be removed if needed.
6
Removing the side panel
1) Loosen the thumb screw on the side panel holder
(see fig.6, item1).
2) Pull the side panel out from the side panel holder
and set it aside.
3) Only for side panel with control panel:
→ Carefully let the side panel with the control pan
el hang down while getting in.
→ For transporting the power wheelchair, place
the side panel on the seat.
Installing the side panel
1) Insert the side panel into the side panel holder.
2) Re-tighten the thumb screw on the side panel hold
er (see fig.6, item1).
8.2.2 Adjusting the side panels
The height of the armrests, the forearm length and the clothing protector can be subsequently adapted.
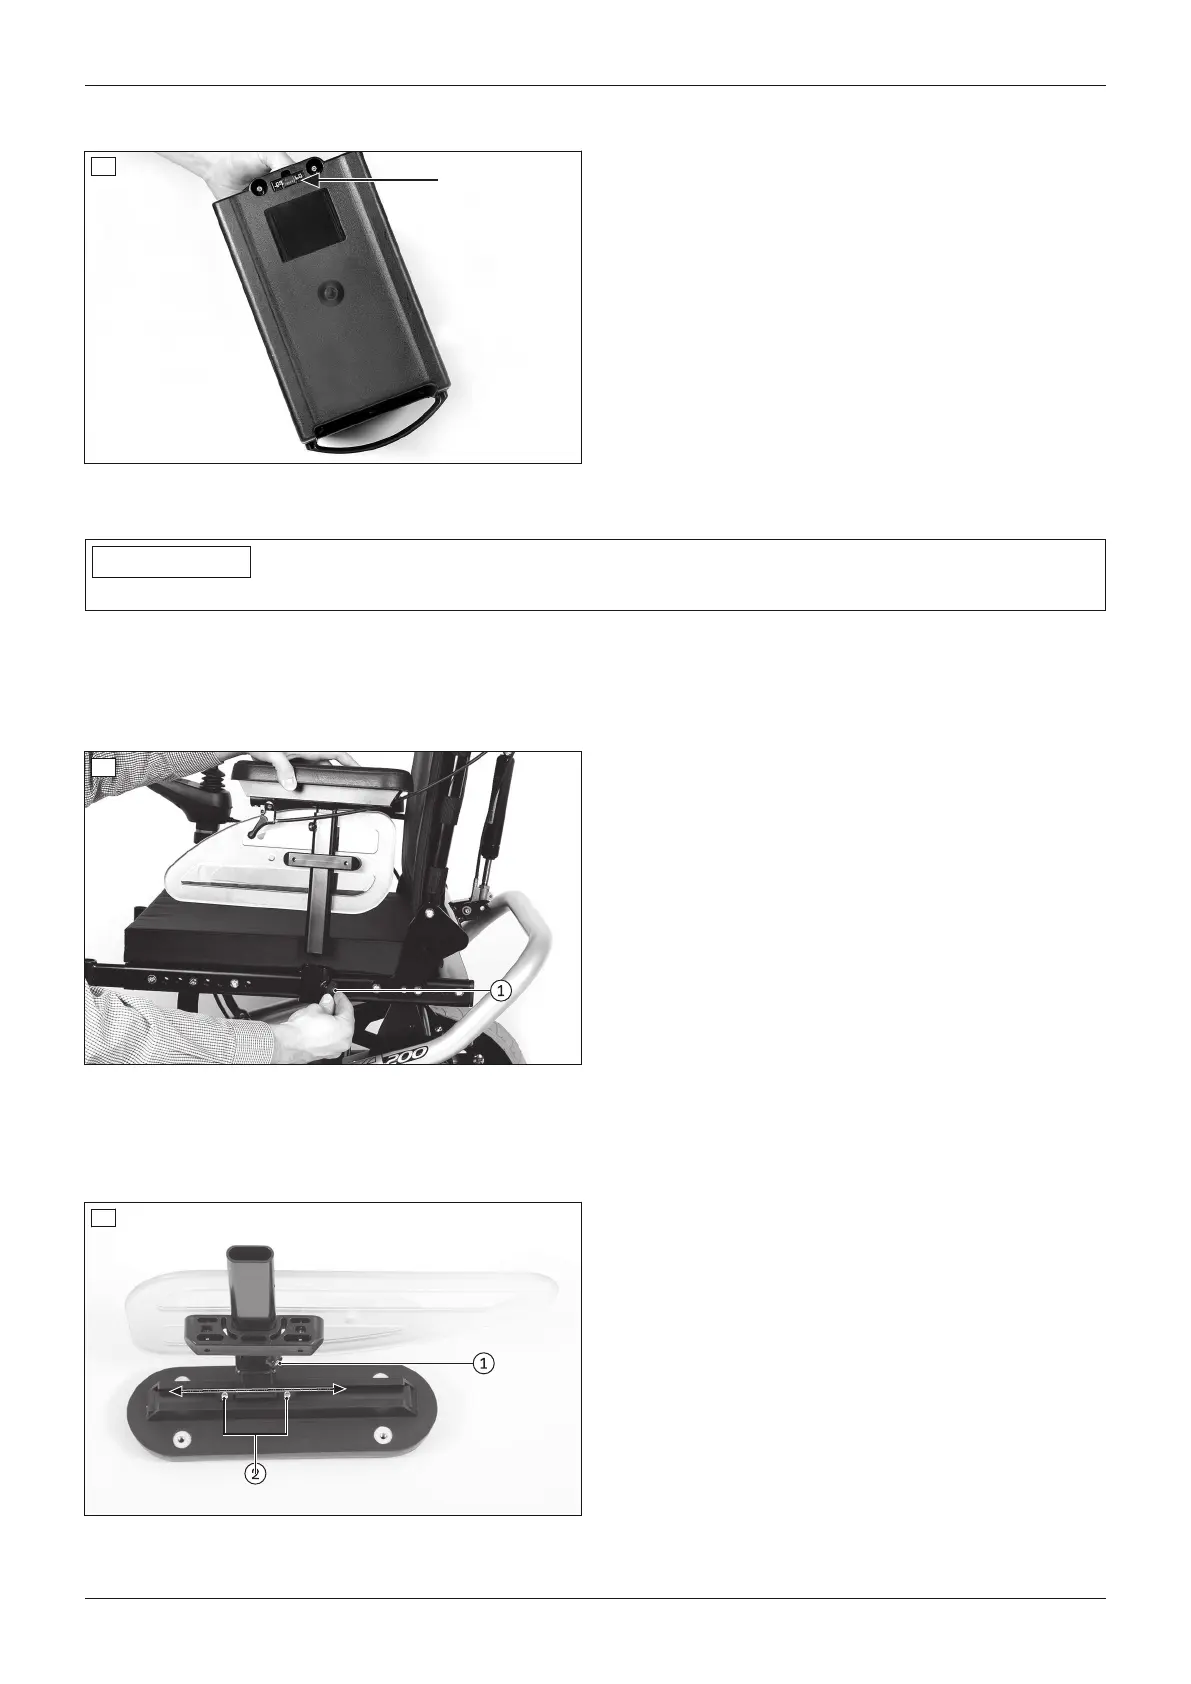
7
Adjusting the armrest height
1) Loosen the Allen head screw on the side panel
mounting (see fig.7, item1).
2) Slide the armrests up or down to the desired posi
tion.
3) Re-tighten the Allen head screw.
Adjusting the armrest to the forearm length
1) Loosen the 2 Allen head screws on the underside of
the armrest (see fig.7, item2).
2) Push the armrest to the front or back into the
desired position.
3) Tighten the 2 Allen head screws.
19A200
Use