33
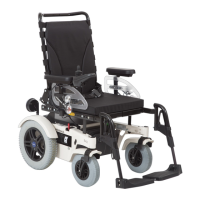
Preparing for transport
1) Turn the control device off.
2) If needed: Remove the control panel (see Page41)
and carefully set it aside.
3) Remove the side panels (see Page19) and place
them on the seat.
4) Fold the back support forward and onto the seat
surface (see Page21).
5) Remove the leg supports and set them aside (see
Page20).
6) If needed: Remove the battery packs (see
Page31).
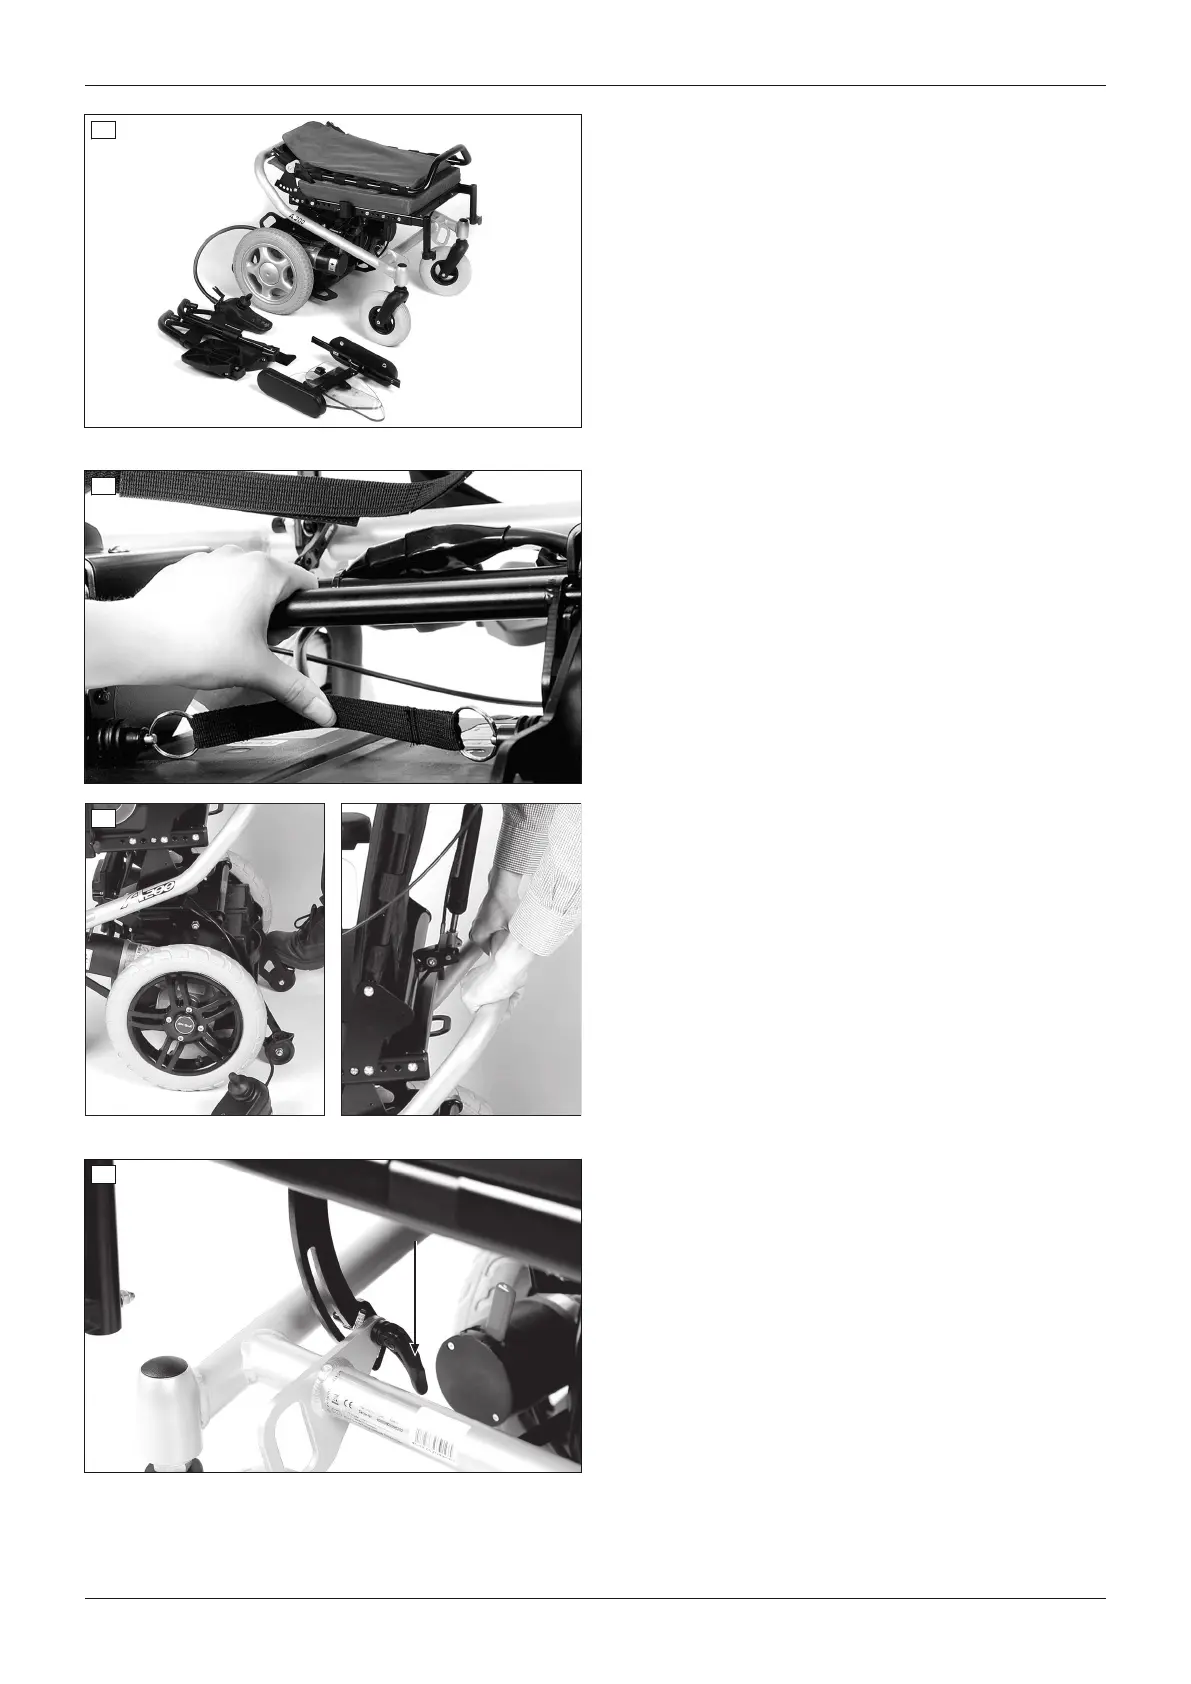
34
35
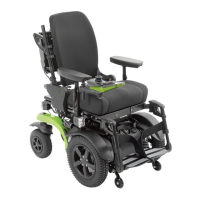
Separating the frame and drive unit bracket
To further reduce the size of the power wheelchair, the
frame can be separated from the drive unit bracket:
> Prerequisite: The battery packs have been
removed (see Page31).
1) If needed: Pull the seat lock release strap and fold
the locking bar all the way back (see fig.34).
2) On the drive unit bracket, push down on the step
points above the anti-tipper rollers until these touch
the ground (see fig.35, left).
3) Slightly lift the frame to separate it from the drive
unit bracket (see fig.35, right).
4) Separately set aside the frame and drive unit brack
et.
36
Fold the seat bottom onto the frame
The seat bottom can be folded down to further reduce
the size of the frame:
1) Release both quick-release levers. They are located
below the seat (see fig.36).
2) Fold the seat bottom down by simultaneously lifting
the seat slightly and pushing the brackets to the
rear.
Make sure that the brackets are fully engaged in
the respective locking position.
3) Firmly re-tighten the quick release levers after mak
ing the adjustment.
44
Use
A200