Operator's Manual
Issue 14 / Mar 2016
MercuryiPS
©2016 Oxford Instruments NanoScience. All rights reserved.
Page 80
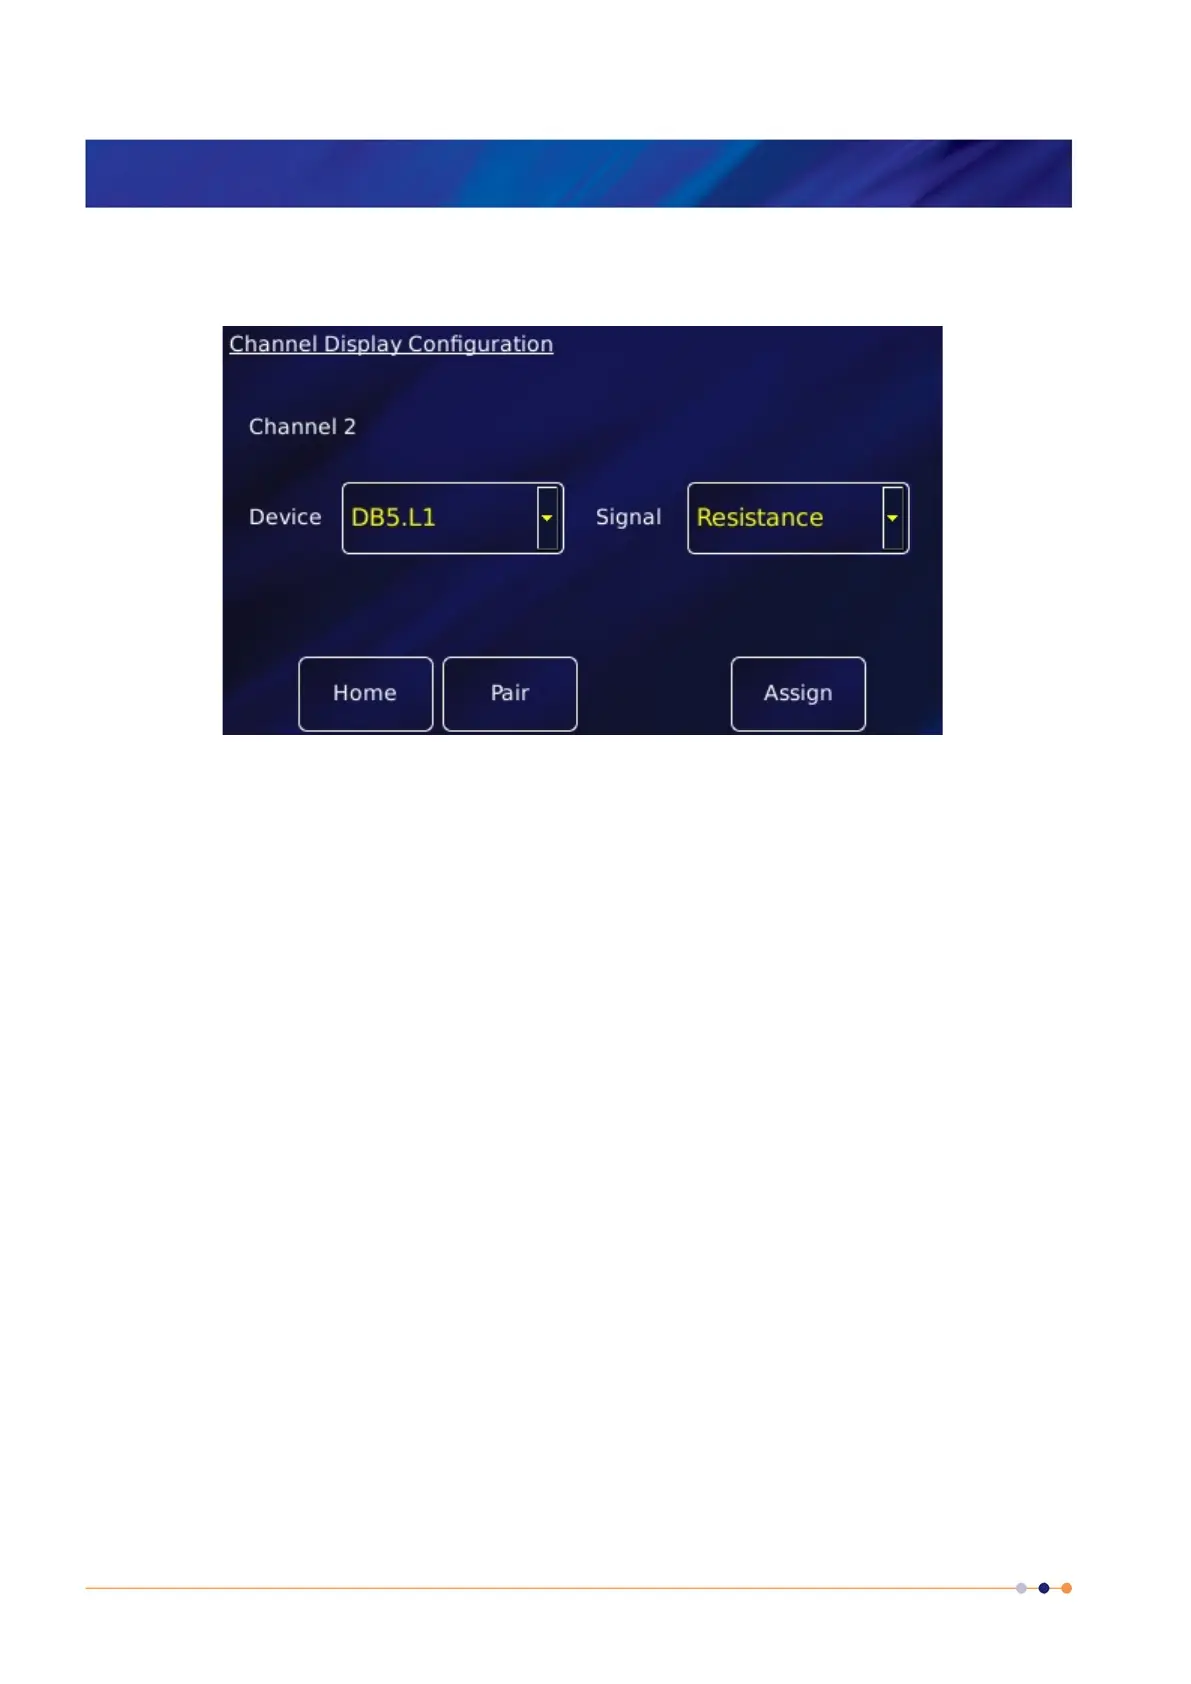
3 Tap the Signal box and select Resistance. This is the resistance of the probe.
4 Tap Assign to save the changes and return to the Home page.
5 Connect the helium level probe to the level meter board at the rear of the iPS using the
cable supplied.
6 Tap the level meter widget on the Home page to open the Level Meter Sensor Details
page.
7 Tap the Helium tab.
8 Set the Resistance at 0% equal to 178*active length (m). The active length of the probe (in
mm) is engraved on the Fischer connector housing.
9 Resistance at 100% can be left at zero.
10 Enter a value between 0 – 160mA in the Measurement Pulse Amplitude (mA) parameter
box. 80mA is a suitable value.
11 Enter a value in seconds in the Measurement Pulse Duration (s) parameter box. 3s is a
suitable value.
12 Tap the Fast/Slow button to display Fast. The example page below shows typical values for
all parameters.
 Loading...