Do you have a question about the Packard Bell dot and is the answer not in the manual?
Advises only authorized technicians to perform repairs due to complexity and safety hazards.
Outlines general rules to follow when disassembling the system unit, including safety and organization.
Describes reassembly as the reverse of disassembly, emphasizing care with cables and screws.
Warns of hazardous voltage even when the notebook is off, recommending authorized service.
Explains the risk of ESD to circuits and provides methods to prevent damage, like using anti-static wrist wraps.
States the power supply is not user-serviceable and should not be disassembled due to hazardous voltages.
Details the steps to remove the battery, including powering off and unlocking latches.
Describes how to remove the keyboard by prying it up and tilting it forward.
Details releasing the keyboard flat cable clip and disconnecting it from the main board.
Explains how to disconnect the touchpad flat cable from the main board.
Details removing the screws securing the top cover.
Details removing screws under the LED panel and pulling the top cover from the base.
Instructs to remove three screws securing the USB/LED/power/card reader board.
Explains how to tilt the board and disconnect its cable from the header.
Explains how to disconnect the LCD cable from the main board.
Details disconnecting the two antenna cables from the wireless LAN adapter.
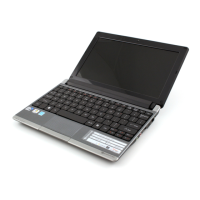
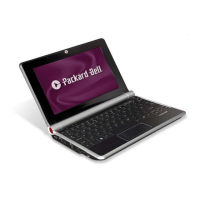
| Graphics | Intel GMA 950 |
|---|---|
| RAM | 1GB |
| Storage | 160 GB HDD |
| Display | 1024x600 resolution |
| Operating System | Windows XP Home |
| Battery | 3-cell Li-ion |
| Processor | Intel Atom N270 |