Digital Video Recorder
49
You can add and edit notification schedules on this screen. Highlight the + and press the
button to add a schedule.
Highlighting the boxes under the Column heading and pressing the
button allows you to edit the information in
those boxes.
The Day box allows you to select the days that the notification schedule will be active. The choices are: Sun, Mon,
Tue, Wed, Thu, Fri, Sat, M~F, Hol and All.
The Range box allows you to set the time that the notification schedule will be active in 15-minute increments from
00:00 to 24:00.
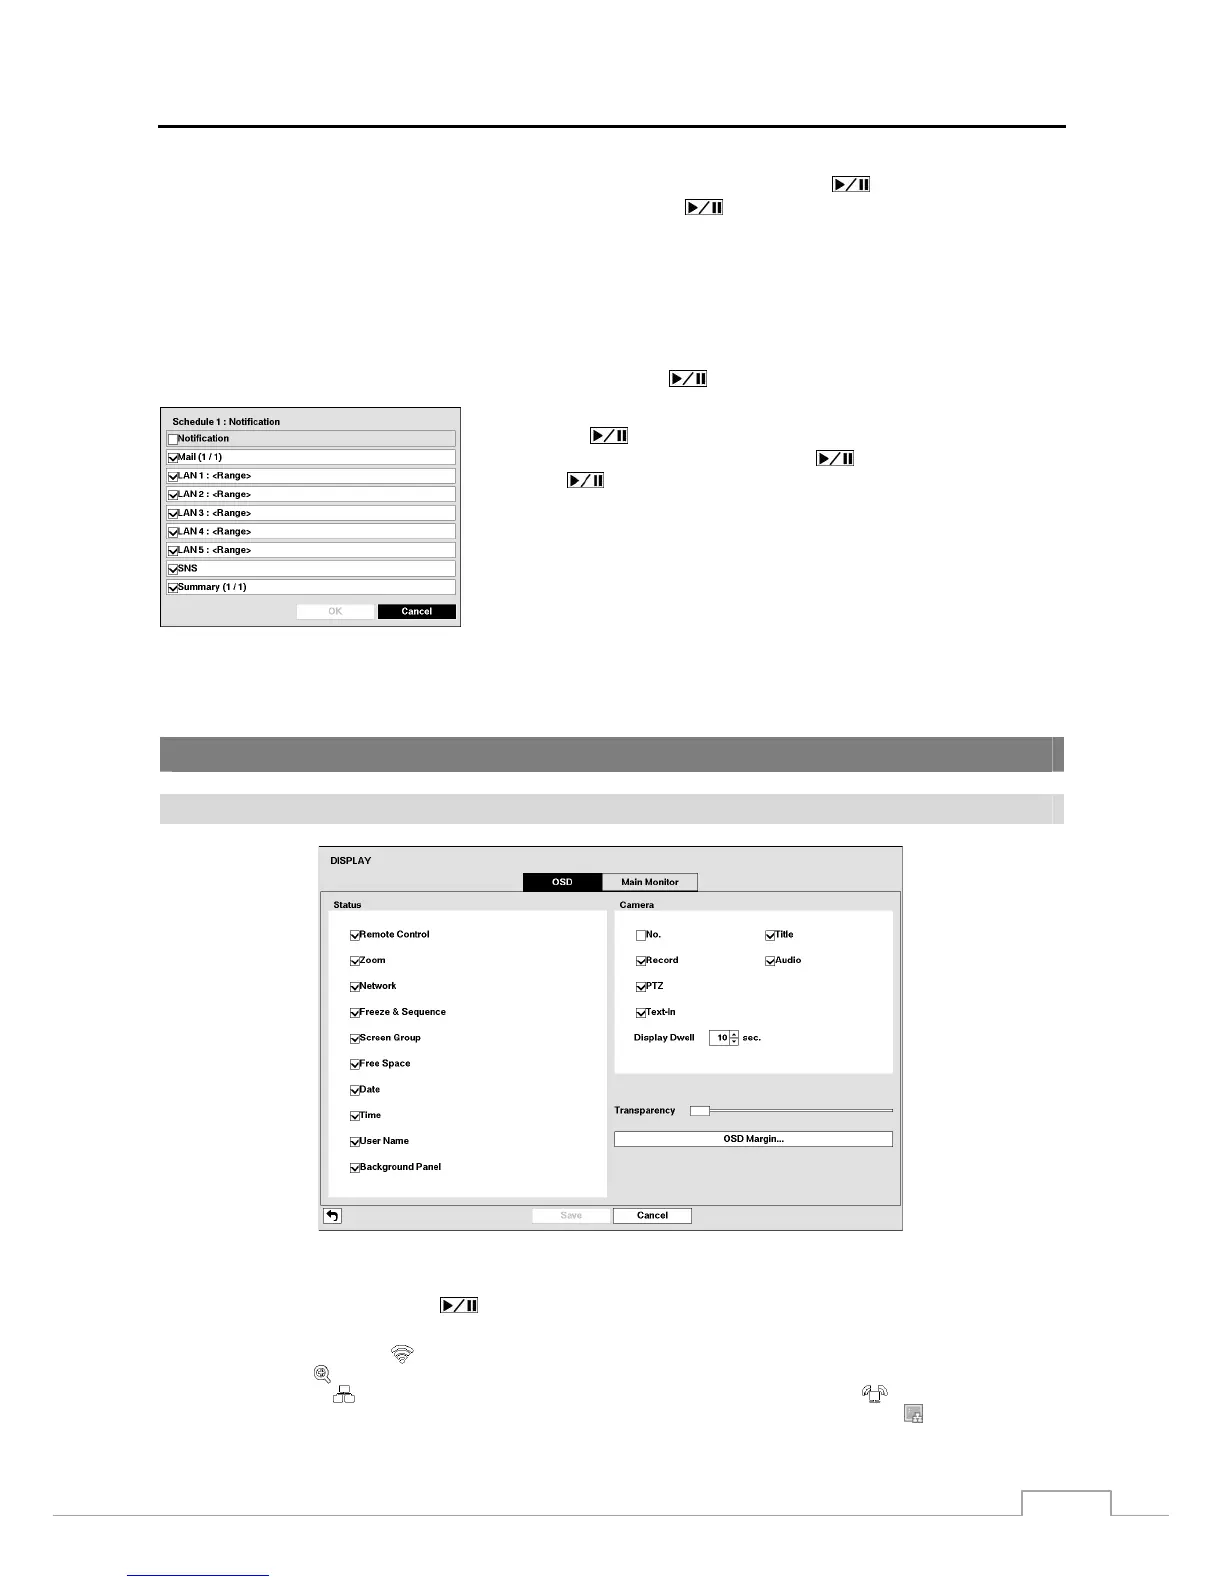
Highlight the desired box under the Notify heading, and press the
button. The Schedule Notify menu appears.
You can toggle the entire list On and Off by highlighting Notification and
pressing the
button. You can toggle the individual items On and Off
by highlighting that item and pressing the
button. Highlight OK and
press the
button to accept your changes.
NOTE: For the Notify action, the notify item you select should be enabled
in the Notification setup screen and the DVR should be registered in the
RAS (Remote Administration System).
NOTE: The Notify action for system events you made in the System
Event setup screen on the System menu will not be affected by your
Notification Schedule settings.
Highlight the box beside Summary Email Interval and select the interval that you want the DVR to send a summary
email. The DVR will send an email containing a summary of events detected during the preset interval.
Display Setup
OSD
Figure 37: Display – OSD setup screen.
Highlighting an item and pressing the
button toggles that item On and Off. When an item is On, there is a checkmark
in the box beside it. The following items can be turned On or Off:
Remote Control – The icon
displays when the DVR can be controlled by the infrared remote control.
Zoom – The icon
displays on the enlarged video.
Network – The icon
displays when the unit is connected to a network via Ethernet. The icon
displays on each camera
when audio communication is available between the DVR and a PC running RAS via Ethernet. The icon
displays when VNC
service is running.