Digital Video Recorder
55
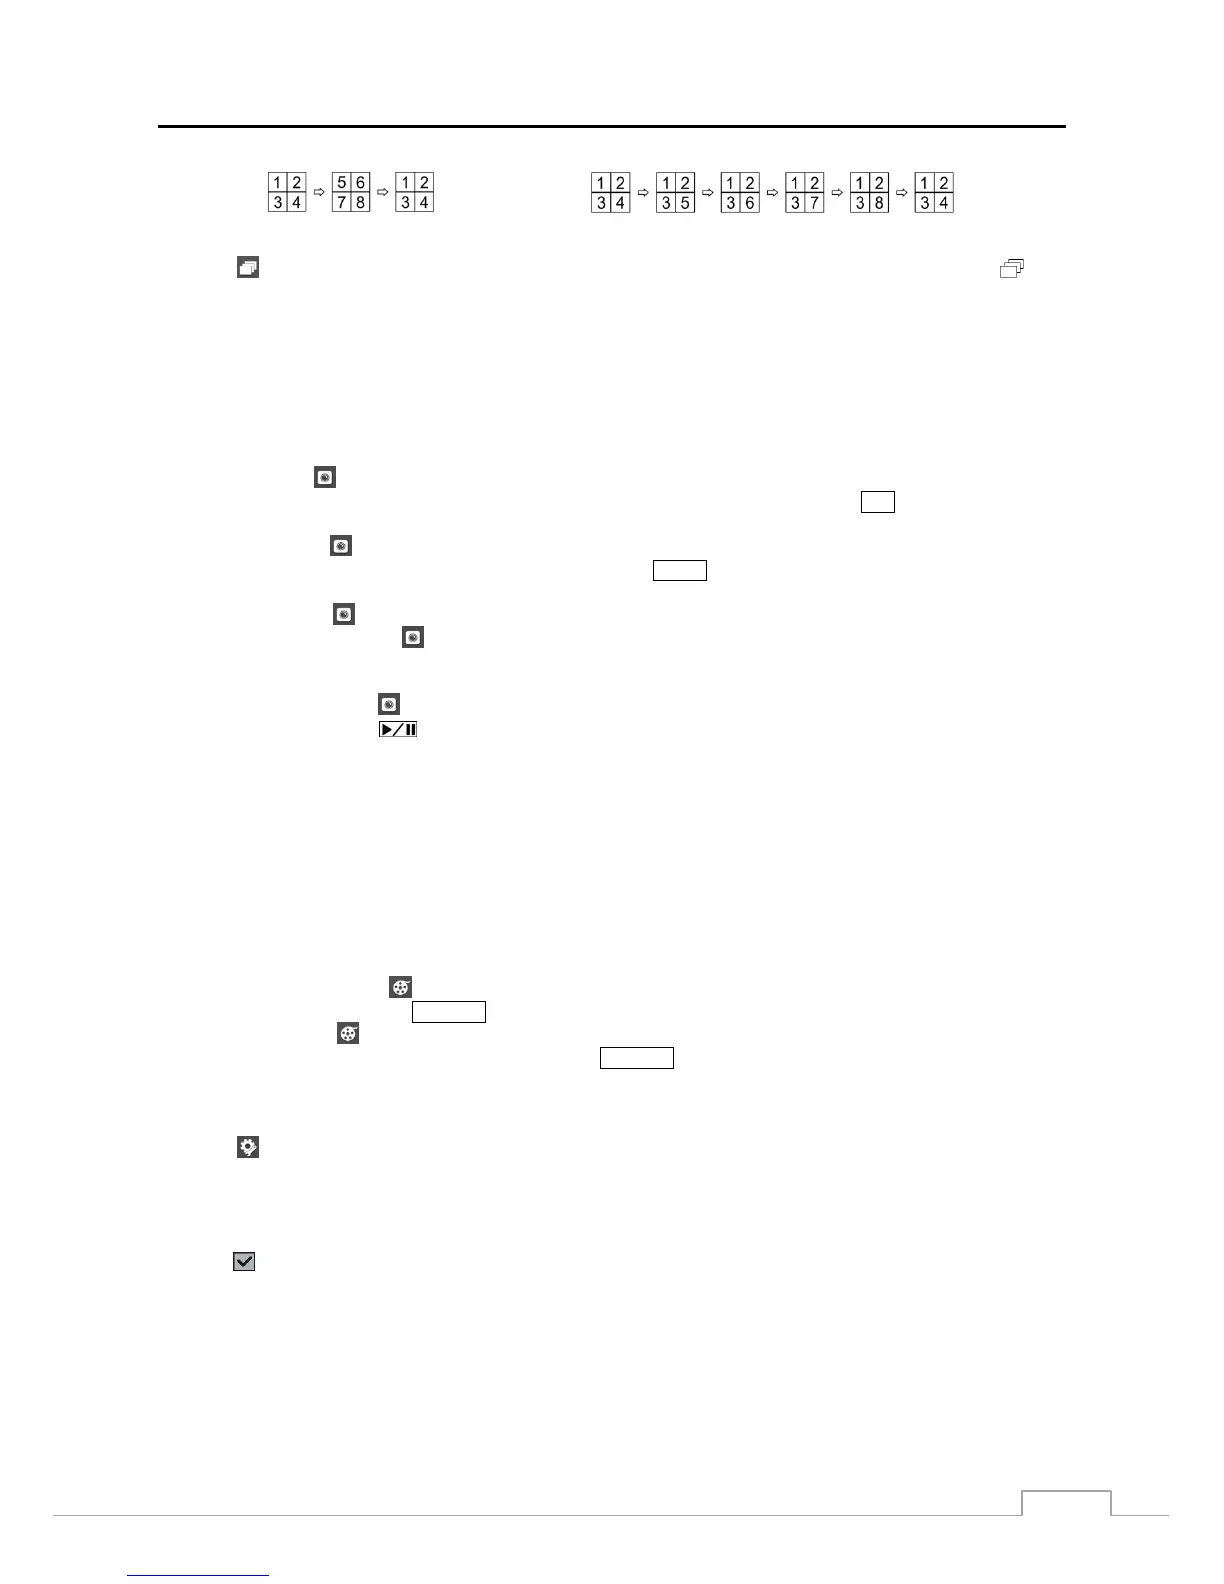
< Full Sequence >
< Cameo Sequence >
Selecting again in the Live Monitoring menu exits the Sequence mode. While in the Sequence mode, the icon
displays in bottom-left corner if Sequence is selected in the Display setup screen (OSD tab). If all the cameras in a page
are Off, or have lost video or are set to Covert (unless the user has authority to view covert cameras), that page will be
excluded from the sequence.
NOTE: The Full Sequence for the full sequence monitoring and the Cameo Sequence for the cameo sequence
monitoring should be selected in the Display setup screen (Main Monitor tab).
Camera Menu
PTZ: Selecting
(Camera Menu) → PTZ and choosing the camera number allows you to control the selected
camera as long as it has Pan, Tilt and Zoom capabilities. It is the same as pressing the
PTZ button. Refer to the
following PTZ Mode section for details.
Zoom: Selecting
(Camera Menu) → Zoom and choosing the camera number zooms the current image of the
selected camera on the screen. It is the same as pressing the
ZOOM button. Selecting Zoom again in the Camera
Menu again exits the Zoom mode. Refer to the following Zoom Mode section for details.
Audio: Selecting
(Camera Menu) → Audio toggles audio output On and Off.
Color Control: Selecting
(Camera Menu) → Color Control and choosing the camera number allows you to
control brightness, contrast, hue and saturation for each camera for the selected camera if a user who has Color Control
authority logs into the system. It is the same as pressing and holding a camera button for a few seconds.
Edit Group: Selecting
(Camera Menu) → Edit Group enters to the Active Cameo mode. It is the same as
pressing and holding the
(Play/Pause) button for three seconds or longer in any multiview formats. Refer to
the following Active Cameo Mode section for details.
NOTE: It is important that cameras and monitors are correctly installed and adjusted prior to making any image
adjustments using the DVR’s controls.
Any image adjustments you make will be applied to both the live video on the monitors and the recorded
video.
The Camera Menu also can be displayed by clicking the right mouse button on the screen while in the
live monitoring mode.
Search
All Channels: Selecting
(Search) → All Channels exits the live monitoring mode and enters the search mode.
It is the same as pressing the
SEARCH button.
Triplex: Selecting (Search) → Triplex enters the Triplex mode. Selecting the camera number plays back video
of the selected camera. It is the same as pressing the
SEARCH button when in one of the multiview formats.
Setup
Selecting
(Setup) in the Live Monitoring menu enters the Main Setup screen. Refer to Chapter 3 ─ Configuration
for detailed descriptions of system setup.
Status
Selecting
(Status) in the Live Monitoring menu allows you to check the status of the DVR’s system, inputs and storage.
Refer to the following Status Monitoring section for details.
NOTE: Selecting Status will only be enabled for a user who has System Check authority.