18
VQT2J52
Playing recorded video contents/Playing play-only discs
Refer to “Advanced disc playback” (> 34) and
“Advanced video cassette playback” (> 36) for
detail information.
Preparation
≥Turn on the television and select the appropriate AV input to suit
the connections to this unit.
≥Turn on this unit.
[RAM] [-R] [-R]DL] [-RW‹V›] [+R] [+R]DL] [+RW] [DVD-V] [-RW‹VR›] [CD] [VCD]
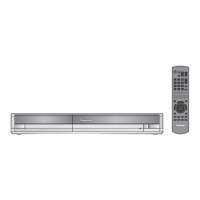
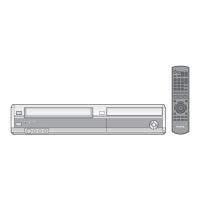
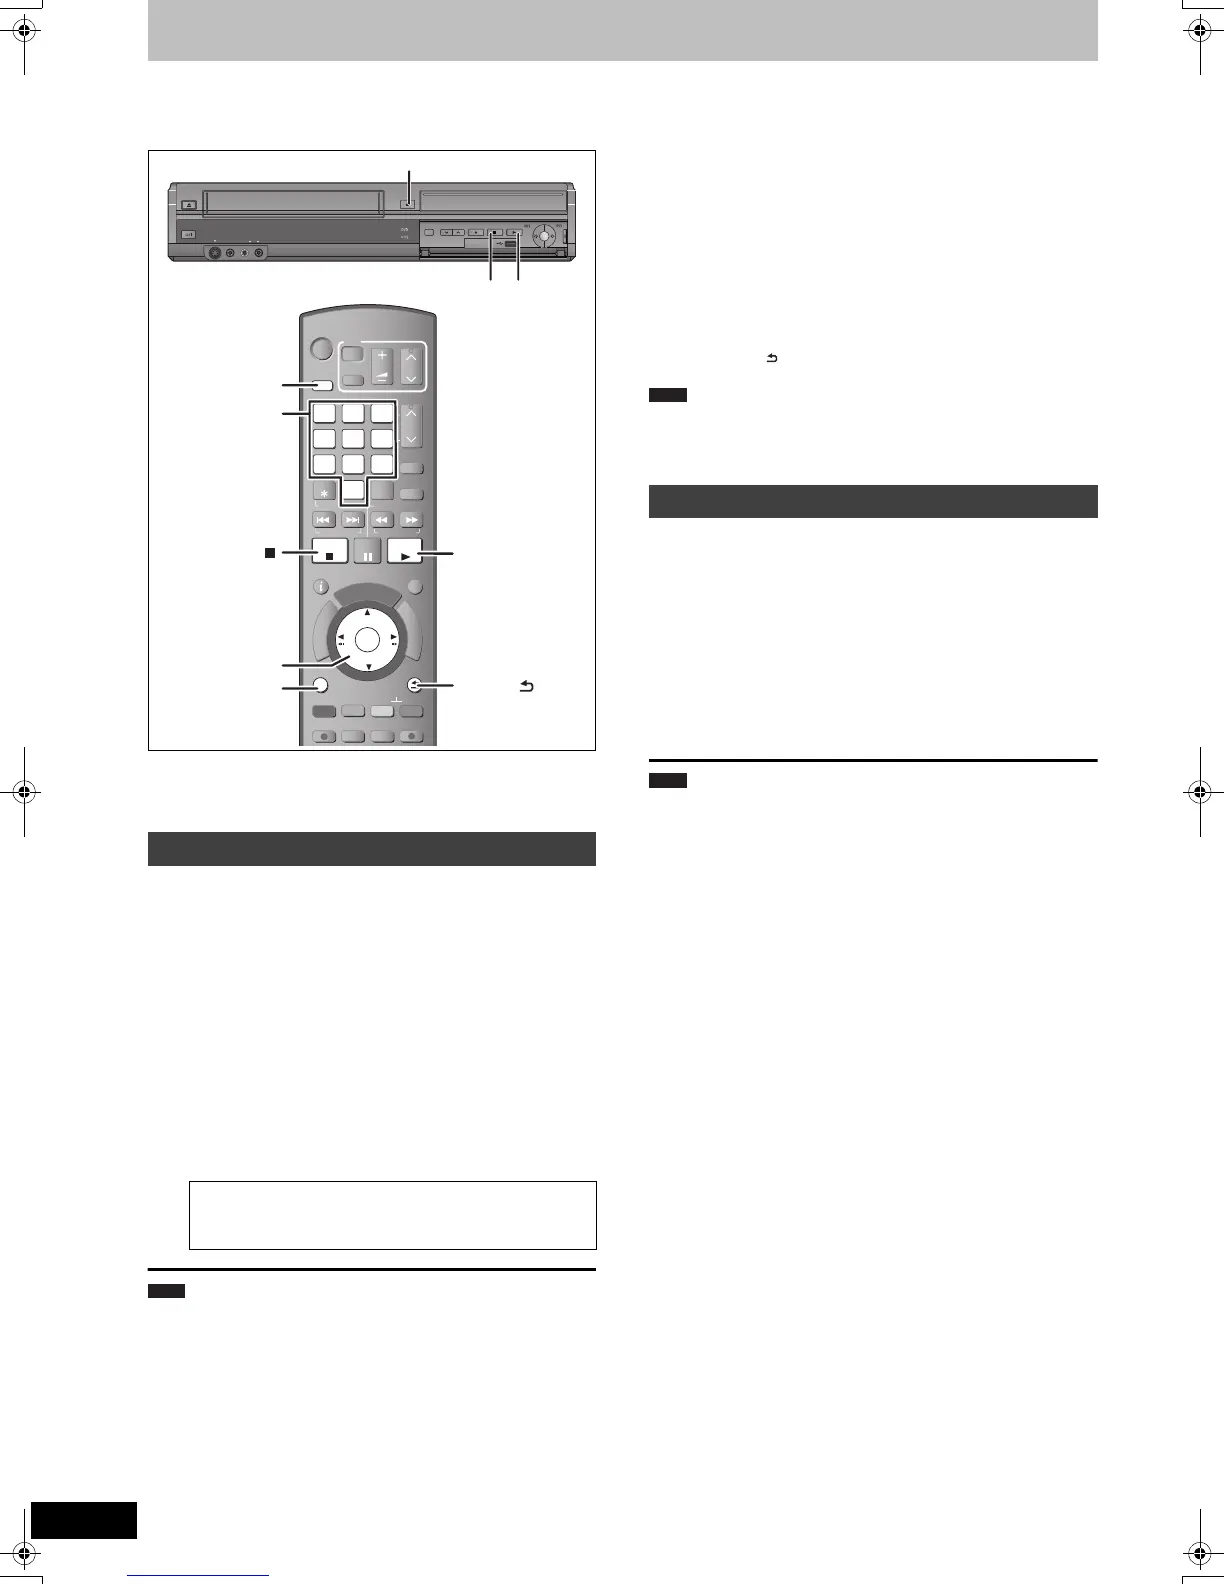
1 Press [DRIVE SELECT] to select the
DVD drive.
The DVD indicator lights up on the unit’s display.
2 Press [< OPEN/CLOSE] on the main
unit to open the tray and insert a disc.
≥Press the button again to close the tray.
3 Press [1](PLAY).
[RAM] [-R] [-R]DL] [-RW‹V›] [+R] [+R]DL] [+RW] [-RW‹VR›]
Play starts from the most recently recorded title.
[DVD-V] [VCD]
Play starts from the point specified by the disc.
[CD]
Play starts from the beginning of the disc.
≥During recording, timer recording standby or EXT LINK standby,
this unit cannot play discs that do not match the “TV System” (PAL/
NTSC) (> 66) setting. Set “TV System” to match the discs before
playing them.
≥Depending on the disc, it may take time for the menu screen,
pictures, sound, etc. to start.
≥The producer of the disc can control how discs are played. So you
may not always be able to control play as described in these
operating instructions. Read the disc’s instructions carefully.
∫ When a menu screen appears on the television
[DVD-V]
Press [3, 4, 2, 1] to select the item and press [OK].
≥Some items can also be selected using the numbered buttons.
≥If you are instructed to press the “ENTER” button by the menu
screen or the disc’s instruction document, press [OK].
[VCD]
Press the numbered buttons to select the item.
≥To return to the menu screen
[DVD-V]
1 Press [OPTION].
2 Press [3, 4] to select “Top Menu” or “Menu” and press [OK].
[VCD]
Press [RETURN ].
Discs continue to rotate while menus are displayed. Press [∫] when
you have finished playback to protect the unit’s motor, your
television screen and so on.
[VHS]
1 Press [DRIVE SELECT] to select the
VHS drive.
The VHS indicator lights up on the unit’s display.
2 Insert a recorded video cassette
(> 15).
Play starts automatically if you insert a cassette with the
accidental erasure tab removed.
3 Press [1](PLAY).
≥When the tape reaches its end, the unit automatically rewinds it to
the beginning. This function does not work during timer recording,
fast-forwarding and specified stop recording.
≥Jet Search, cue, review or slow playback will be automatically
cancelled after 10 minutes and for pause it will be cancelled after
5 minutes.
≥When playing back a tape which was recorded on another VCR, it
may be necessary to adjust the tracking (> 37). In some cases the
picture quality may still be inferior. This is due to format constraints.
≥SECAM recorded VHS tapes cannot be played on this unit.
Playing discs
Menu operation for other type of contents
≥DivX (> 39)
≥MP3 (> 38)
≥Still pictures (JPEG) (> 40)
DIRECT TV REC
EXT LINK
REC MODE
REC
CHAPTER
-10s
MANUAL SKIP
+60s
STOP
PAUSE
PLAY/x1.3
INPUT
SELECT
0
9
8
7
6
54
3
2
1
CH
CH
TRACKING/V-LOCK/PAGE
ShowView
PROG/CHECK
SKIP/INDEX REW FF
SLOW/SEARCHRESET
VOL
AV
DRIVE
SELECT
TV
STATUS
EXIT
OPTION
RETURN
DELETE
OK
D
I
R
E
C
T
N
A
V
I
G
A
T
O
R
F
U
N
C
T
I
O
N
M
E
N
U
G
U
I
D
E
DRIVE
SELECT
OK
,,,
OK
STOP
OPTION
0
9
8
7
6
54
3
2
1
PLAY
(PLAY)
RETURN
S VIDEO
IN 2
VIDEO
/MONO
AUDIO
R
L
S VIDEO
VIDEO
/MONO
AUDIO
R
L
AV3 I N
DRIVE SELECT
REC
CH
OPEN/CLOSE
EJECT
COPYING
<OPEN/CLOSE
1
Note
e.g., 5: [0] > [5] 15: [1] > [5]
Playing a video cassette
Note
Note
DMR-EZ49VEGEC-VQT2J52_eng.book 18 ページ 2010年1月7日 木曜日 午後4時0分
 Loading...