19
ENGLISH
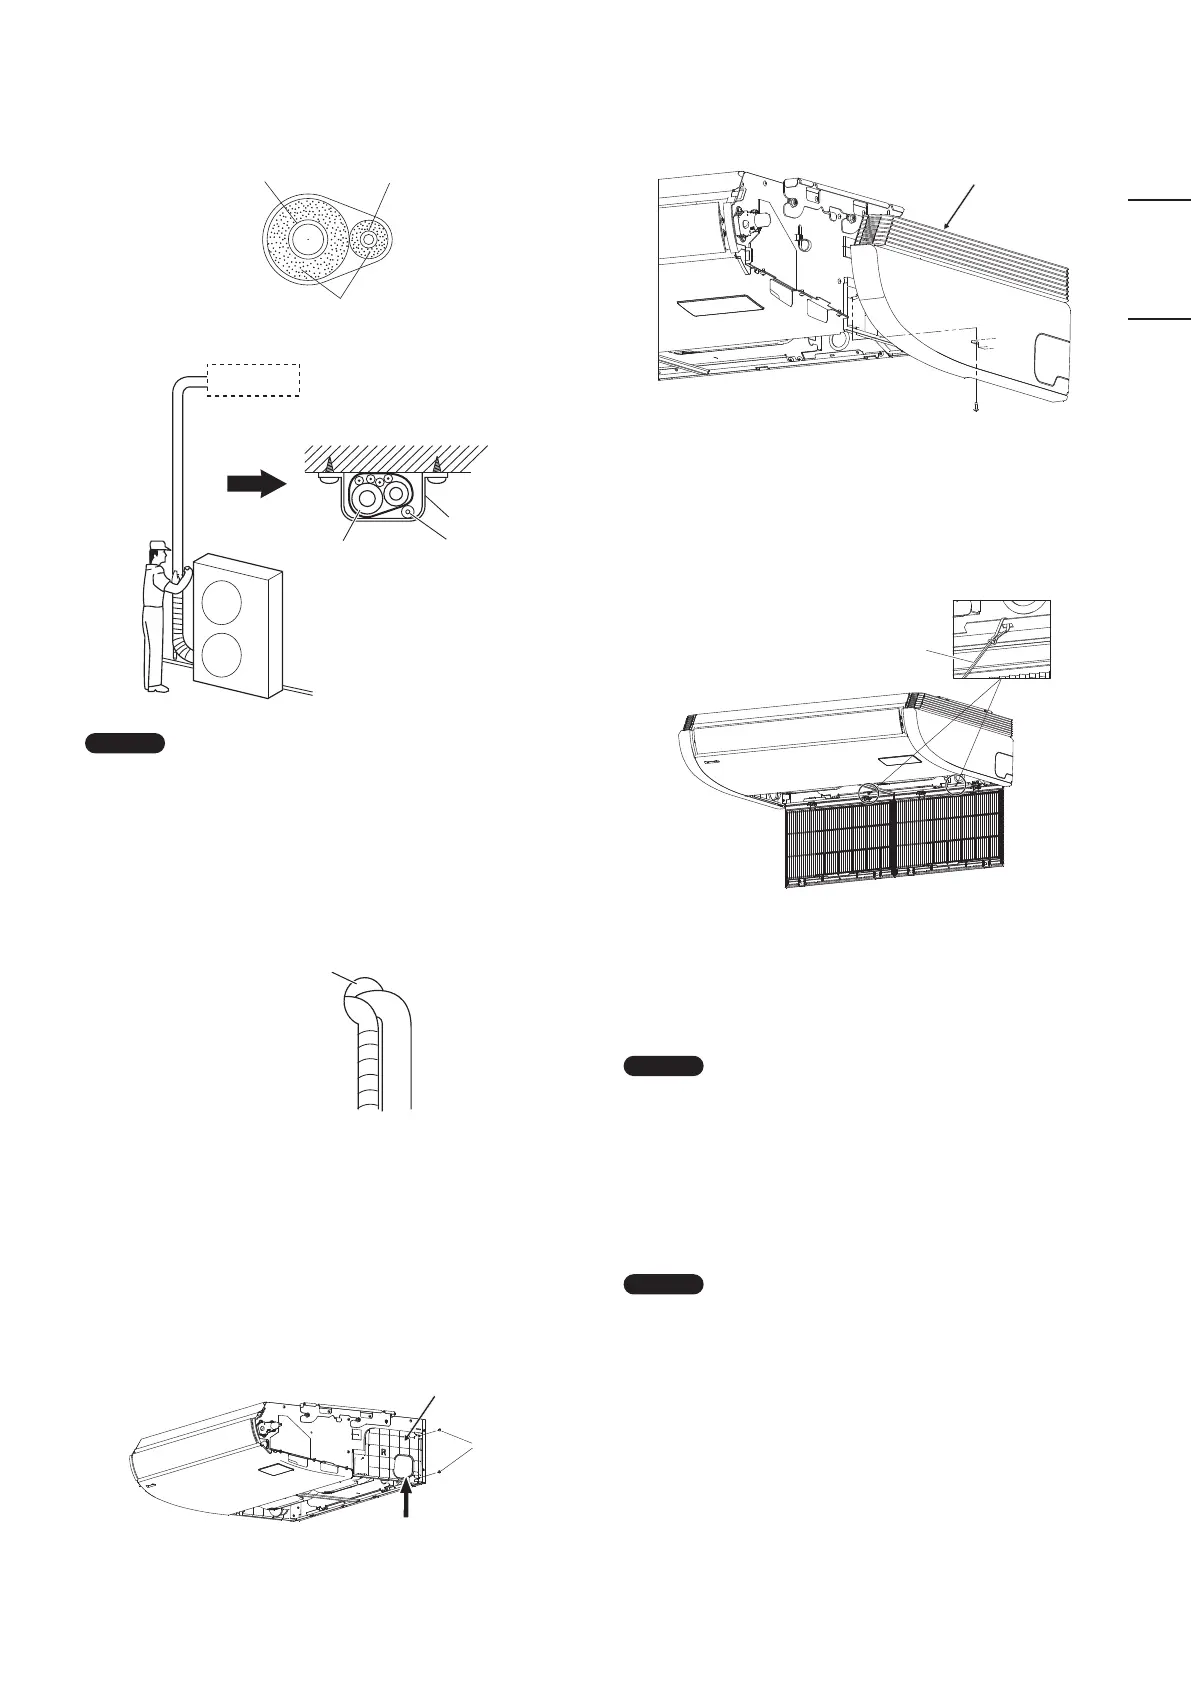
(3) Clamp the tubing bundle to the wall, using 1 clamp approx.
each meter.
Two tubes arranged together
Liquid tubing
Gas tubing
Insulation
Insulated tubes
Drain hose
Clamp
N OTE
Do not wind the armoring tape too tightly since this will
decrease the heat insulation effect. Also ensure that the
condensation drain hose splits away from the bundle and drips
clear of the unit and the tubing.
5-5. Finishing the Installation
After finishing insulating and taping over the tubing, use sealing
putty to seal off the hole in the wall to prevent rain and draft
from entering.
Apply putty here
Tubing
6. FINAL PROCEDURE
Reinstall the removed part to be placed in its original position.
(See the section “3-2. Preparation Before Installation”.)
Then install the supplied side covers (L/R) on both sides of the
indoor unit.
● Attach the supplied side plates.
Insert the side plates in the direction of the arrow and fix
them with 2 screws once you’ve removed.
Side plate
Screw
Attach
● Attach the supplied side covers.
Slide the covers from the front side and attach to the claws
of the latches.
Tighten the screws (supplied).
Screw (supplied)
Side cover (supplied)
● Attach the air-intake grille.
When attaching the air-intake grille, perform the reverse
procedure to removing the grille.
Refer to the section “3-2. Preparation Before Installation”.
Be sure to attach the safety string.
Close the air-intake grille and fix the claws of the latches with
the screws.
Safety string
7. HOW TO INSTALL TIMER REMOTE
CONTROLLER OR HIGH-SPEC WIRED
REMOTE CONTROLLER (OPTIONAL
PART)
N OTE
Refer to the Installation Instructions attached to the optional
Timer Remote Controller or optional High-spec Wired Remote
Controller.
8. HOW TO INSTALL WIRELESS REMOTE
CONTROLLER
N OTE
Refer to the Installation Instructions attached to the optional
Wireless Remote Controller.
00_301038_All.indb 19 2018/6/11 15:42:54