28
GB MT
support. Do not drill into work-
pieces that are too small for safe
clamping. Holding the workpiece by
hand can lead to injuries.
c) Do not wear gloves. Gloves can
be caught by rotating parts or drilling
chips and thus cause injuries.
d) Keep your hands away from the
drilling area while the power
tool is running. Contact with rotating
parts or drilling chips can lead to inju-
ries.
e) The drilling tool must rotate
before you guide it to the work-
piece. Otherwise the drilling tool can
get caught in the workpiece, causing
unexpected movement of the workpiece
and injuries.
f) If the drilling tool jams, stop
pressing down and switch off
the power tool. Investigate and
eliminate the cause of the blo-
ckage. Blocking can lead to unexpec-
ted movement of the workpiece and to
injuries.
g) Avoid long drilling chips by re-
gularly interrupting the down-
ward pressure. Sharp metal chips
can get caught and cause injuries.
h) Never remove drilling chips
from the drilling area while the
power tool is running. To re-
move chips, move the drilling
tool away from the workpiece,
switch off the power tool and
wait for the drilling tool to stop.
Use tools such as a brush or
hook to remove the chips. Contact
with rotating parts or drilling chips can
lead to injuries.
i) The permissible speed of insert
tools with rated speed must be
at least as high as the maximum
speed indicated on the power
tool.Accessories that run faster than
the permissible speed can break and y
apart.
Safety Instructions for
Handling the Laser
– Caution: Laser radiation - Do not look into
the beam - Laser class 2
– Do not aim the laser at reective surfaces.
– Labels and warning notices can be
found on the left side of the tool, below
the lifting wheel and on the base of the
motor unit next to the drill chuck.
Additional Safety
Instructions
• If the cord of this device is damaged, it
must be replaced by the manufacturer
or their customer service or by a simi-
larly qualied person in order to avoid
hazards.
• Overhanging workpieces may have to
be laterally supported by additional
supports.
Assembly
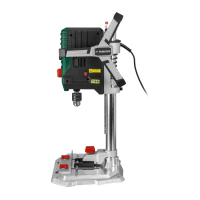
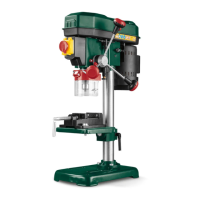
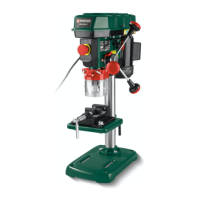
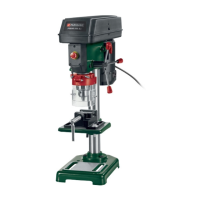
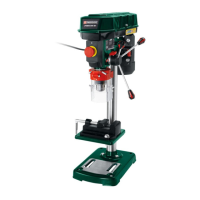
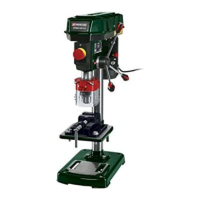
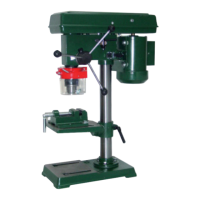
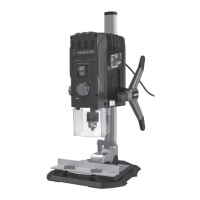
The bench drill is delivered disassembled.
First clean the column tube (9), the base-
plate (15) and the drill chuck (17) with a
dry cloth.
Illustration
:
Mounting the baseplate and column
tube
1. Place the quick clamp (8) on the column
tube (9).
2. Insert the column tube (9) into the base-
plate (15).
The recess in the column tube (9) must
rest on the long grub screw (26) in the
baseplate (15).
 Loading...