3. Install the new filter element. Align the clips (4).
Install the bowl (1).
Connect the power supply to the engine. Operate the
engine and check for leaks.
i10198507
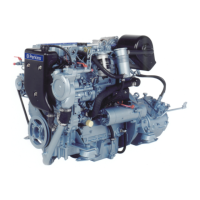
Engine Mounts - Inspect
Misalignment of the engine and the driven equipment
will cause extensive damage. Excessive
misalignment can lead to vibration. Excessive
vibration can lead to misalignment. Excessive
vibration of the engine and the driven equipment can
be caused by the following conditions:
• Improper mounting
• Loose bolts
• Deterioration of the isolators
Ensure that the mounting bolts are tightened to the
correct torque.
Ensure that the isolators are free of oil and
contamination. Inspect the isolators for deterioration.
Ensure that the bolts for the isolators are tightened to
the correct torque.
Replace any isolator that shows deterioration. For
more information, see the literature that is provided
by the OEM of the isolators.
i09981947
Engine Oil Level - Check
Hot oil and hot components can cause personal
injury. Do not allow hot oil or hot components to
contact the skin.
NOTICE
Perform this maintenance with the engine stopped.
Note: After the engine has been switched OFF, wait
for 10 minutes to allow the engine oil to drain to the
oil pan. Then check the oil level.
NOTICE
Operating your engine when the oil level is above the
“Max” mark could cause your crankshaft to dip into
the oil. The air bubbles created from the crankshaft
dipping into the oil reduces the oils lubricating char-
acteristics and could result in the loss of power.
Illustration 89 g07696785
Illustration 90 g01165836
(Y) “Min” mark. (X) “Max” mark.
1. Maintain the oil level between the “Min” mark (Y)
and the “Max” mark (X) on the engine oil level
gauge (2), refer to Illustration 90 . Do not fill the oil
pan above the “Max” mark (X).
2. If necessary, remove the oil filler cap (1) and add
oil. Clean the oil filler cap. Install the oil filler cap.
M0163009 81
Maintenance Section
Engine Mounts - Inspect