PAL-AT Operating Manual
15
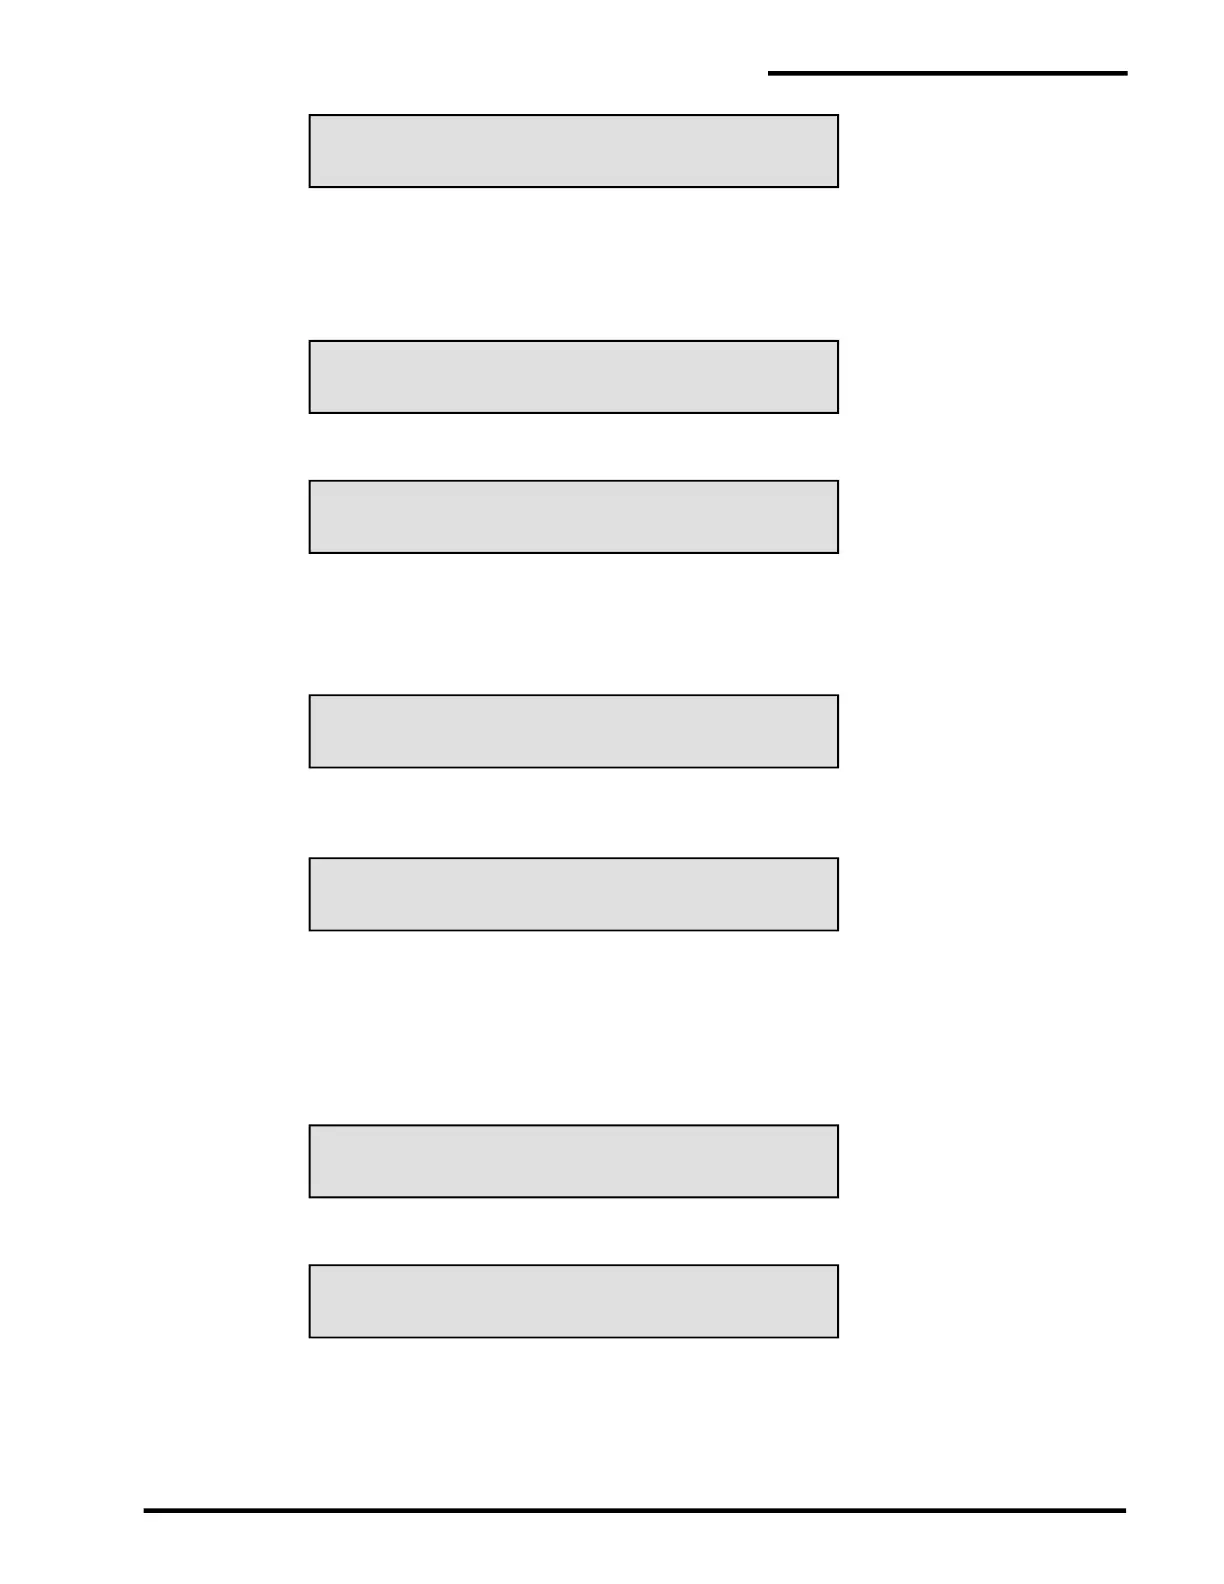
FOR VERIFY * TO EXIT
ENTER # TO USE MAP ? , * FOR ANOTHER
LEAK DETECTED IN CABLE ? AT ???? FEET
ENTER # OR * TO RETURN TO MAIN MENU
CABLE ? MATCHES MAP ? , END AT ???? FEET
MONITOR CABLE ? # FOR YES, * FOR NO
VERIFYING CABLE ?
ENTER MAP TO VERIFY (1-?)
BREAK DETECTED IN CABLE ? AT ???? FEET
BUT SETUP AS ???? FEET. # OR * FOR MENU
LCD2.3-01:
2.3.2 Select the Master Map
PAL-AT prompts to select a map to verify. This is useful to see if the current condition of the cable matches
any of the previous maps (see section 3 for further details). The display shows the current master map
number. This is the map used during monitoring. The next message is:
LCD2.3-02:
If * is entered, PAL-AT displays:
LCD2.3-03:
Enter the number of the map to compare to the current cable condition, then #.
2.3.3 Verify Process
The next message PAL-AT displays is:
LCD2.3-04:
When the process is completed, PAL-AT displays the following message if the current system matches
the selected map:
LCD2.3-05:
This means the cable is in the same condition now as when the map was created. If so, go to section
2.3.4 for the next step.
If the sensor string does not match the selected map, one of several messages is displayed. The first line
of the message shows the location and type of problem: leak, drying, short, break, probe activated, probe
reset, etc. The second line asks to return to the Main Menu if the map number selected in LCD2.3-03 is
not the one being monitored. A few examples are:
LCD2.3-06:
This message is displayed if a leak is detected compared to the selected map.
LCD2.3-07:
If the distance in the first line is shorter than the distance in the second line, there is a break. If the first
distance is longer than the second distance, then the end of the cable is now longer than originally setup.
This means an additional section of cable is attached to the end of the system. If a sensor string is
extended, the additional cable must be added using the Display Setup function (see section 2.5).
 Loading...
