11 - 1
Adjustment
11 Adjustment
Unless stated otherwise, during all adjustment work the machine must be
disconnected from the electric and pneumatic power supply!
Danger of injury if the machine is started accidentally!
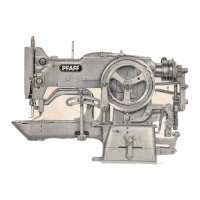
11 .01 Notes on adjustment
All following adjustments are based on a fully assembled machine and may only be carried
out by expert staff trained for this purpose.
Machine covers, which have to be removed and replaced to carry out checks and
adjustments, are not mentioned in the text.
The order of the following chapters corresponds to the most logical work sequence for
machines which have to be completely adjusted. If only specific individual work steps are
carried out, both the preceding and following chapters must be observed.
Screws, nuts indicated in brackets ( ) are fastenings for machine parts, which must be
loosened before adjustment and tightened again afterwards.
11 .02 Tools, gauges and other accessories
● Screwdrivers with blade width from 2 to 10 mm
● Spanners (wrenches) with jaw width from 7 to 14 mm
● Allan keys from 2 to 6 mm
● Metal rule, Part No. 08-880 218-00
● Adjustment gauge, Part No. 08-880 218-00
● Terminal screw, Part No. 08-880 137-00
● Gauge, (top feed lift 7 mm), Part No. 61-111 630-14
11 .03 Abbreviations
TDC = top dead center
BDC = bottom dead center