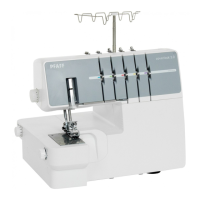
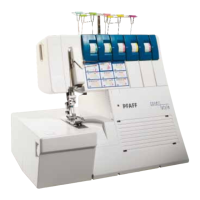
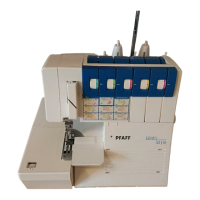
Repair instructions
38. Replacing the motor
Disassembly:
● Remove the housing as described in the adjustment and repair instructions.
● Using a small screwdriver, remove the cover 1 to the handwheel (figure 1).
● Unscrew the fastening screw 2 and remove the washer 3.
● Remove the handwheel.
● Unscrew the fastening screw 4 (figure 2).
● Remove the toothed belt.
● Unscrew the fastening screw 5 (figure 3).
● Remove the clamping plate 6 to the cable.
● Cut open cable clip 7 (figure 4).
● Pull the insulation tube 8 to one side.
● Pull out the plug-in connector cable to the lamp and remove the motor completely.
Assembly:
● Before installing the motor carry out a visual check of the wiring of the motor.
● Carry out a functional test of the motor using the foot control, thus pressing the microswitch (close).
● Plug the plug-in connector of the new motor into the lamp.
● Pull insulation tube 8 over the plug-in connector and secure it with the new cable clip 7 (figure 4).
● Position the lamp and motor cable in the cable duct.
● Fit the cable into the clamping plate 6 and secure it with the fastening screw 5 (figure 3).
● Position the motor in the machine housing and slightly tighten the fastening screw 4 (figure 2).
● Mount the handwheel.
● Fit the washer 3 and the fastening screw 2 (figure 1).
● Tighten the fastening screw 2 and mount the cover 1.
● Loosen the fastening screw 6, mount the toothed belt and set the tension of the toothed belt
by operating the motor.
Note:
After replacing the motor, an electrical safety test must be carried out as described in the adjust-
ment and repair instructions.
56
 Loading...