27
NOTES:
The {Every day} selection in a schedule item takes
priority over the other weekly schedules.
If the schedule overlaps, the scheduled power-on
time takes priority over scheduled power-off time.
If there are two schedule items programmed for the
same time, the highest numbered schedule takes
priority. For example, if schedule items #1 and #2
both set the display to power on at 7:00 AM and off
at 5:00 PM, then only schedule item # 1 will take
effect.
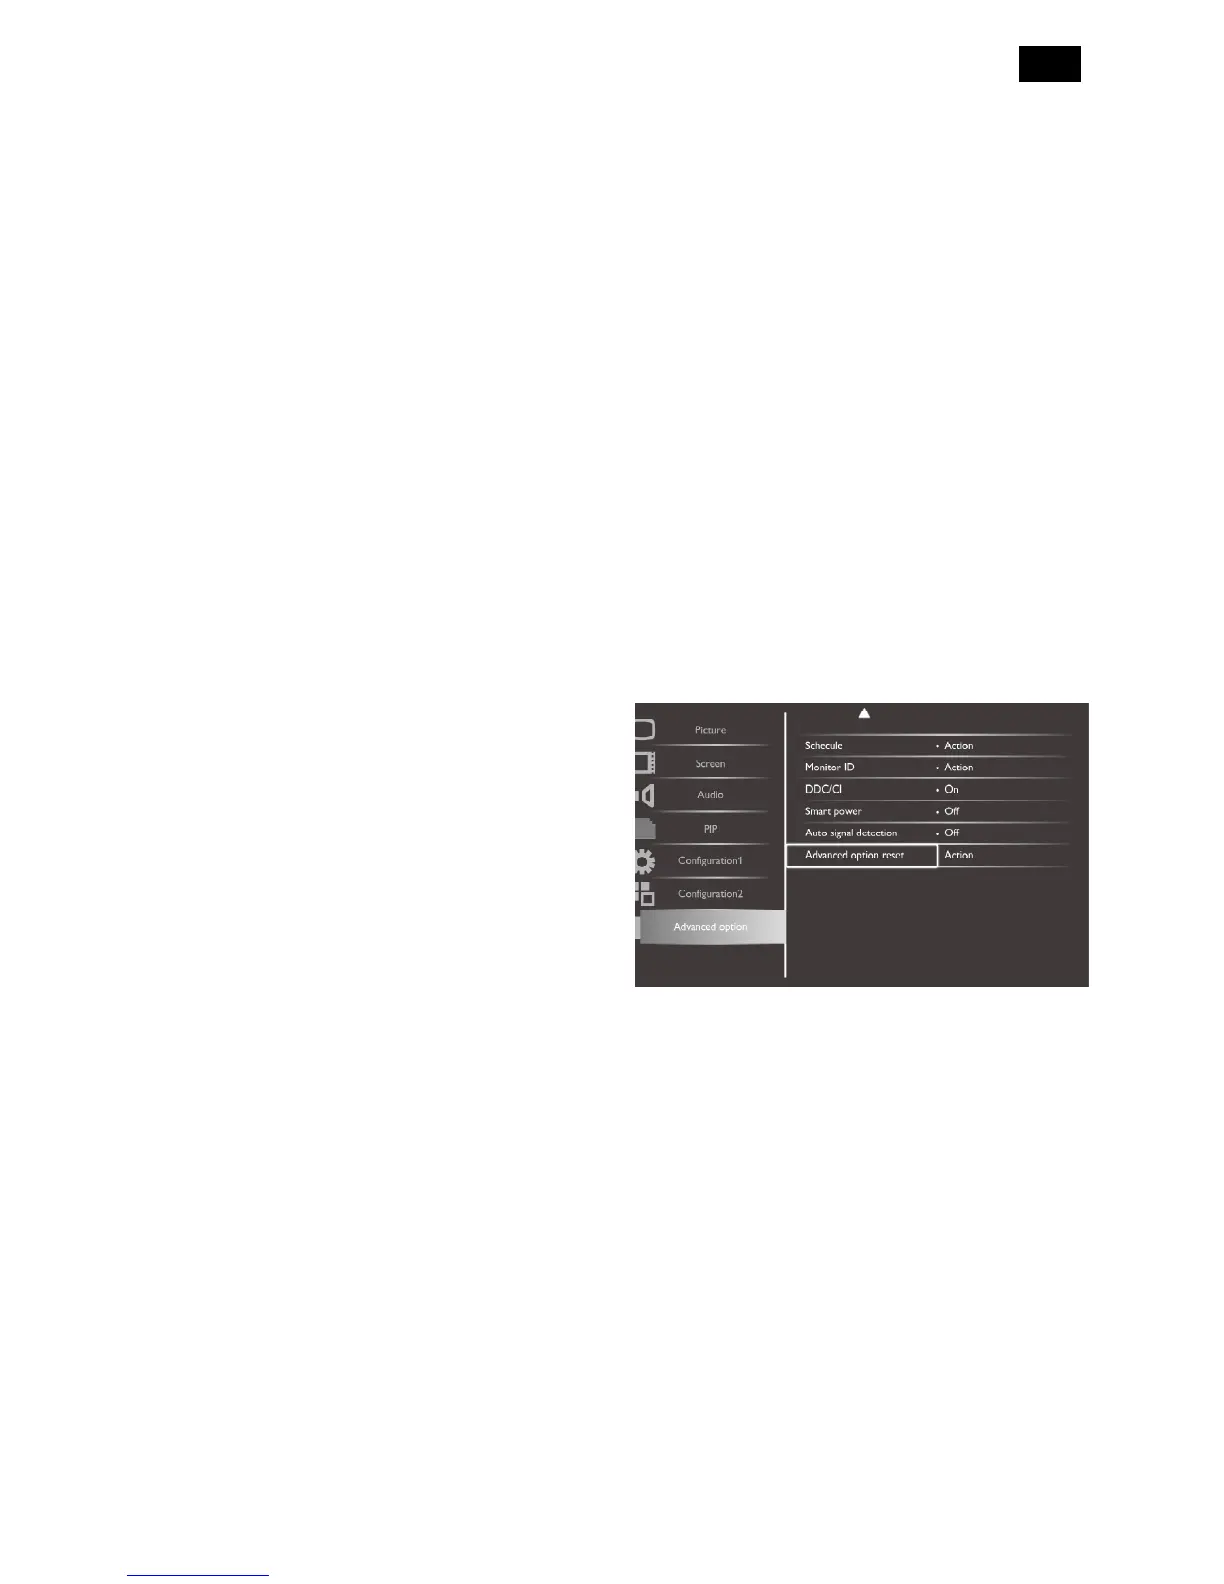
Monitor ID
Set the ID number for controlling the display via the
RS232C connection. Each display must have a unique
ID number when multiple sets of this display are
connected.
DDC/CI
Choose to turn on or off the DDC/CI communication
function. Select {On} for normal use.
Smart power
Set the display to reduce the power consumption
automatically.
The options are: {Off} / {Medium} / {High}.
Auto signal detection
Choose to let the display detect and display available
signal sources automatically.
{On} - Set the display to display the image
automatically once a signal is connected.
{Off} - Once a signal is connected, it can only be
selected manually.
Advanced option reset
Reset all settings in the advanced option menu to
factory preset values.
1. Press [SET] or [] button to enter the submenu.
2. Press [] or [] button to select {Reset} and press the
[SET] button to restore settings to factory preset
values.
3. Press the [EXIT] button or select {Cancel} and press
the [SET] button to cancel and then return to the
previous menu.