26
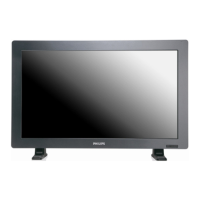
Date and time
Adjust the current date and time for the display’s
internal clock.
1. Press the [+] button to enter the submenu.
2. Press [▲] or [▼] button to toggle among the {Year},
{Month}, {Day}, {Hour}, {Minute}, and {Daylight
saving time} settings.
3. Press [+] or [-] button to adjust all settings except
{Daylight saving time}.
4. Press [SET] button to enter the {Daylight saving}
submenu.
5. Press [+] or [-] button to select item, press [▲] or
[▼] button to adjust.
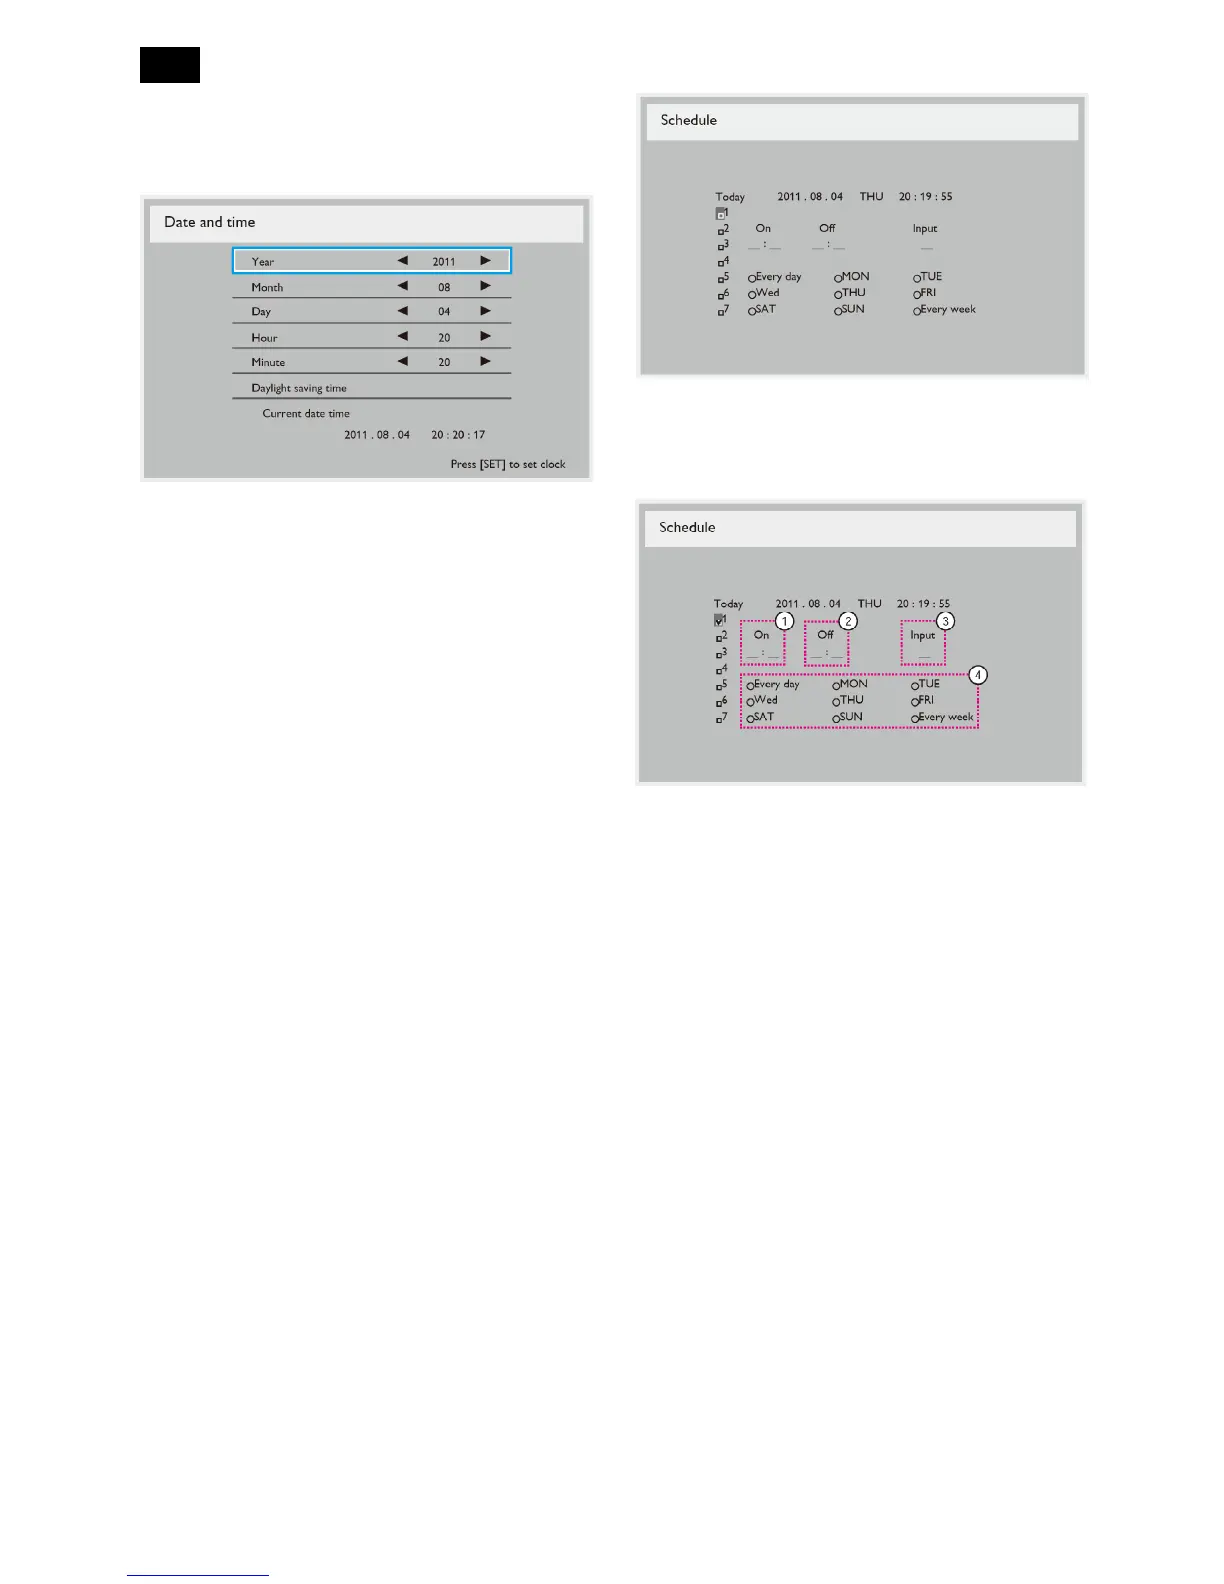
Schedule
This function allows you to program up to 7 (seven)
different scheduled time intervals for the display to
activate.
You can select:
The time for the display to turn on and turn off.
The days in a week for the display to activate.
Which input source the display will use for each
scheduled activation period.
NOTE: You should set up current date and time in
{Date and time} menu before using this function.
1. Press [SET] or [] button to enter the submenu.
2. Press [▲] or [▼] button to select a schedule item
(item number 1 ~ 7), and then press [+] button to
mark it the item number.
3. Press [+] or [-] button to select the schedule:
1) Power-on schedule: Press [▲] or [▼] button to
set the hour and minute for the display to turn on.
2) Power-off schedule: Press [▲] or [▼] button to
set the hour and minute for the display to turn off.
Select or leave an empty “__” for both the hour and
minute slot if you do not want to use this power-on
or power-off schedule.
3) Input-source selection: Press [▲] or [▼] button to
select an input source. If no input source is
selected, the input source will remain the same as
last selected.
4) Date schedule: Press [+] button to select which
day in a week this schedule item will be take
effect, and then press the [SET] button.
4. For more schedule settings, press [EXIT] button
and then repeat the steps above. A check mark in
the box next to the number of the schedule item
indicates that the selected schedule is in effect.