23
Recording CDs on the Center
You can record and listen to your tracks at the same time, or if you are in a hurry, you can select the Fast
ripping speed instead of Playspeed.
1
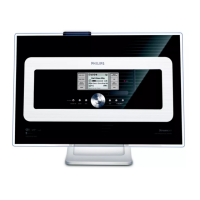
Insert a music CD into the CD slot loader on the Center, CD printed side
facing as shown.
2 Press MENU.
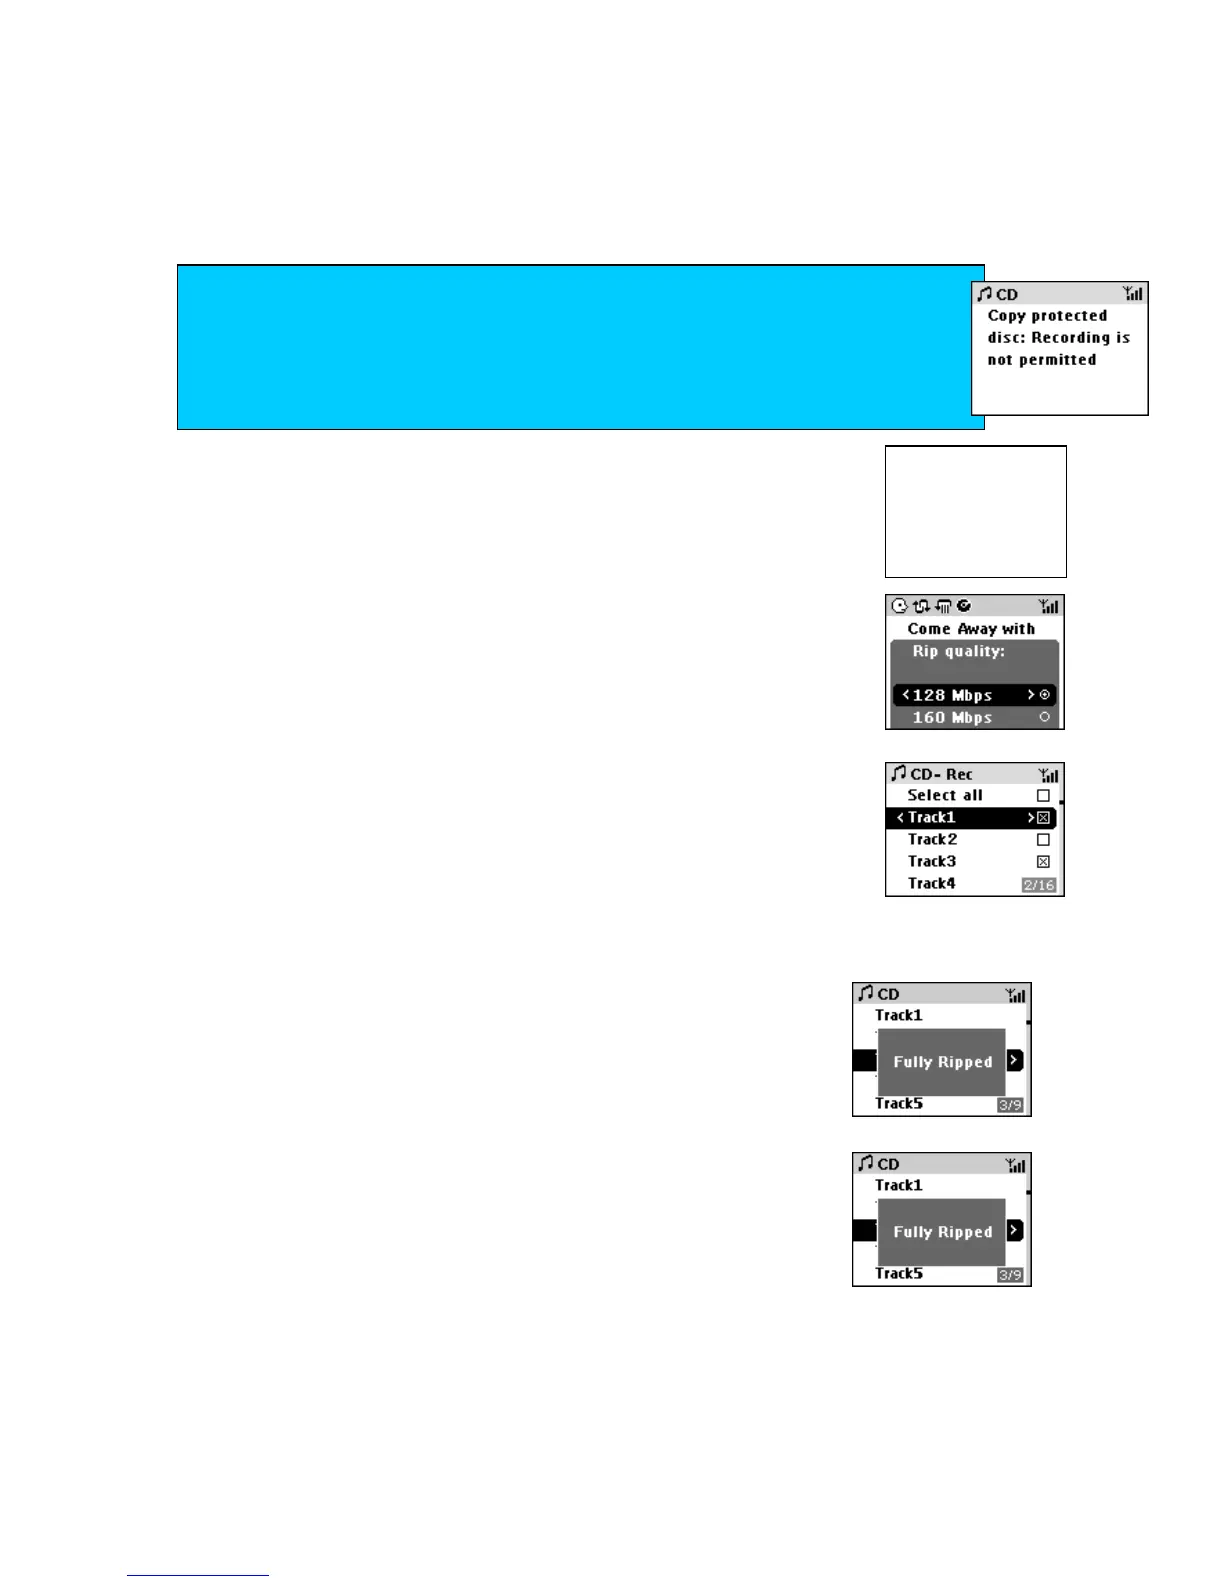
3 To select your compression rate, use the navigation control to select and
scroll Settings Rip quality, then choose 128Mbps or 160Mbps.
4
To select your recording speed Playspeed (x 1) or fast (x 4), use the
navigation control to select and scroll Settings
Rip speed, then choose
Playspeed or fast.
5 Press RECORD.
Display shows list of CD tracks with checklist boxes by default all
selected.
6
To select individual tracks for recording from a CD:
•
press and hold MARK. UNMARK to toggle and mark/ unmark all
tracks
•
use the navigation up/down control and press briefly MARK. UNMARK to select your desired
track.
7
Press RECORD /OK to start recording.
Display shows ripping status.
If no ID3 tag information is available, your track will be listed
as a number and automatically assigned an Album number
XXX.
Playback stops at the end of your recording.
8 To listen to your recording, select HD source. Navigate through All
tracks or Album to find.
Tip
- If you have recorded a large number of tracks/ large audio files, theses
will be stored under a temporary folder Raw Tracks. This is where
recordings are temporarily before compression is fully processed.
- The current track will not be recorded if you press STOP/ during recording. STOP/ exits
recording mode.
copyright protection technologies
CDs encoded with copyright protection technologies by some record companies may be
unplayable. This Center is able to play such CDs on your Center, but recording may be
restricted. If this happens, the Center displays:
 Loading...