42
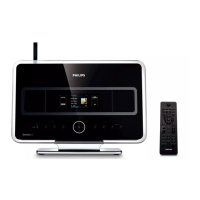
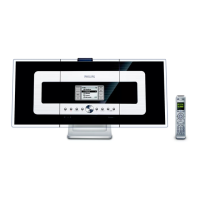
How to mount your Center and Station
SAFETY TIPS
– Choose your spot for mounting carefully, e.g. away from obstruction or
sources of danger such as water, fire hazards, extreme heat, or unstable
surfaces.
– Philips cannot be held responsible for any personal injuries, accidents and
breakages resulting from the system during and after mounting!
Tools: What else you’ll need (not supplied):
• sellotape
•
8 x screws for the Center, bracket, * screws for Station bracket
• electric drill
Preparation before you start drilling
– Check the material (e.g. drywood, concrete) of your wall to decide the best type of screw to use.
–
For best performance, install the unit as far as possible from sources of noise and interference (e.g.
TVs, fluorescent lamps, microwaves).
– Connect the power cord, FM antennas, and if necessary the supplied Ethernet cable, when you test
for accessibility of your best mounting location. Decide whether you want to connect the unit with
other audio equipment.
1
Find a suitable, clean, flat wall surface to mount near a wall outlet/
power socket.
2 Align the bracket at your chosen location. Use a pencil to mark the
screw holes.
3 Drill holes as marked by you.
4 To fix and secure the bracket, insert a suitable wall screw (not
supplied) into each hole.
5 Screw by hand, the 2 supplied mounting screws on the Station rear,
and 3 screws supplied for the Center.
6
Detach the stand from each unit.
7
Carefully hook and mount each unit into place.
7
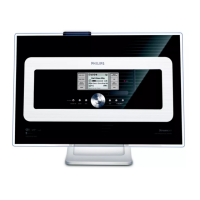
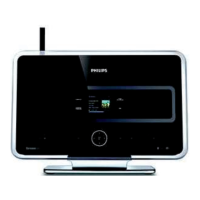
Mount &
hook unit
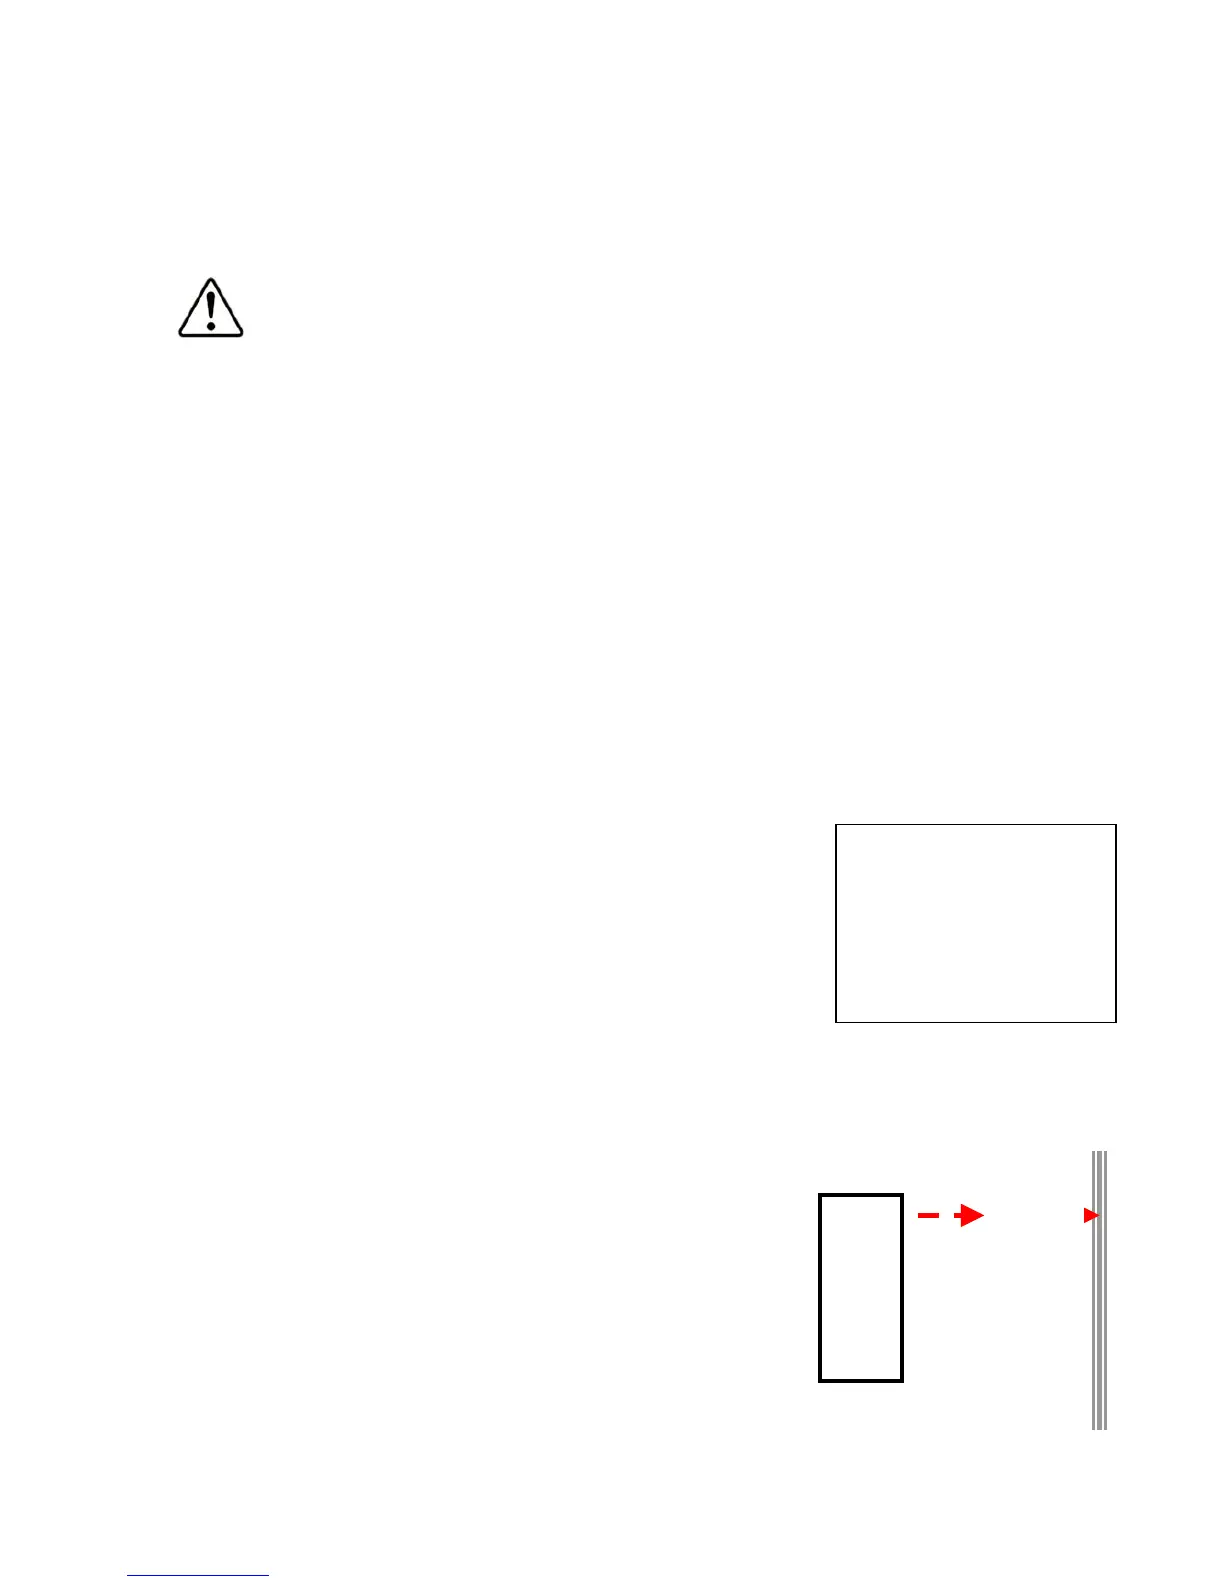
2-4
Illust. showing how
to align bracket to
wall for drilling &
screwing.