- Correctly refit the previously removed Bendix
back to its position.
- Reassemble the parts of the unit (internal lining,
fixed half-pulley, external lining, drive and nut),
spread Loctite 243 Quick Set threadlock on the
thread and tighten the nut to the prescribed torque.
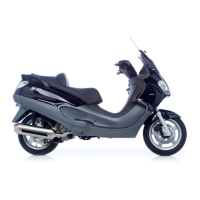
- Avoid the half-pulley rotation with the appropriate
stop key tool..
- Rotate the engine manually until the belt is slight-
ly taut.
CAUTION
IT IS EXTREMELY IMPORTANT THAT THE BELT IS PER-
FECTLY FREE WHEN THE FIXED DRIVING HALF-PULLEY
IS ASSEMBLED. THIS IS TO AVOID CARRYING OUT A
WRONG TIGHTENING OF THE DRIVING HALF-PULLEY.
Specific tooling
020368Y driving pulley lock wrench
Locking torques (N*m)
Drive pulley nut 75 ÷ 83
Refitting the transmission cover
- Check that there are 2 centring dowels and that
the sealing gasket for the oil sump on the trans-
mission cover is adequately fitted.
- Replace the cover and tighten the 10 screws to
the specified torque.
- Refit the oil loading cap/bar.
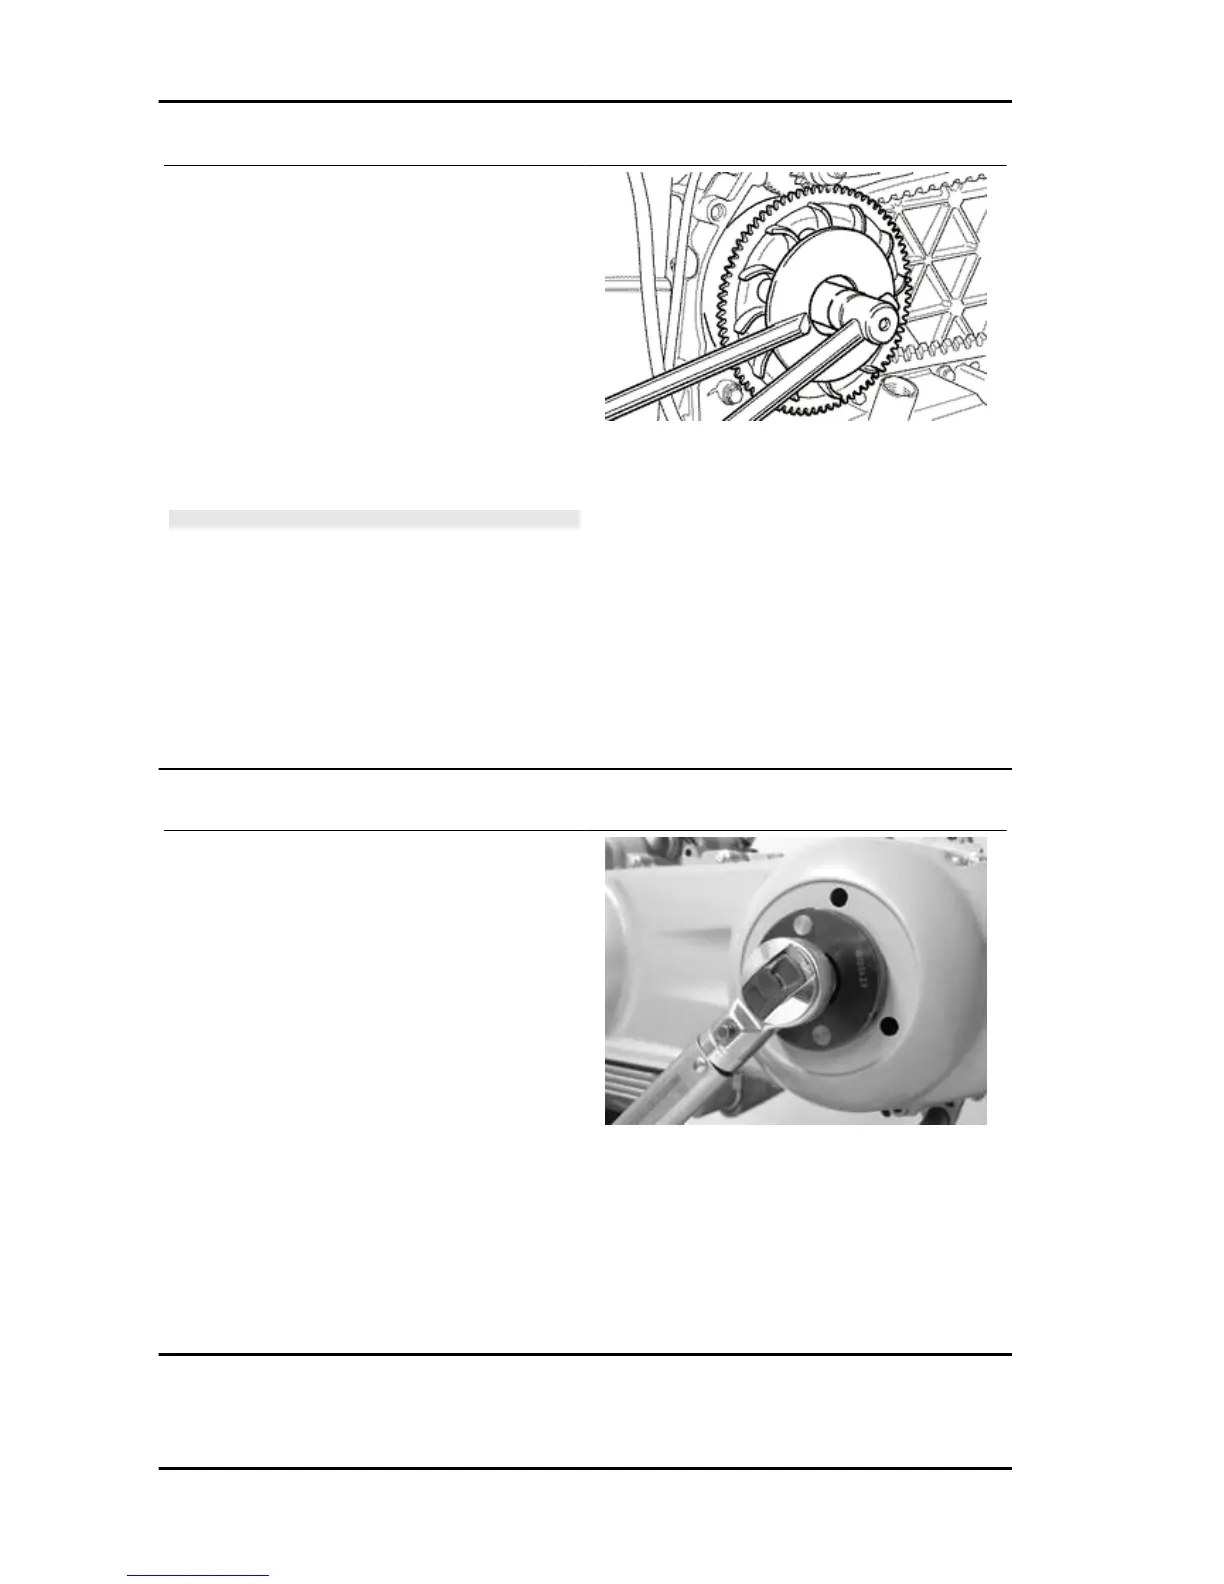
- Refit the steel washer and the driven pulley nut.
- Tighten the nut to the prescribed torque using the
lock wrench and the torque wrench tools.
- Refit the plastic cover.
Specific tooling
020423Y Driven pulley lock wrench
Locking torques (N*m)
Transmission cover screws 11 ÷ 13 Driven pul-
ley shaft nut 54 ÷ 60
Engine X9 Evolution 125
ENG - 102