wlan
43
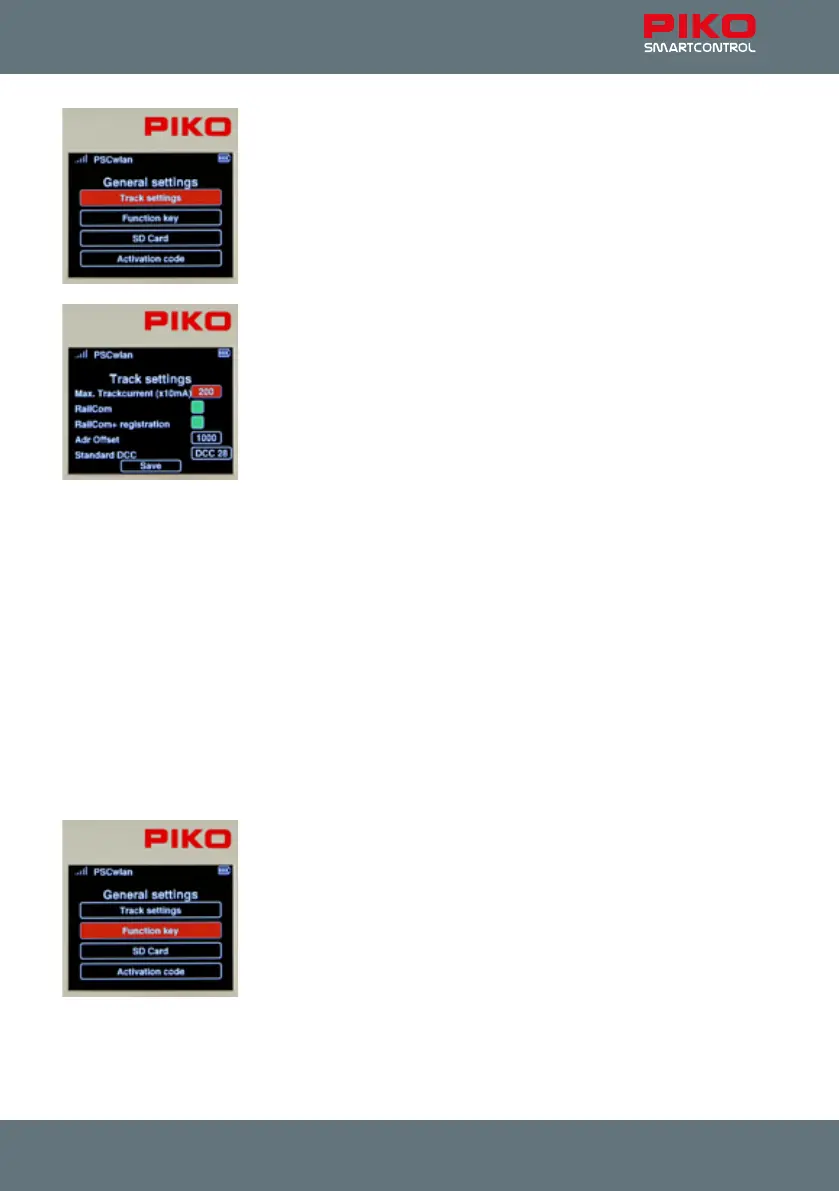
The submenu contains settings for the Main track connection port, assign-
ment options for the three SmartBox buttons, SD card settings, and in the
case of a StartSet SmartBox, the option to enter an activation code to
upgrade to the full version.
The track settings:
This submenu lets you set the maximum output current to the main track. It
is set in 10mA increments up to two full Amps (value 200), in the rst eld.
To set the output current, rst highlight the eld using the “up” or “down”
navigation buttons and the conrm with the OK button. Entered the desired
value using the keypad. The maximum number is 200. Incorrect entries
cannot be deleted, they can only be overwritten.
In order to activate the CutOut feature (blank interval in the DCC signal) required for RailCom
®
appli-
cations, navigate to the "RailCom" line and conrm it with the OK button (green eld). Pressing the OK
button again switches the eld o.
If you want RailCom Plus
®
-enabled rolling stock to be registered automatically, the "RailCom+ registra-
tion" eld must be turned back on, i.e. green.
Since RailCom Plus
®
registration must assign new decoder addresses (if necessary), the rst address
can be entered under "Adr Oset" from which all new addresses will be assigned in ascending order.
The "Standard DCC" eld lets you set the number of DCC speed steps (14, 28, 128) that the command
center will automatically assign to new locomotives. Pressing the OK button scrolls one entry forward.
Once all the settings are complete, highlight the "Save" eld and save your settings with the OK button.
TIP: By saving, you can easily have the SmartBox send a new RC+ SessionID. If an RC+-capable
vehicle has not registered directly, or RC+ has been switched o here, it will now be prompted to do so
again.
To exit the menu, press the "back" button.
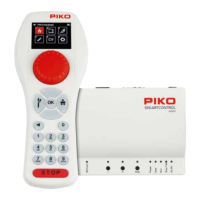
The key settings:
This menu allows you assign functions to the three SmartBox accessory
buttons.