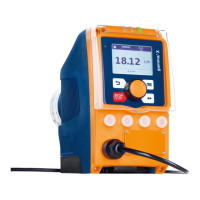
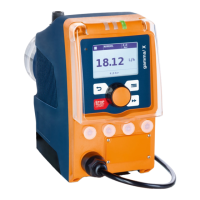
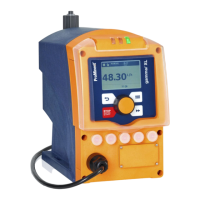
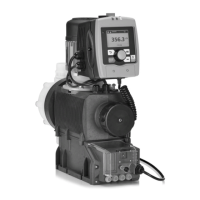
7 Assembly
Please refer to the online version of the operating instruc‐
tions on our website for the right dimensional drawings for
the pump and mounting plate.
Compare the dimensions on the dimensional drawing with
those of the pump and/or mounting plate.
CAUTION!
Danger from incorrectly operated or inadequately maintained
pumps
Danger can arise from a poorly accessible pump due to
incorrect operation and poor maintenance.
– Ensure that the pump is accessible at all times.
–
Adhere to the maintenance intervals.
Capacity too low
The liquid end valves can be disturbed by vibrations.
–
Secure the metering pump so that no vibrations can
occur.
Capacity too low
If the valves of the liquid end are not vertical, they cannot
close correctly.
–
Ensure that the suction and discharge valves are upright
(with self-bleeding liquid ends: the bleed valve).
Several metering pumps can be arranged closely together as
required.
1. To remove the mounting plate, press down the black flap below the
front of the pump a little and press the mounting plate backwards.
2. Assemble the mounting plate on a level and load-bearing base sur‐
face (with a minimum of 2 bolts and 2 washers!).
You can also assemble the mounting plate on a vertical, level and
load-bearing base surface (using 3 bolts and 3 washers!). You then
need to rotate the liquid end (vertical valve position!)
You can also assemble the mounting plate on a wall bracket
(acces‐
sories). 3 alignments are possible.
3. Lock the foot of the metering pump into the mounting plate – see
further information Fig. 9.
Assembly
25
 Loading...