PULSAR MEASUREMENT
29
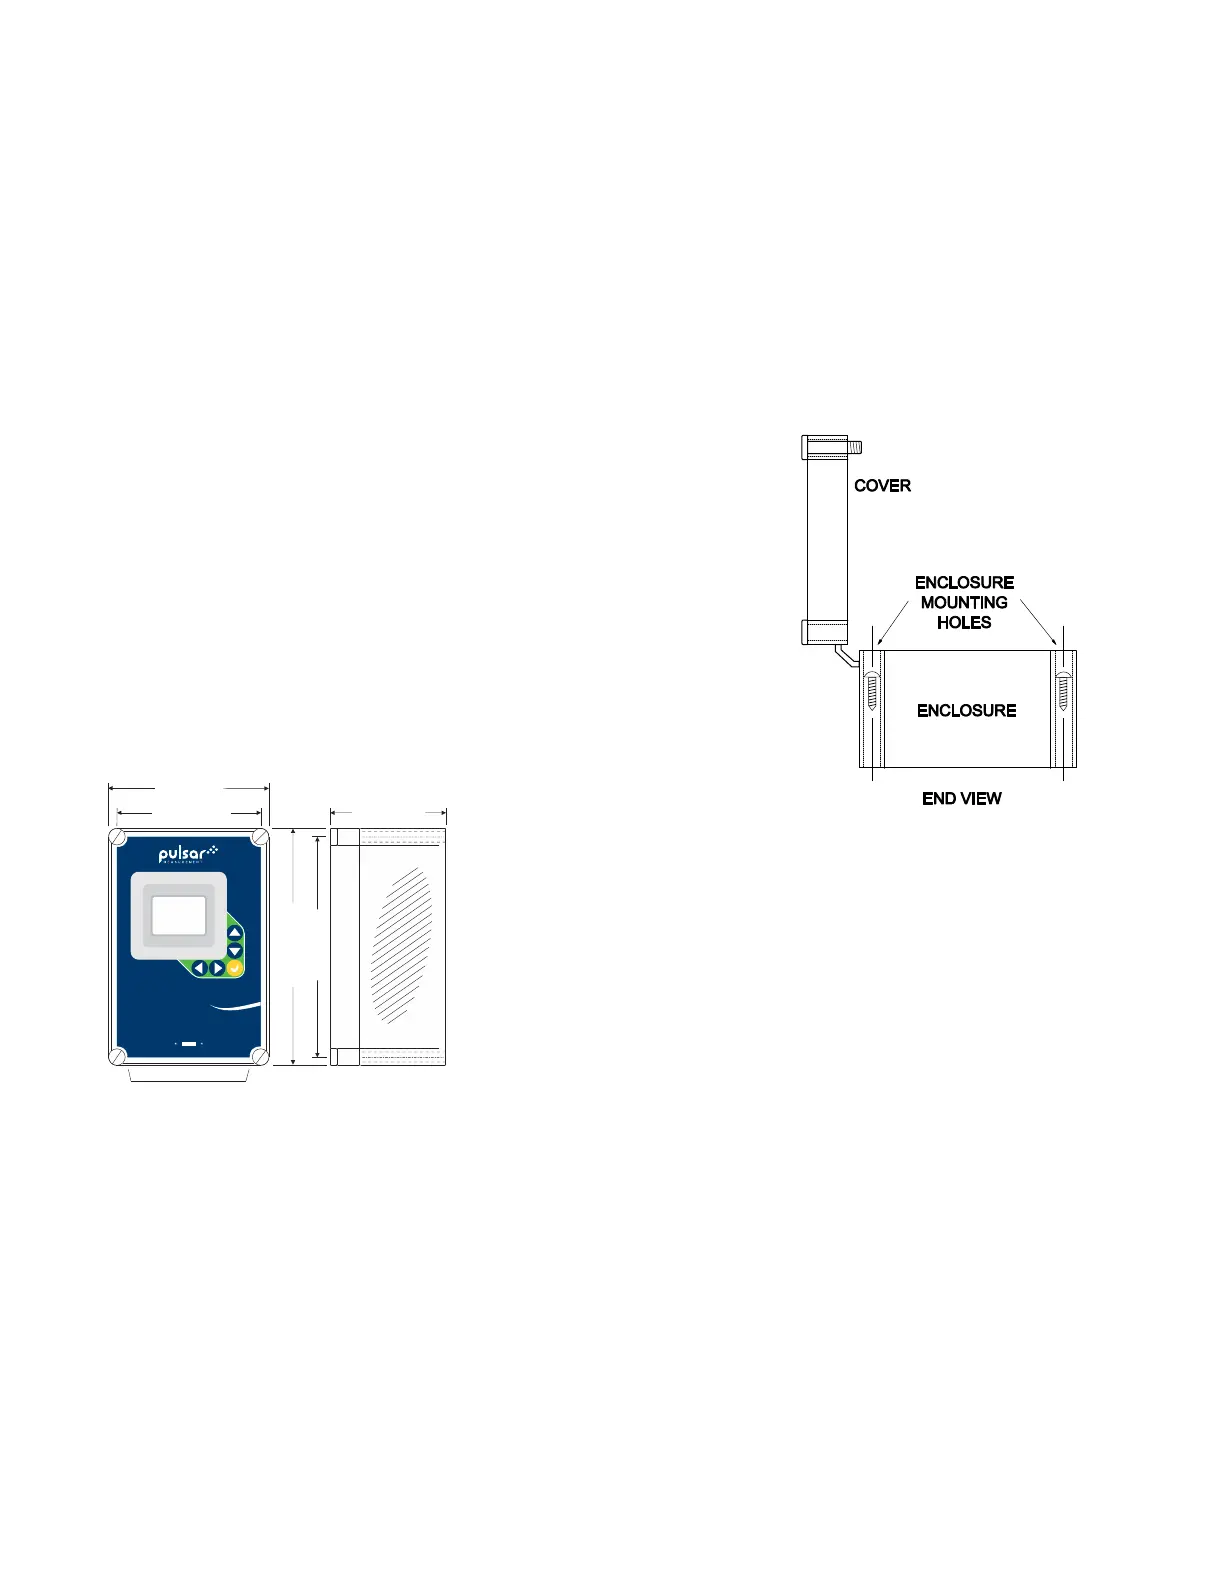
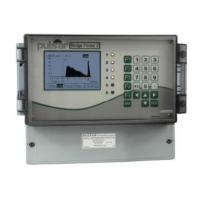
ENCLOSURE INSTALLATION
Locate the enclosure within 20 ft (6 m) of the sensor (500 ft -150 m optional). The enclosure can be wall mounted
with the four mounting screws (included) or panel mounted with Option PM Panel Mount kit from Pulsar
Measurement.
Avoid mounting the enclosure in direct sunlight to protect the electronics from damage due to overheating and
condensate. In high humidity atmospheres, or where temperatures fall below freezing, Option TH Enclosure
Heater and Thermostat is recommended. IMPORTANT: Seal conduit entries to prevent moisture from entering
enclosure.
NEMA4X (IP66) WITH CLEAR COVER
1. Open hinged enclosure cover.
2. Insert #12 screws (supplied) through the four enclosure mounting holes
to secure the enclosure to the wall or mounting stand.
Additional conduit holes can be cut in the bottom of the enclosure when
required. Use a hole saw or Greenlee-type hole cutter to cut the required
holes.
DO NOT make conduit/wiring entries into the top of the enclosure.
Note: This non-metallic enclosure does not automatically provide grounding between conduit connections.
Grounding must be provided as part of the installation. Ground in accordance with the requirements of the
National Electrical Code. System grounding is provided by connecting grounding wires from all conduit entries to
the steel mounting plate or another point which provides continuity.
CLEANING
Cleaning is not required as a part of normal maintenance.
6.46 / 164 mm"
10.94" / 278 mm
10 / 254 mm"
CONDUIT ENTRY
SIDE VIEW
5.12 / 130 mm"
DFM 6.1
Greyline