28
Record and Playback Controls
Buttons 5 through 9 shown in Picture 2-26 allow you to save real-time still and video images
to your computer.
Clicking on the Snap icon will capture still images and save them to the computer.
Record will begin remote manual recording of all active channels onto your DVR.
Client Record will capture video and save it onto your computer’s hard drive.
Talk allows you to communicate through any channel where there is an audio-enabled camera
or co-located microphone and speaker. You’ll also need a microphone at your computer. This
optional equipment must be added before this feature is available.
Local Playback lets you review the Client Record video stored on your computer’s hard drive.
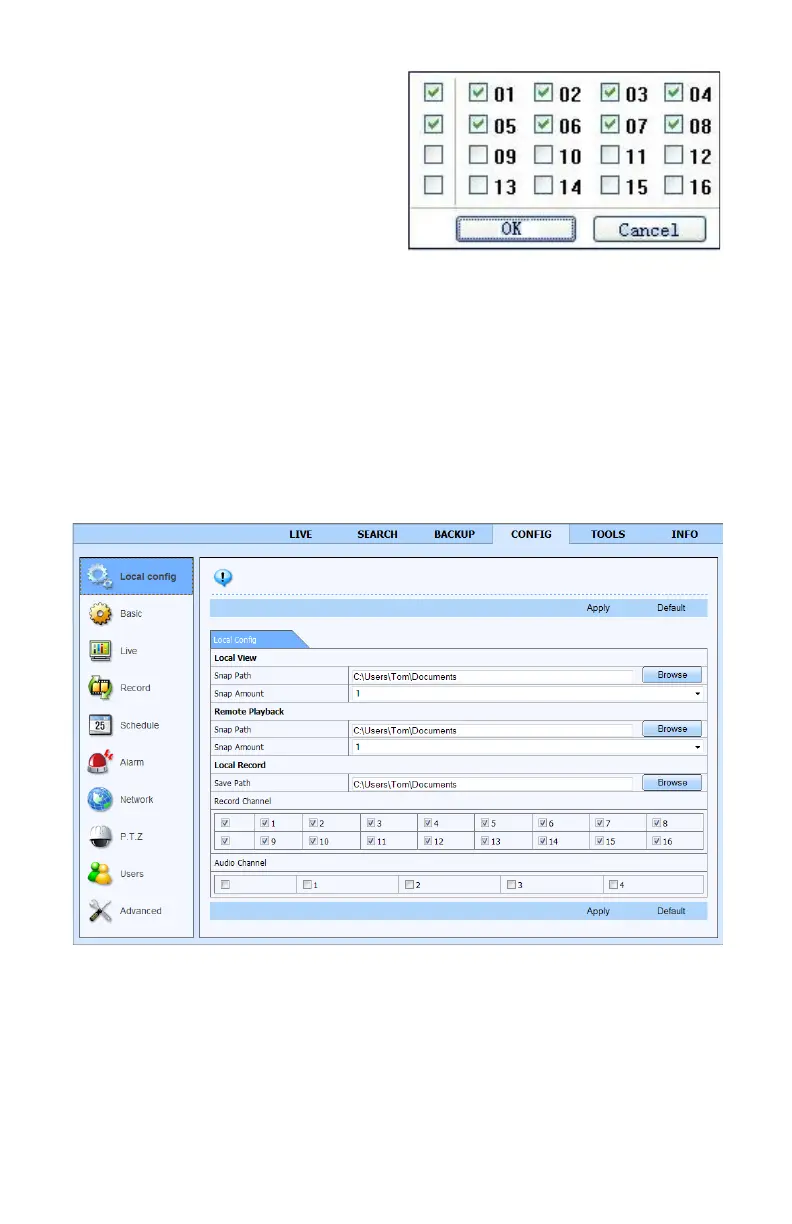
The destination for the still images is set in the Config tab in the main menu at the top of the
Remote Live Viewer (See Section 2.4) which will open the Local Config sub menu.
You can also set the number of images that are captured when the Snap Pictures button
is pressed. This window is also used to set the destination for recordings made from within
the Remote Live Viewer as well as how many audio channels (if available) are recorded in
addition to which camera channels.
PICTURE 2-28
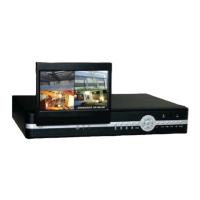
Screen Display Mode
Clicking on the arrow beside the screen
display mode will open the Channel Select
dialog which will allow you to specify which
channels are shown. Channels can be
selected individually or in blocks of four.
PICTURE 2-27

 Loading...