55
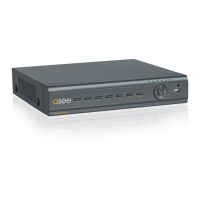
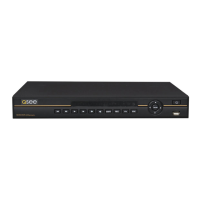
CONNECTING TO YOUR DVR
PICTURE 4-30
PICTURE 4-31
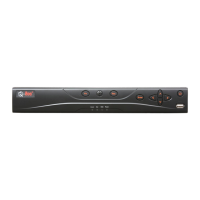
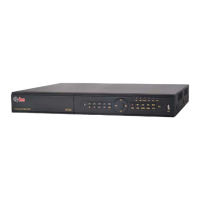
Once you have added a DVR to QT View, you will only to tap on Server in the Log In screen
to access your desired connection.
You can also add another connection using this screen, in addition to doing so through the
Server menu described later.
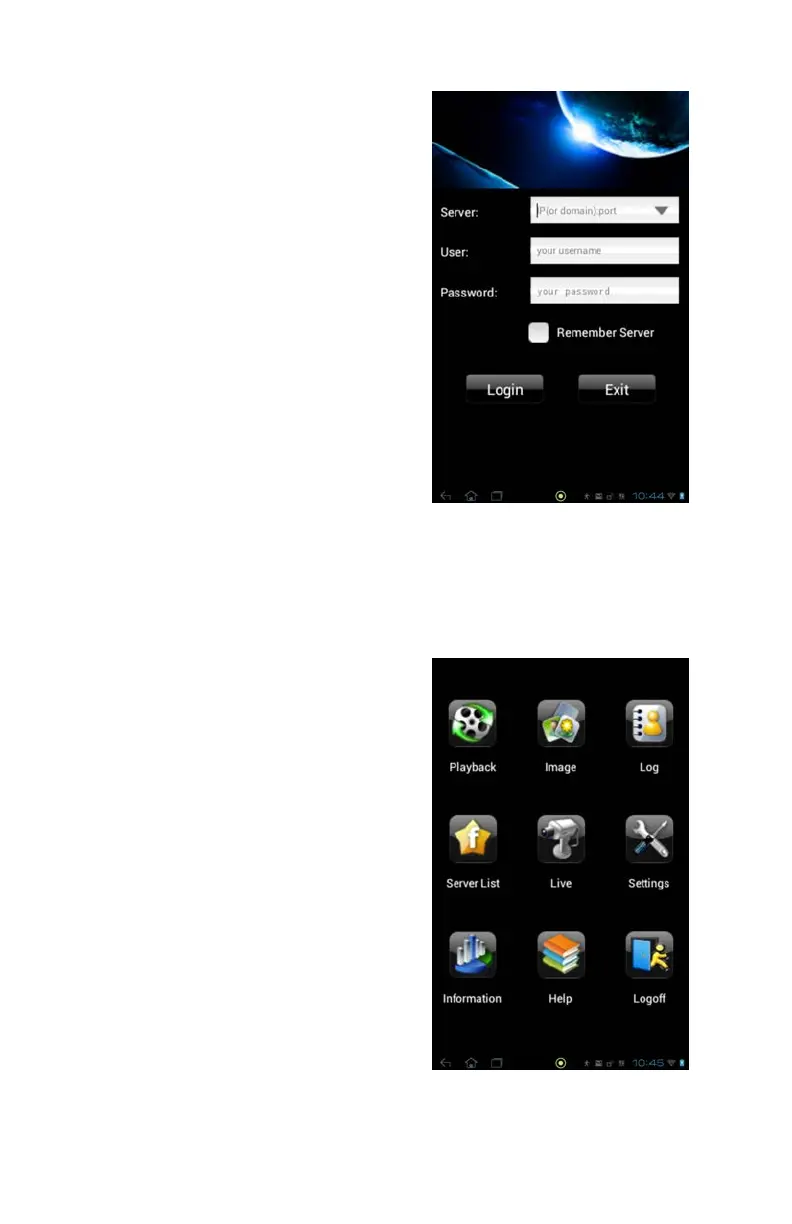
Once you have logged into your DVR the
application will take you to the Main Menu
where you can access the functions of the
program and the DVR.
Upon start-up, the QT View program will
require you to log in. The first time you will
need to enter the address of your DVR. If you
will be connecting to your DVR on the same
network, say from within the same building,
enter the local IP address. You will want to
create a separate connection for use when
you are away from the building housing the
DVR. In this case, you should enter the MyQ-
See address or the Internet IP address.
Information on these addresses can be found
in the Remote Monitoring Guide.
Clicking the box marked Remember Server
will add this connection to your Favorites
list which will allow you to select the desired
connection and DVR without having to log in
again.

 Loading...