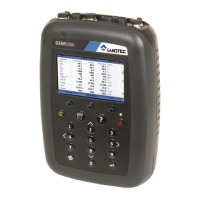
GEM5000 Gas Analyzer
Page 25 of 102
3) Toggle through the reading by selecting ‘Key 4 – Scroll left’ and ‘Key 6 – Scroll right’
on the analyzer. Select ‘Key 2 – Page up’ and ‘Key 8 – Page down’ to page through
the auxiliary channels listed.
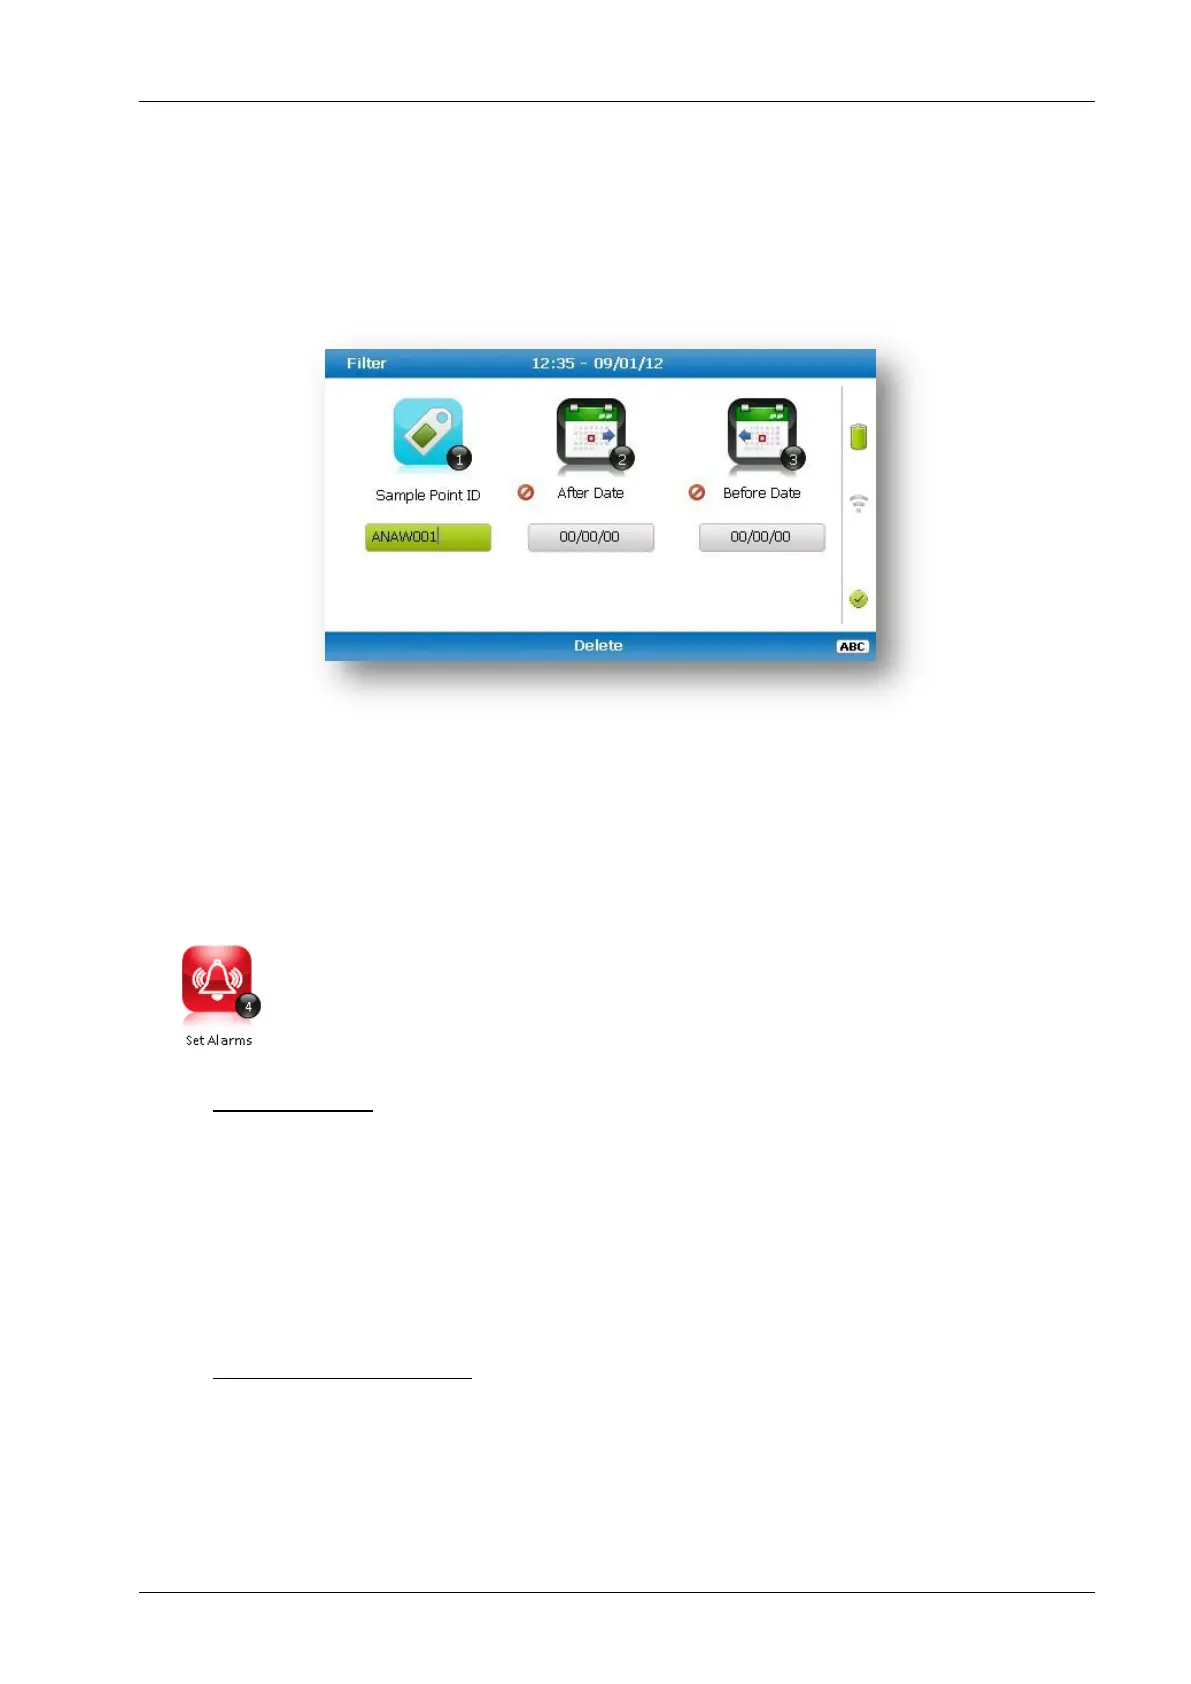
4) Select the soft-key ‘Filter’ to filter the data by sample point ID, or specify before or
after date. Press the soft-key ‘Exit’ to exit the filter menu and return to the ‘View
Data’ screen.
5) Select the soft-key ‘Delete’ followed by the appropriate soft-key to delete a single
reading or all filtered readings. Press soft-key ‘Cancel’ to cancel the deletion request.
6) Select the soft-key ‘Exit’ to exit the view data screen.
7.2.4 Set alarms
This option enables the operator to define the conditions for which an
alarm/target will be triggered. These conditions apply to the general
operation of the instrument and are not ID specific. A summary of the alarm
settings can be found in ‘Key 3 – Summary’.
Types of alarms
Common Alarms – Are non-ID specific alarms which apply to all the readings taken
with the analyzer.
ID specific alarms – Are ID specific, i.e. they will only trigger when a certain Id is
being used.
Tuning/targets – You can also set targets for your gas channels; these will highlight
gas channels green as oppose to when they alarm (yellow). These can be common or
ID specific.
Setting up alarms/targets
1) Select the ‘Menu’ button on the front of the analyzer to display the ‘Device Settings’
menu. Press the soft key to display ‘Operation Settings’.