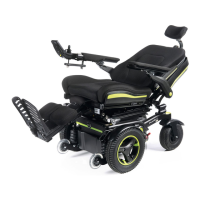
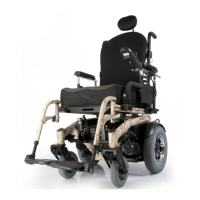
124 | Puma 20/40124 |
5.3.14 Replacing the tube and/or tyre of a drive wheel, Puma 40 / 3-spoke wheels > October 2016
Preparation
• Switch off the wheelchair via the remote control.
• Be sure that the freewheel switch is in ‘drive’ mode. If
the freewheel switch is in ‘push’ mode this will make
loosening the bolts impossible.
• Use a lifting device to raise the drive wheels clear of the
ground.
Instructions
• Remove the wheel from the axle. (See instruction:
Replacing the drive wheel, indoor/outdoor)
• Deate the tyre (not necessary for replacing the complete
drive wheel!).
• Loosen all Allen bolts and remove the front of the rim half.
• Remove the tyre and the tube, replace a new tube and/
or tyre.
• Replace the tyre and tube on the rim half.
• Mount the front of the rim half.
• Replace the drive wheel on the axle.
• Inate the tube to the correct pressure. (See: ‘Technical
specications’)
Notice
Inate the tube to the correct pressure! (See ‘Technical
specications’)
Relevant article numbers
Puma 40 3-spoke wheels
9011621 Wheel Mount Hub assy 3-Spoke Wheel Service
9011616 Drive wheel mounting set, Puma 40 / 3-spoke
wheels, version > October 2016
9011617 Drive wheel outdoor 3.00-8 (14"), black / black, air
9011618 Drive wheel outdoor 3.00-8 (14"), black / black, air,
set
9011619 Drive wheel outdoor 3.00-8 (14"), black / black,
punctureproof
9011620 Drive wheel outdoor 3.00-8 (14"), black / black,
punctureproof, set
1015115 Inner tube 3.00-4 (10")
1015106 Outer tyre 3.00-4 (10") black highway prole
1015117 Inner tube 3.00-8 (14")
1015110 Outer tyre 3.00-8 (14") black block prole
Tools used
• Lifting device
• Screwdriver
• Hammer (plastic)
• Torque wrench, socket, 5/16
• Allen key, 6 mm
Icons
Parts need to be replaced. Dispose of waste parts in
accordance with local regulations
Bolts are provided with Loctite thread locker!
Note! Be aware of the issue!
1
min.
100 cm
min.
100 cm
min.
75 cm
min.
75 cm
 Loading...