QM-7 SERIES SERVICE MANUAL
PAGE 7.8
JANUARY 2012 SUNRISE MEDICAL
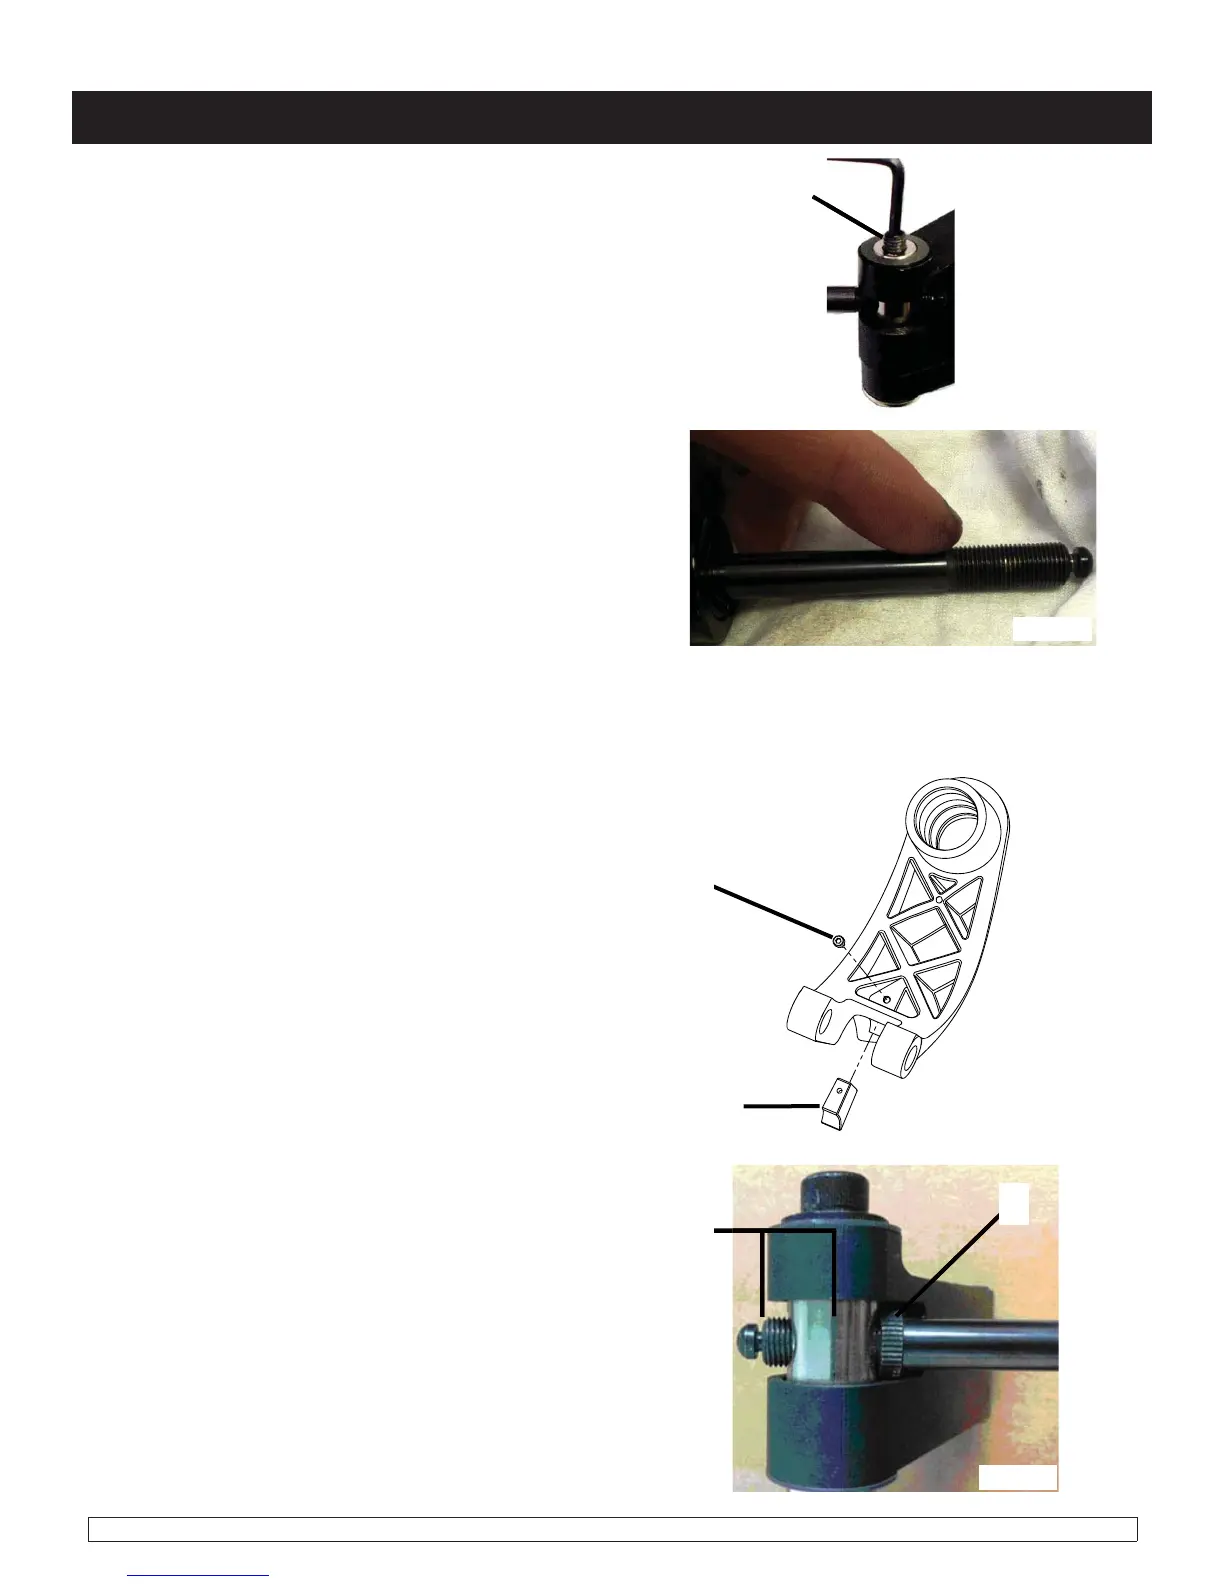
7. To re-install the Gas Spring, Reverse the
previous procedures. Be sure to adjust the the
Gas Springs threaded shaft to the correct distance
of 12-13mm for required installation clearance
(C) as shown in (fi gure 7.8.3). and then tighten
the Jam Nut (D) to secure the shaft at the correct
distance, and replace the gas spring insert.
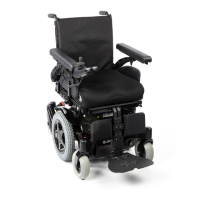
5. Once set screw is loosened, the gas spring
shaft can be unscrewed and removed from the
securing point as shown in (fi gure 7.8.2)
Section 7
fig. 7.8.3
fig. 7.8.2
E
D
4. Once the top holding bolt is removed, loosen
the set screw (A) as shown by using a 4mm Hex
wrench (fi gure 7.8.1)
A
fig. 7.8.1
Note: A Gas spring replacement kit is available. Those Parts should be used in the following
steps. Be sure to replace any screws or bolts that have been loosened and/or removed,
especially threaded items that include a patch.
6. Remove the Bronze Anti Pitch Insert (B). Using
an M5 Hex wrench, remove the Socket Head Cap
Screw (C) in the Rear Caster Arm. The insert can
be pushed out from the back by using a hole that
has been created in the part. Be sure to replace
with a new part from the Kit before re-assembly.
B
C
 Loading...