EasyManuals Logo

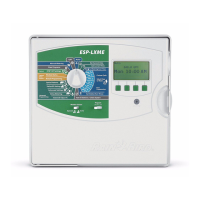
Rain Bird ESP-Me User Manual

Rain Bird ESP-Me
140 pages
To Next Page IconTo Next Page
To Previous Page IconTo Previous Page
Page #7 background imageLoading...
Page #7 background image
Installation
ENG
ESP-Me Controller
7
Installation
Mount Controller
A
Drive a mounting screw into the wall, leaving an
1/8 inch gap between the screw head and the
wall surface (use the supplied wall anchors if
necessary), as shown.
B
Locate the keyhole slot on back of the controller
unit and hang it securely on the mounting screw.
1/8 IN.
A
B
C
Open the front panel, and drive three additional
screws through the open holes inside the
controller and into the wall, as shown.
1234
VT =VALVE TEST
VT MV COM
24 VAC
GND
SENS
VT MV COM 567 11 12 13 17 18 19
1234 8910141516202122
CONNECT
120 VAC
C

Table of Contents

Other manuals for Rain Bird ESP-Me

Questions and Answers:

Question and Answer IconNeed help?

Do you have a question about the Rain Bird ESP-Me and is the answer not in the manual?

Rain Bird ESP-Me Specifications

General IconGeneral
TypeModular
Start Times per Program4
Master Valve/Pump StartYes
Watering Start Times4 per program
Cycle and SoakYes
Rain DelayYes
Power Source24V AC
Voltage24V AC
Station Run Times1 minute to 4 hours
Backup BatteryNo

Related product manuals