Chapter 3: Installation 15
Connections to other equipment
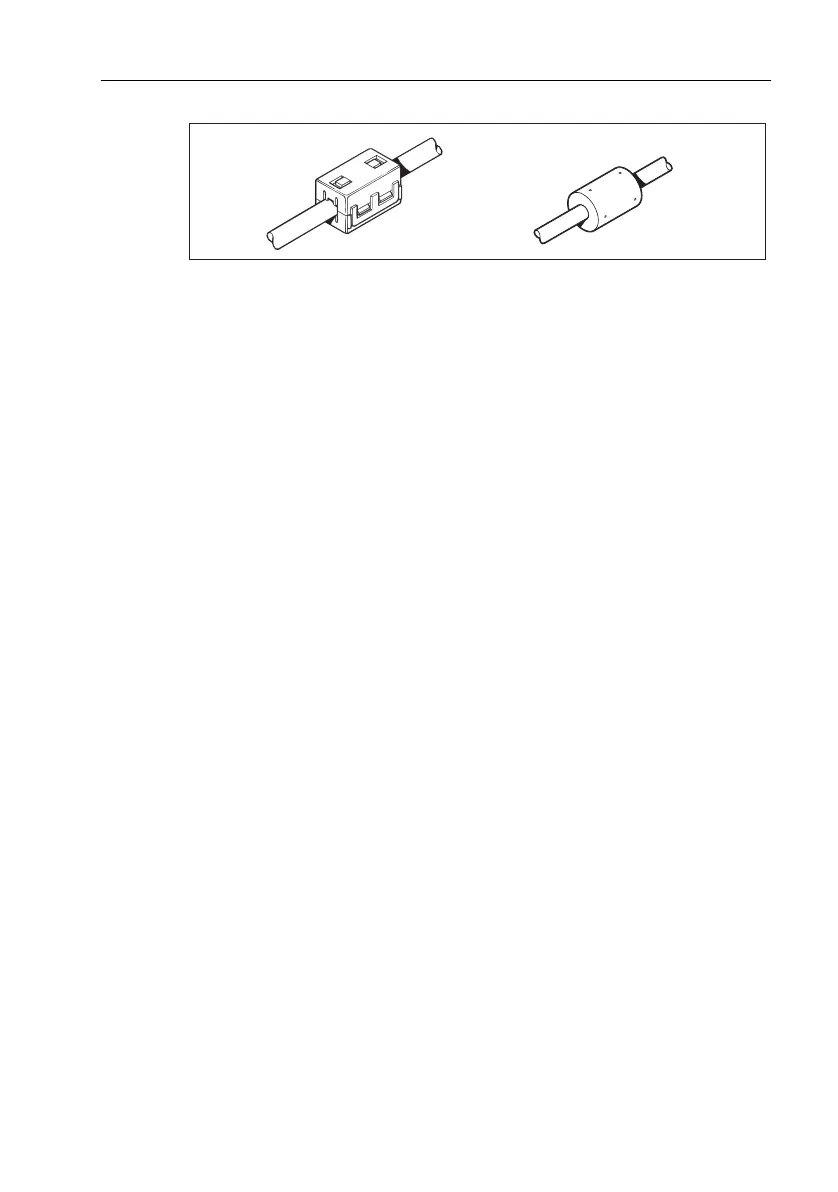
If your Raymarine equipment is to be connected to other equipment using a cable
not supplied by Raymarine, a suppression ferrite MUST always be attached to the
cable near the Raymarine unit.
3.2 Procedures
As it is not practical to describe procedures for all possible installation scenarios,
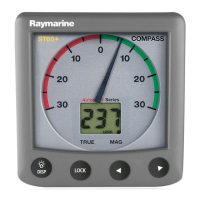
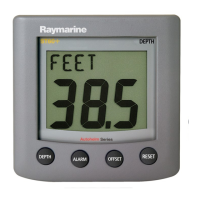
the procedures given here describe the broad requirements for installing Speed
transducers and the ST60+ Speed instrument. Adapt these procedures as
appropriate, to suit your individual requirement.
Unpacking
Unpack your ST60+ equipment and check that the items described in the
Preface
are present.
Each ST60+ instrument is supplied with a standard bezel for surface mounting.
Optional mounting kits are available for flush mounting and bracket mounting
the instrument. If you have ordered the flush mounting option a flush mount bezel
and four fixing screws are also provided.
Fitting the instrument
The ST60+ Speed instrument can be installed using one of a number of different
mounting options:
• Surface mounting. Gives a profile of approximately 0.95 in (24 mm).
• Flush mounting. Gives a profile of approximately 0.25 in (6 mm).
• Bracket mounting.
The ST60+ instruments can also be mounted behind a panel with just the
instrument dial and buttons visible.
CAUTION: Maintain structural safety
Where it is necessary to cut holes (e.g. for cable routing and
instrument mounting), ensure that these will not cause a hazard
by weakening critical parts of the vessel’s structure.
D3548-6
81261_1.book Page 15 Tuesday, November 29, 2005 12:42 PM
 Loading...