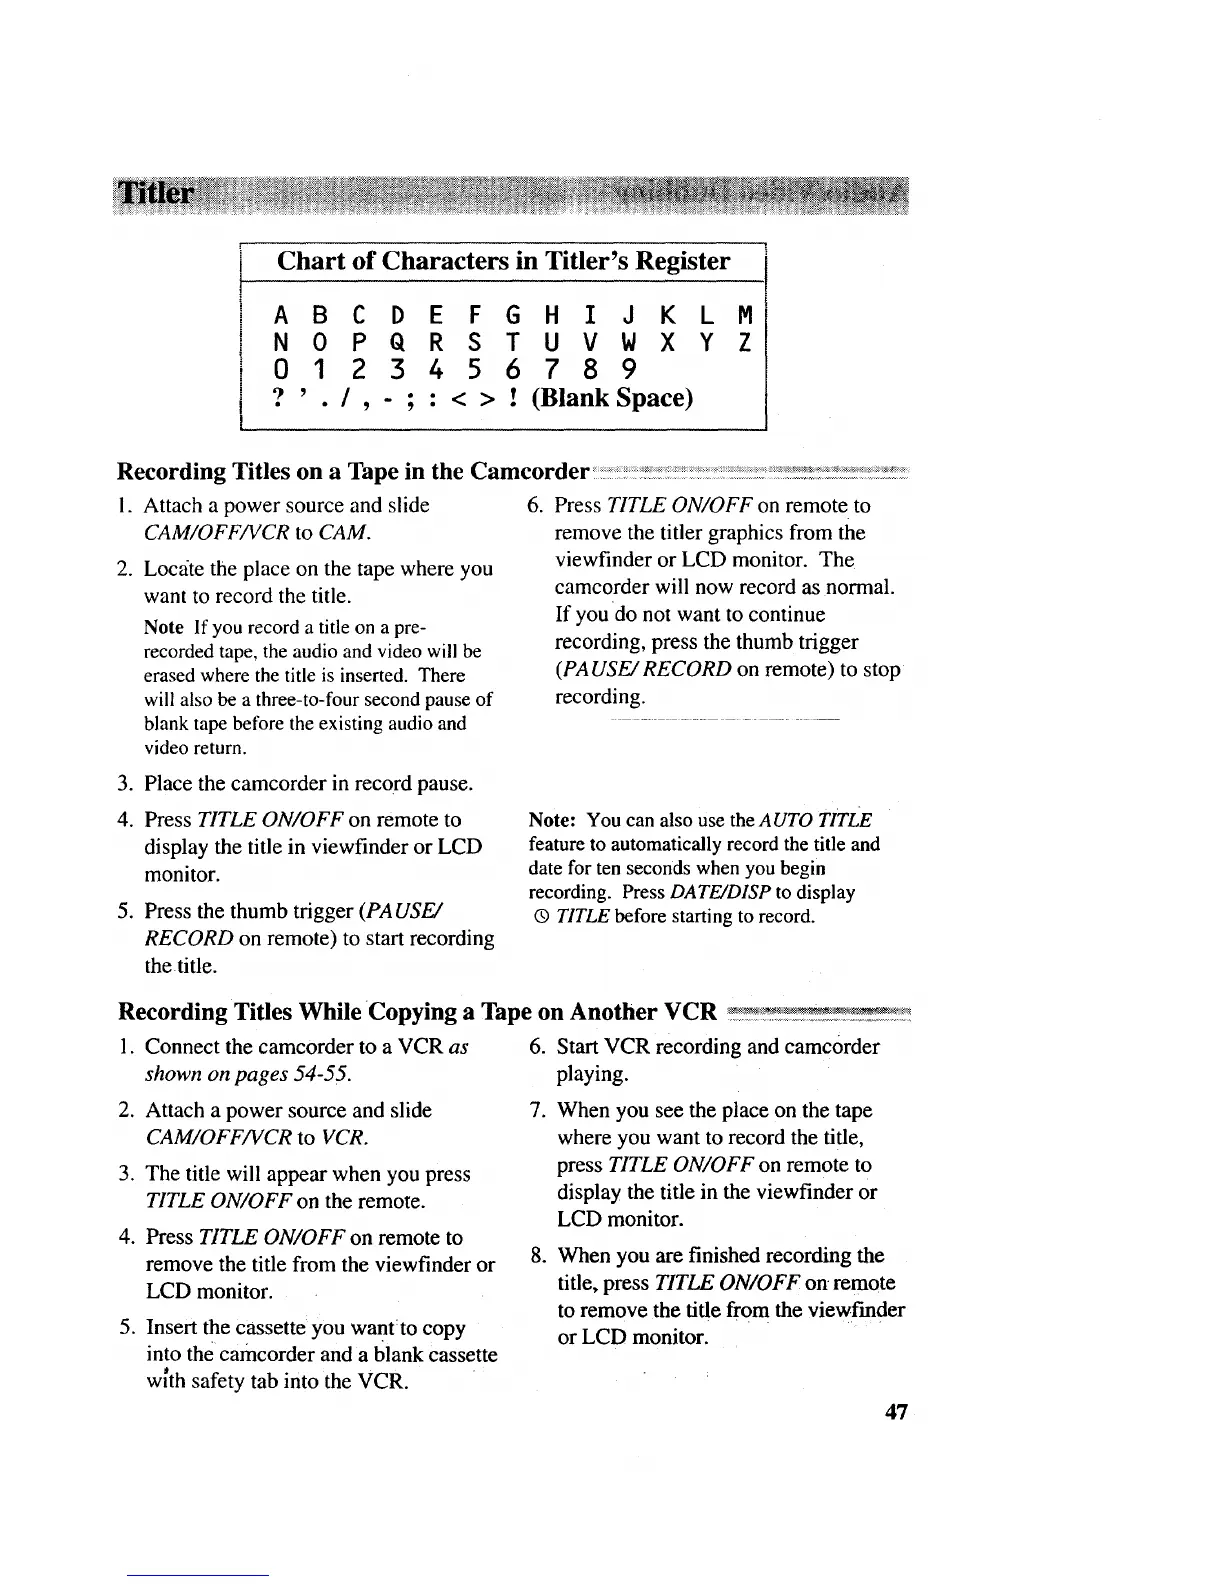
Chart of Characters in Titler's Register
A0CDEFG"I X
? ' . / , - ; : < > ! (Blank Space)
1. Attach a power source and slide
CAM/OFF/VCR to CAM.
2. Loc_ite the place on the tape where you
want to record the title.
Note If you record a title on a pre-
recorded tape, the audio and video will be
erased where the title is inserted. There
will also be a three-to-four second pause of
blank tape before the existing audio and
video return.
. Press TITLE ON/OFF on remote to
remove the titler graphics from the
viewfinder or LCD monitor. The
camcorder will now record as normal.
If you do not want to continue
recording, press the thumb trigger
(PA USE/RECORD on remote) to stop
recording.
3. Place the camcorder in record pause.
4. Press TITLE ON/OFF on remote to
display the title in viewfinder or LCD
monitor.
5. Press the thumb trigger (PA USE/
RECORD on remote) to start recording
the title.
Note: You can also use the AUTO TITLE
feature to automatically record the title and
date for ten seconds when you begin
recording. Press DATE/DISP to display
(9 TITLE before starting to record.
Recording Titles While Copying a Tape on Another VCR _:!_:!_!__r_'_::!
1. Connect the camcorder to a VCR as 6. Start VCR recording and camc0rder
shown on pages 54-55. playing.
2. Attach a power source and slide 7.
CAM/OFF/VCR to VCR,
3. The title will appear when you press
TITLE ON/OFF on the remote.
4. Press TITLE ON/OFF on remote to
8.
remove the title from the viewfinder or
LCD monitor.
5. Insert the cassette you want:to copy
into the camcorder and a blank cassette
w{th safety tab into the VCR.
When you see the place on the tape
where you want to record the title,
press TITLE ON/OFF on remote to
display the title in the viewfinder or
LCD monitor.
When you are finished recording the
title, press TITLE ON/OFF on remote
to remove the title from the vievcf'mder
or LCD monitor.
47