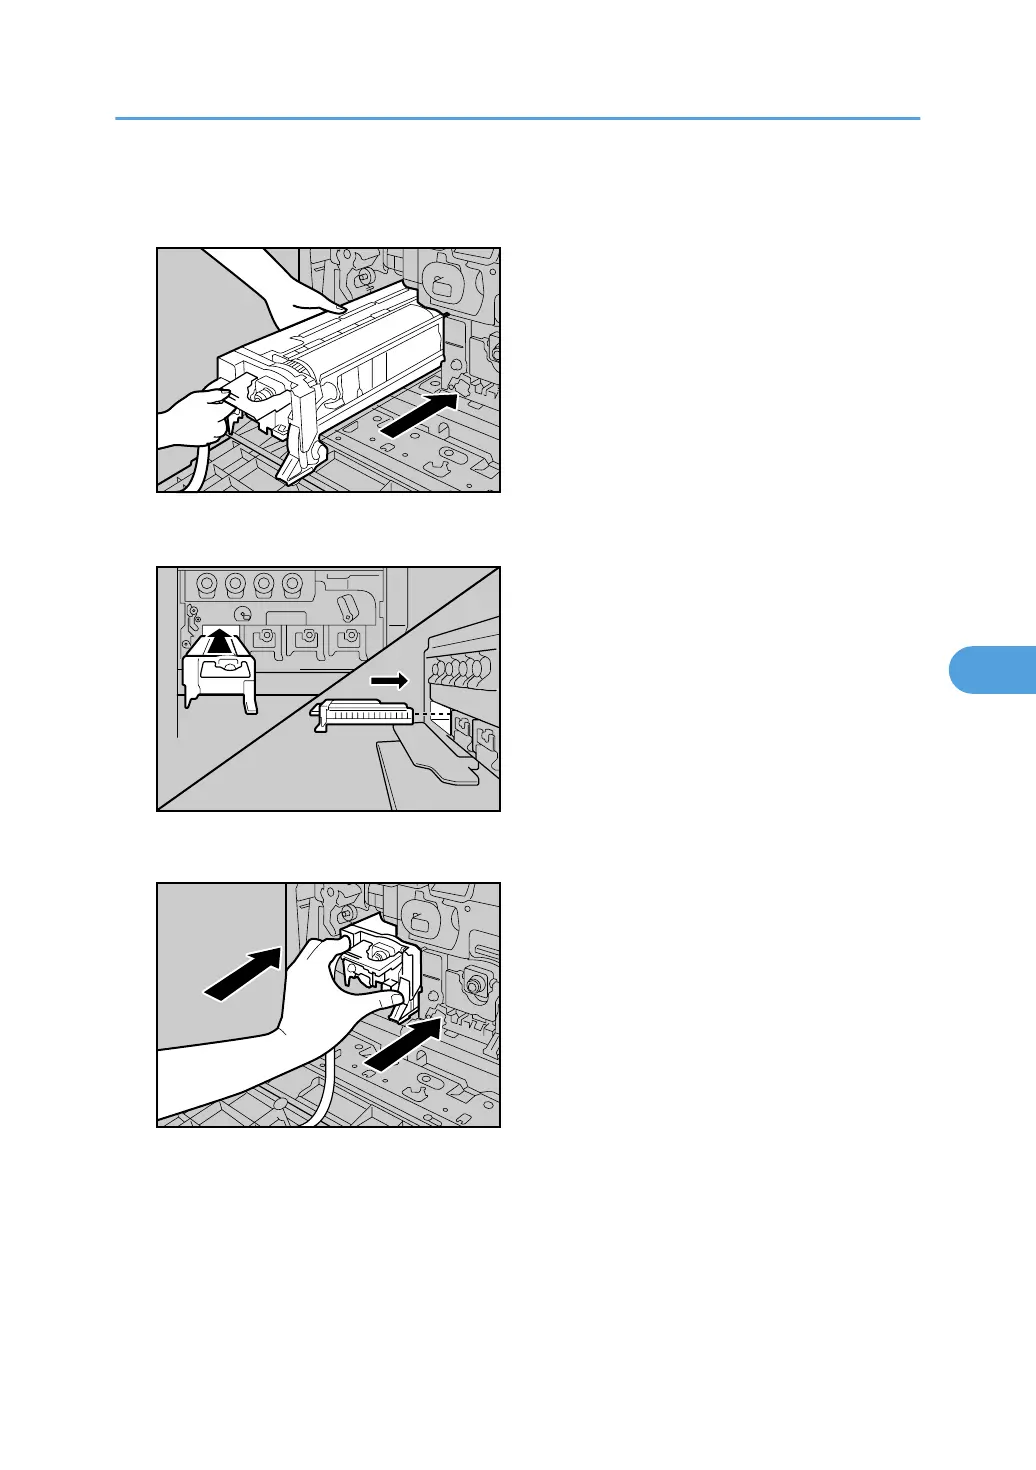
10. Holding the green grip on the left and the handle on the front, carefully insert the front end
into the space horizontally.
Insert it horizontally as shown below.
11. Pushing the front of the photo conductor unit, fully insert it into the printer.
Replacing the Photo Conductor Unit
121

 Loading...


