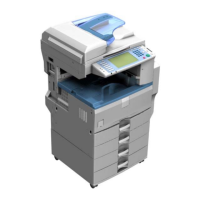
Auto Document Feeder (D578)
SM 2-21 C279
Procedure
7. Attach the original setting and ADF exposure glass cleaning decal [A] to the top cover as
shown.
8. Plug in and turn on the main power switch, and then check the ADF operation.
2.5.3 ADF STABILIZER INSTALLATION
1. Attach the two stabilizer brackets [A] to the back of the table using the thumbscrews (
x 4).
This procedure must be done to prevent the machine from falling backwards when the
ADF is open.
2.5.4 CONFIGURATION OF OPTIONS
SP6-2 Main-scan position - ADF
Adjust the image position of the ADF in the main scanning direction.
1. Make a copy in platen mode at 90 rpm (speed 3).
2. Measure the difference between the center of the main-scan on the original and on the print.
3. Access SP6-02, input the value and press the Enter key. (If you input a positive value, the
image moves towards the operation side.)
4. Repeat the procedure to make sure that there is no difference.
 Loading...