20152192
54
Start-up, calibration and operation of the burner
7.5 Burner start-up
The burner can operate in two different modes:
1 Manual operation (to be used for the initial start-up): in this
mode the indicators of the display are blinking;
2 Automatic operation (for normal work operation): in this
mode the indicators of the display are fixed.
7.5.1 First burner start-up (manual operation)
– Electric voltage is available (indicator light “POWER ON”
must be on).
– Turn the “ON/OFF” selector to “OFF”, standby (OFF).
– Disconnect the external modulation control (control with 3
points or analogue signal).
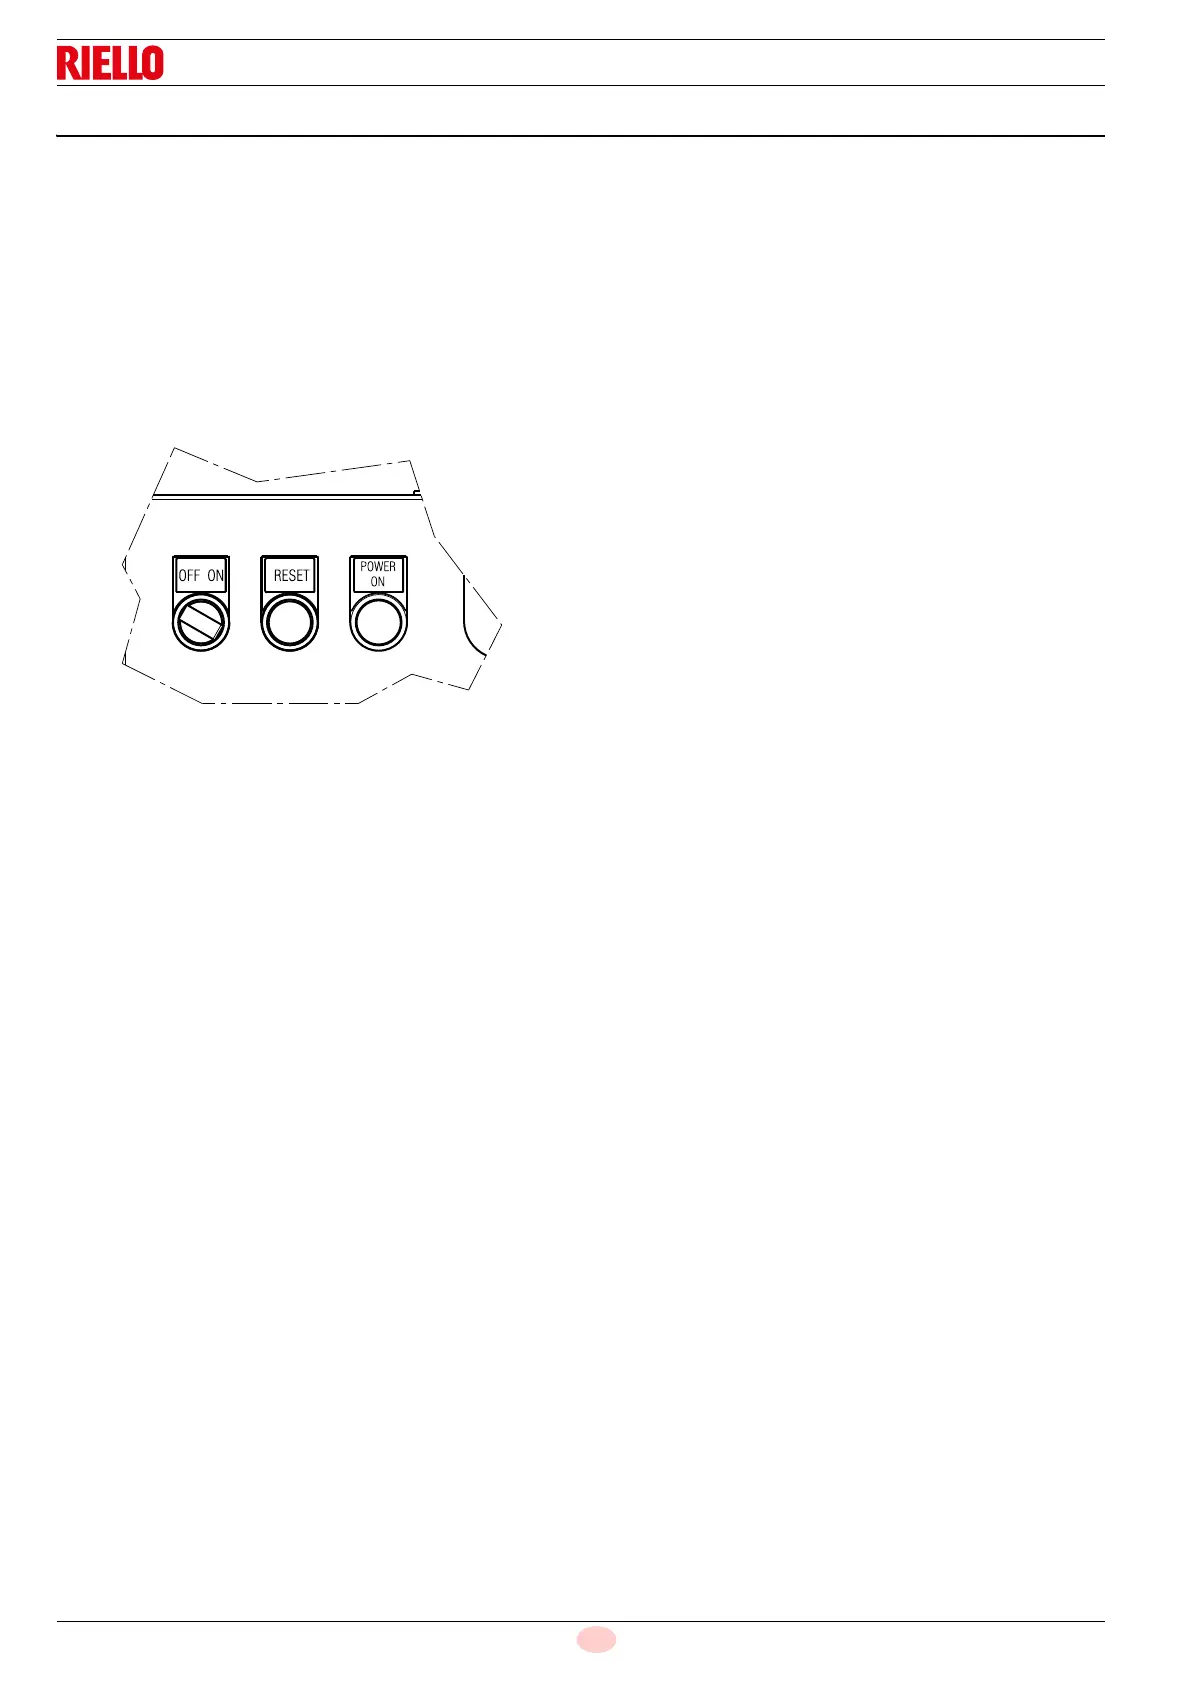
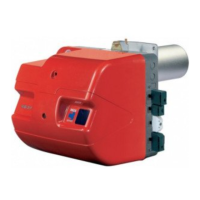
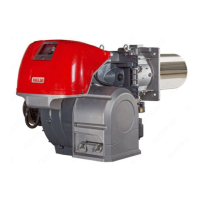
Key (Fig. 167)
1“OFF/ON” switch
2“RESET” indicator button
3“POWER ON” signal
Start the programming mode for the technician.
Keep the buttons “A” and “F” pressed simultaneously for
< 5 seconds. “Code” is displayed.
Entering the password of the technician (SO) using the but-
tons “+”, “-” and “i/reset”. See also chapter “Entering the
password” on page 43.
The display passes from PArA a 400: SEt. Confirm with the
button “i/reset”.
run is displayed. Confirmation with the i/reset button starts
the setting mode for minimum load (P1), ignition load (P0)
and nominal load (P2).
The display shows OFF blinking.
“Turn the “ON/OFF” selector to “ON” and make sure that
there is a heat request (thermostat on ON).
LME7 starts and carries out a start-up. The corresponding
phases of the program are carried out according to the
sequence scheme and the program phases are displayed
blinking (Tab. M on page 23)
The device works up to the end of the Ph30 pre-purging
phase, it is brought to the starting load and passes to the
display of P0 (number of rpm ignition load). On the left is dis-
played P0 blinking, on the right the current rpm.
keeping button “A” pressed (the display passes to 0A and
the rpm is indicated blinking) and pressing the button “+” or
“-”, it is possible to modify the rpm number of 10 rpm within
the pre-set limits (Parameter P403.00).
The setting for the parameter P0 should be greater than the
setting for the parameter P1.
The values are checked by the LME7. If the setting rules are
violated, the appliance goes into lockout mode, signalling a
Loc error:225.
Press “i/reset” to transfer the setting value into the internal
memory.
The burner proceeds with the ignition phase. If at the end of
the safety time the flame does not appear, the burner
restarts in automatic mode (it carries out a maximum of 3
attempts).
The indications of the sequence of the phases on the display
continue to blink to signal that we are still in the start-up pro-
cedure (manual operation).
If ignition is still not achieved, it may be that gas is not reach-
ing the combustion head within the safety time period of 3
seconds.
Turn the screw V1 of the gas valve lightly towards the “+”
sign (Fig. 168 on page 57).
If, however, at the end of the safety time the burner starts but
then switches off, the burner goes into lockout and the dis-
play shows Loc:7 blinking (disappearance of the flame
when in operation).
Press “i/reset”, the display shows 400:Set. Exit the manual
operation mode by several times pressing “ESC” (press the
keys “+” and “-” contemporaneously).
The display shows Loc:7 fixed. Press “i/reset” to unblock
the LME7. (List of error codes Tab. X on page 63).
To go back to manual mode it is necessary to turn the “ON/
OFF” selector to “OFF” and repeat the first start-up se-
quence with the technician programming mode. If the selec-
tor remains on “ON” the burner restarts in automatic mode
(it normally carries out all the ignition phases without stop-
ping, at the end of the pre-purging time, at point P0).
Turn the screw V1 towards the “+” sign (Fig. 168 on
page 57).
The burner is switched on, the program continues to the
minimum load position P1. On the left is displayed P1 blink-
ing, on the right the current rpm.
keeping button “A” pressed (the display passes to 1A and the
rpm is indicated blinking) and pressing the button “+” or “-”, it
is possible to modify the rpm number of 10 rpm within the
limits pre-set by the OEM (Parameter P403.01).
Check the appearance of the flame, if possible, or the value
of the CO and CO
2
to understand whether the burner has
been sufficiently calibrated (first maximum calibration). If
necessary use the screw V2 of the gas valve (turn towards
the “+” sign to increase the gas, towards the “-” sign to
decrease the gas) (Fig. 168 on page 57).