Network Video Recorder User Manual
15
Chapter 3 Menu Setup Guide
3.1 Menu Item Functionality
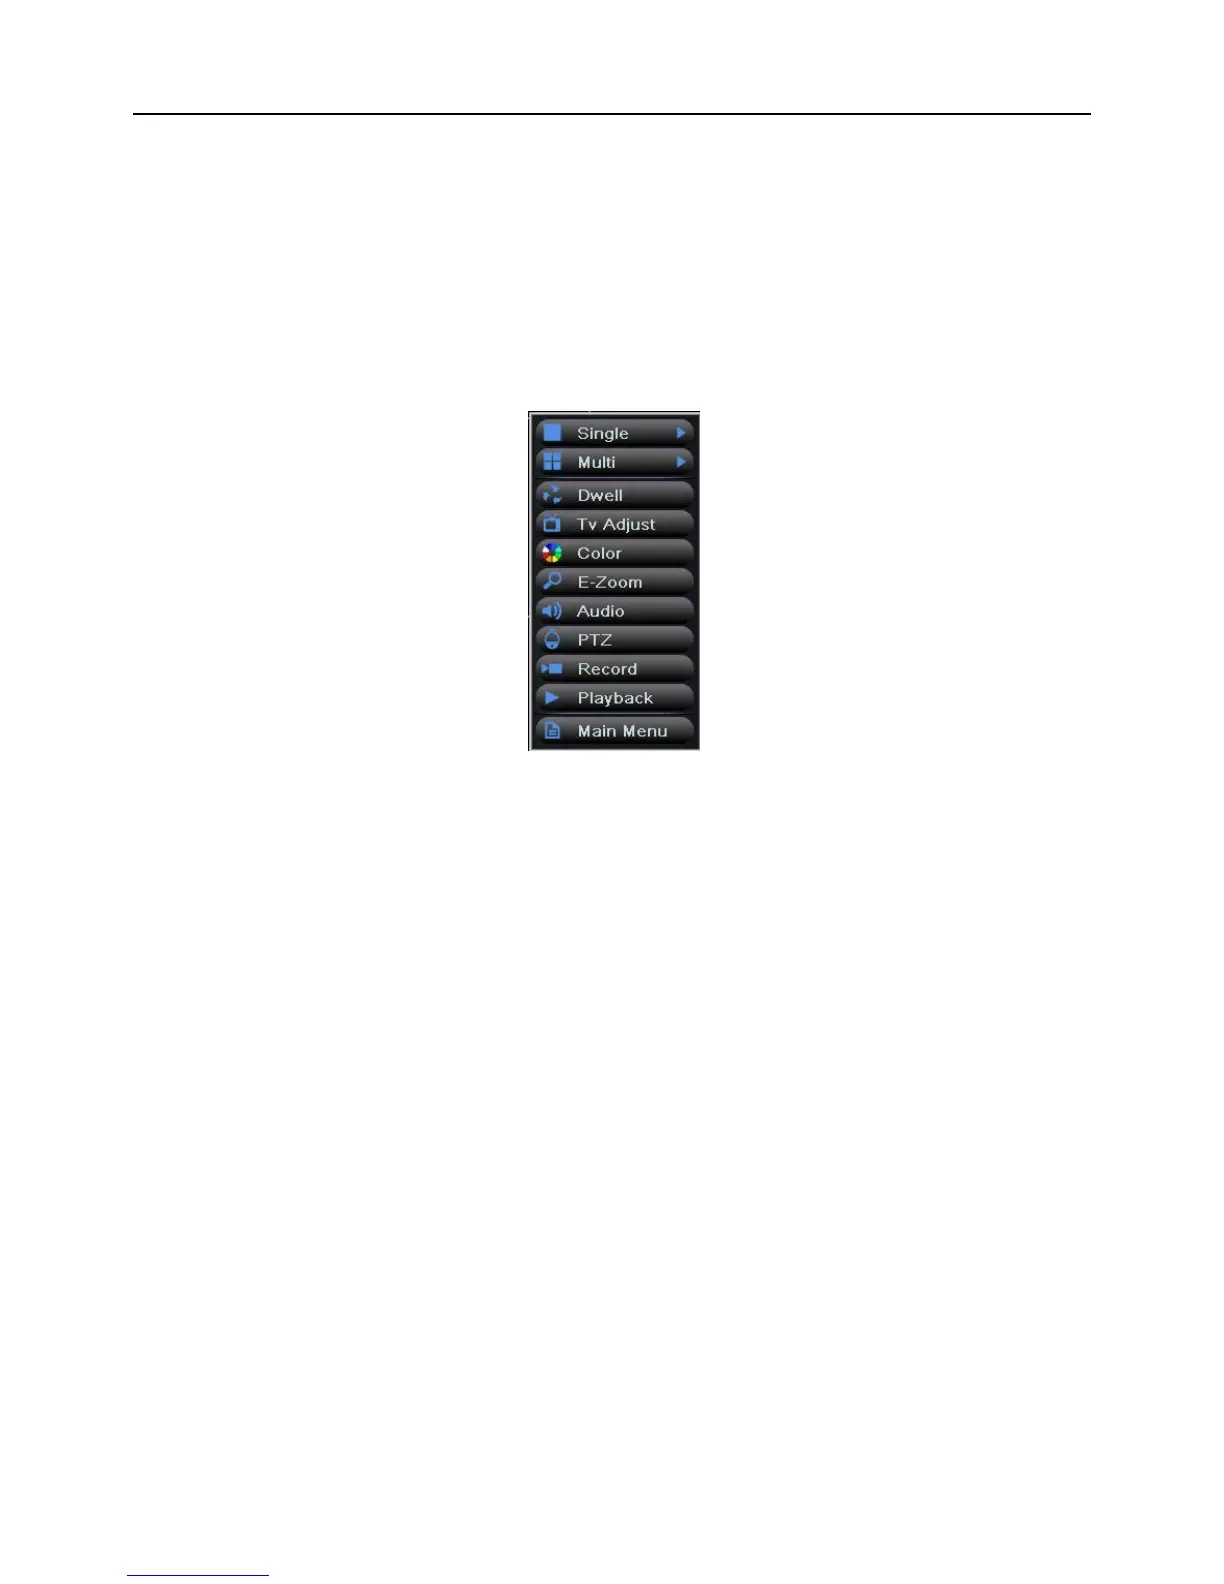
Right clicking in the live preview interface will show the menu seen in Fig 3-1:
Fig 3-1
Single: Click this button to pop up the single channel selection box. Switch to a full screen
display of the selected channel.
Multi: Click this button to pop up the multi-channel selection box. Switch between different
preview modes. The range of options synchronizes with configured device. Images can be
dragged to any place to display in the live interface.
Dwell: Enable sequencing to display the preview pictures according to the configuration of
the main output. This button only takes effect when the user has set up the channel
combination and the current preview mode cannot display all channels. Refer to Chapter
3.2.2 Live Configuration.
TV Adjust: Adjust the border of channel image with VGA/HDMI/CVBS output. Click
“Default” button to restore the default setting; click “Save” button to save the setting.
Color: Click this button, select channel and adjust the brightness, hue, saturation, contrast
and sharpness of live picture. Click “Default” button to restore the default setting; click
“Save” button to save the setting.
E-Zoom: Click this button to enter the E-Zoom mode, refer to Chapter 3.1.2 E-Zoom.
Audio: Open or close the live sound of channel (optional), and adjust the volume.
PTZ: Click this button to pop up the PTZ control window, control PTZ rotation direction and
 Loading...