7 Maintenance
202208081959/V0.1
42 xMate ER7Hardware Installation Manual
Figure 35. Step 2
3
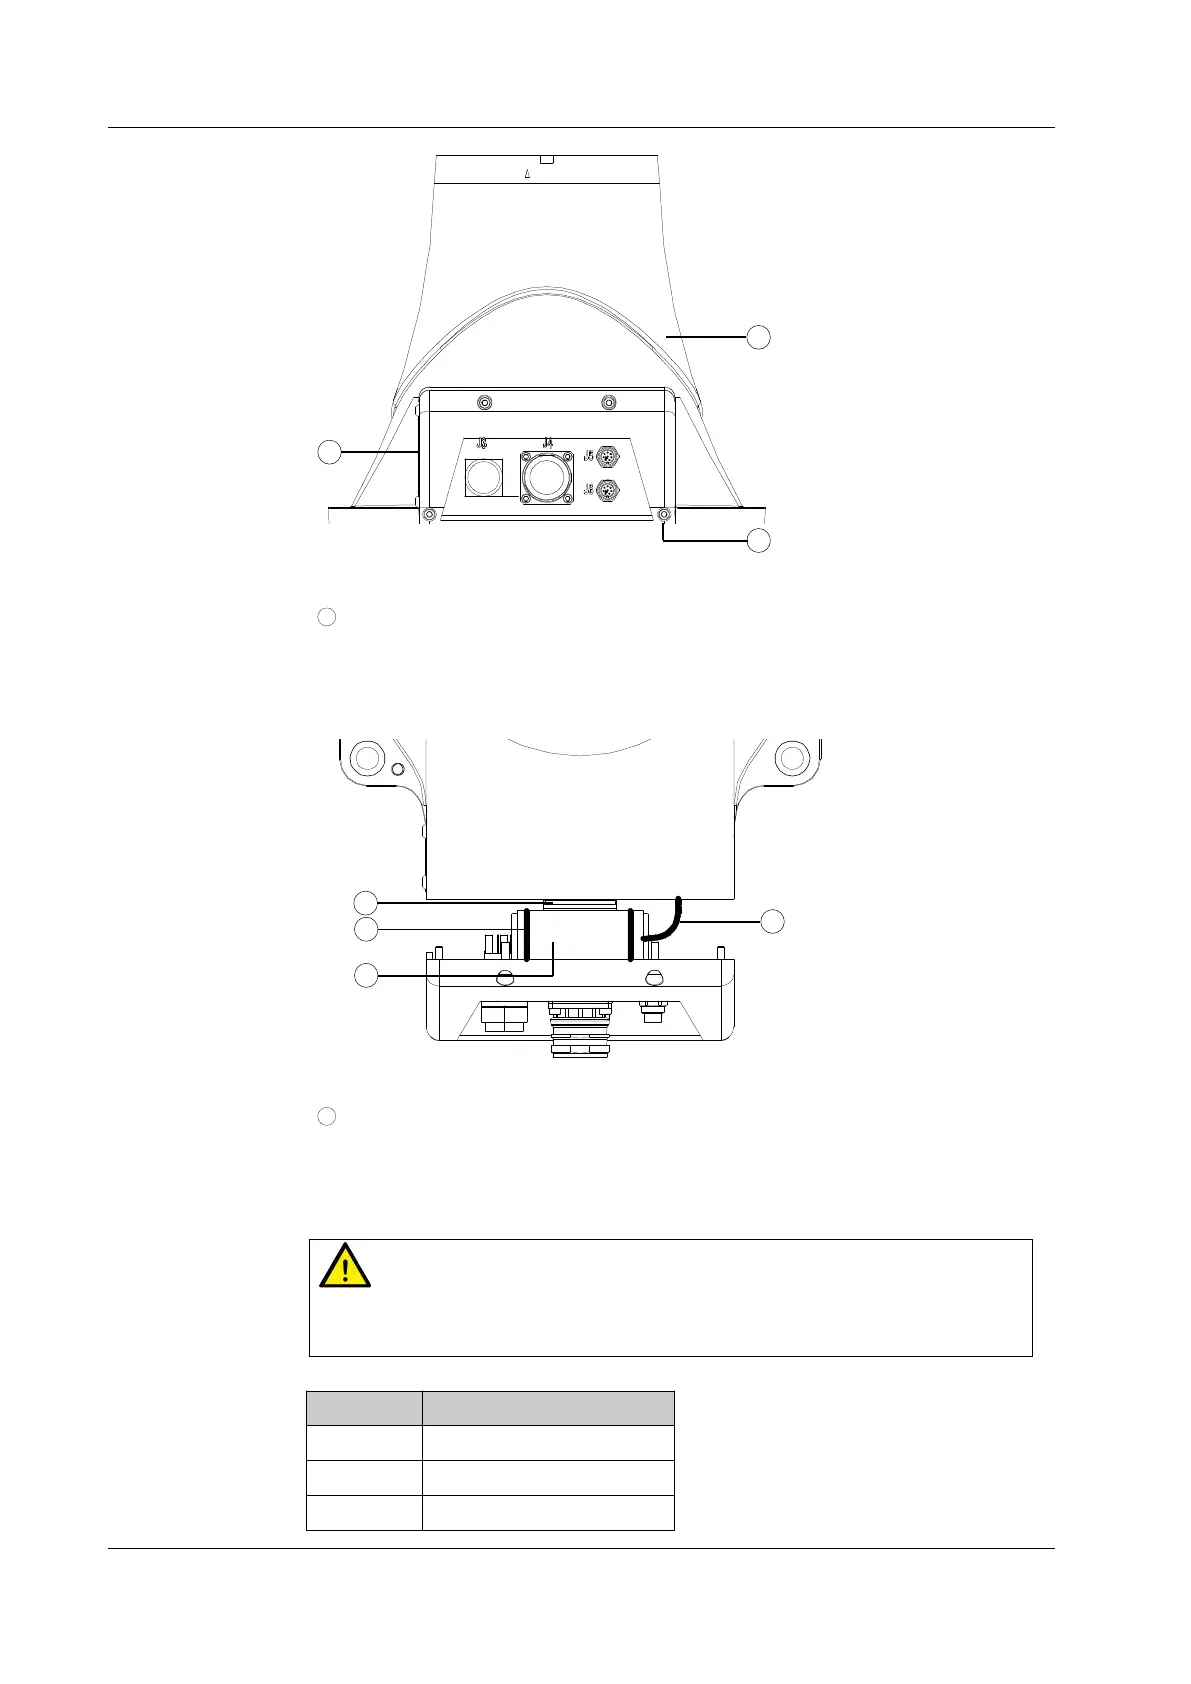
Step 3: Separate the rear base cover until it is as shown in Figure 36. You will find that
the battery is connected to its holder with two nylon ties. Cut the nylon ties with pliers
and remove the connector on the battery adapter cable to take out the battery.
Figure 36. Step 3
4
Step 4: Install the new battery to the base following the above steps in reverse order to
complete the battery replacement. The four M3 screws must be tightened with a
torque of 2 Nm.
Warning
Be sure to check the robot body after the battery replacement. Power on the robot
only after you have confirmed that the robot is intact.
No. Description
1 Base
2 Rear base cover
3 Socket head cap screw
 Loading...