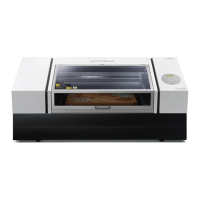
Making Fine Adjustments and Prinng a Preset
You can change part of a preset and then perform prinng. For instance, you can just change the height of the
object to be printed on and the print area without changing the other sengs.
Procedure
1. Press [MENU].
2. Press [▶], then [▼][▶] to display the screen shown below.
3. Select the preset that you want to load.
Select one of the 40 types of presets (when no names have been assigned, select from NAME1 to NAME40)
or DEFAULT (DEFAULT is the factory defaults for each seng).
(1) Press [▲] or [▼] to select the name of the preset you want to load.
(2) Press [ENTER] to conrm your entry.
Setup is canceled and [SETUP] turns o. The selected preset name is displayed on the lower right side
of the screen.
4. Aach the object to be printed on.
5. Press [SETUP].
The loaded preset seng is displayed.
6. Change the necessary sengs, such as height and print area.
7. Perform prinng.
RELATED LINKS
・ P. 38 "5.The height of the object to be printed on is detected automacally."
・ P. 39 "6.Set the print area."
・ P. 48 "4.Load the print area into VersaWorks."
・ P. 49 "5.Perform prinng"
・ P. 59 "Adjusng the Height"
・ P. 66 "Print Area Sengs"
・ P. 86 "Connuously Prinng Mulple Sets of Data"
・ P. 87 "Minimizing Print Head Movement"
Using the Preset Function
84 3. Optimizing Work Efficiency
 Loading...