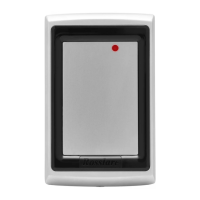
Installation
14 AYC-E/Q60 Series Installation and Programming Manual
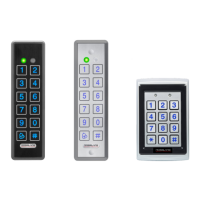
2. At the bottom of the unit’s case, remove the screw.
3. Insert the unit’s cable wire into the cable hole and wire the unit
as described in Section 3.3.
4. Screw the unit to its mounting location.
5. Carefully re-attach the front cover of the unit.
6. Secure the front cover by using the supplied security Torx screw.
A Torx security screw tool is provided to tighten the security Torx
screw.
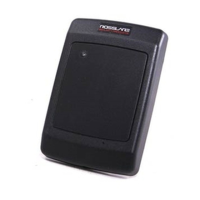
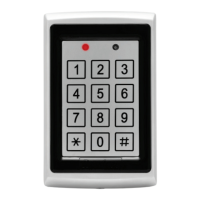
3.2 Mounting the AYC-Q60
Before starting, select the location to mount the unit. This location
should be at shoulder height.
1. Peel off the back of the self-adhesive installation template and
attach the template to the required location.
2. At the bottom of the unit’s case, remove the screw.
3. Carefully remove the snap-off front cover of the unit to reveal the
screw holes.
4. Depending on the type of installation, gang box or panel mount,
drill the respective holes in the rear cover: for gang box
mounting, drill two holes marked “A”; for flat panel mount, drill
four holes marked “B” (Figure 2).