© Safe Fleet | 2020 | All rights reserved | Part #: 700-1213 R1
DH4C Installation Guide
p. 10
DH4C Installation
HARNESSES (CAMERA, RECORDER, AND ACCESSORIES)
Ensure cables and harnesses are properly secured.
Check that sharp metal edges are not touching cables or harnesses.
Ensure connections are solid (no shorts).
CAMERAS
Ensure tight mounting.
Examine the internal harness connections and ensure they are solid.
Ensure the lid is properly seated on the gasket and secured tightly.
Check camera(s) eld of view.
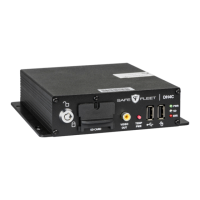
DVR
Ensure tight mounting.
Check that all connections are tight.
SYSTEM
Install fuses.
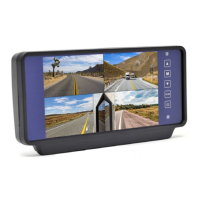
Plug portable video monitor into DVR, and power up the DVR from the vehicle ignition.
Congure the DVR to required specications locally using the mouse and monitor, or remotely with a Web browser
via WiFi or Ethernet using a PC. For more information, see "Basic Conguration" on page 21.
Conrm the ERR, SD, and PWR status indicators on the DVR front panel work properly.
Conrm that all cameras and audio sources operate properly.
Test audio/video record and playback.
Reformat the SD card by navigating to Main Menu Conguration System Program Update Format. A
warning message tells you all data will be erased. Click Yes. When the process completes and a message appears,
click OK. Exit the Conguration setting menu, and system setup is complete.
Fasten and lock the front cover.
Hardware Installation Checklist