78
Soft key o Return to the Geographical Data menu level.
Soft key o Return to the Calibration/adjustment menu level.
Soft key o Return to the “WP1 - Internal” level of the Setup menu.
oo or M Return to the normal weighing mode.
ee Restart the weighing instrument: Turn the indicator off and then on again.
The Sartorius logo is displayed briefly, after which the device is in normal weighing mode.
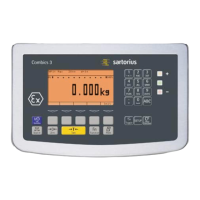
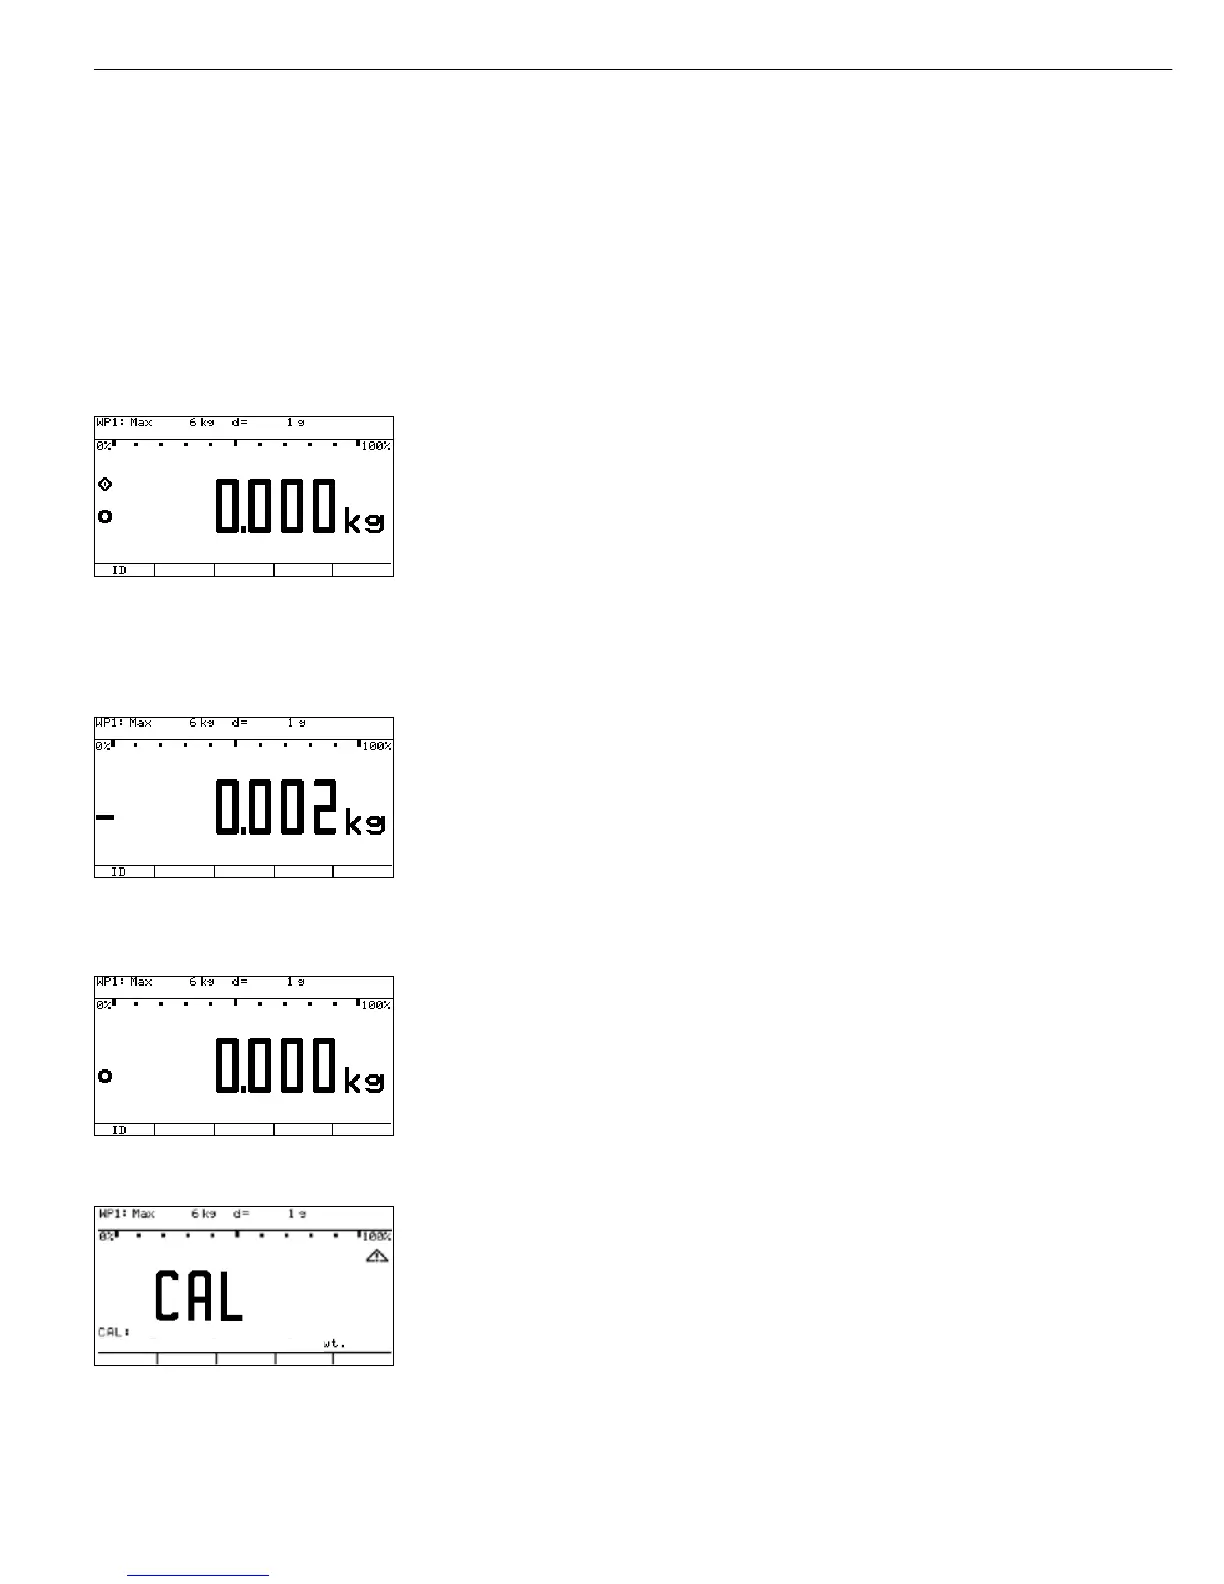
Calibration and Adjustment
(for more details, see “Calibration and Adjustment” in the chapter entitled “Operation”)
Settings:
§ Open the “Device Parameters” menu for the weighing platform (e.g., “WP1 - Internal”),
and open the “Calibration/Adjustment” submenu.
– Menu item “CAL key function”: setting “Ext. cal./adjust.: factory-defined weight” (factory
setting).
– Menu item “Cal./adj. sequence”: setting: “Cal. then manual adj.” (factory setting).
– Menu item “Activate ext. adj.” (not for “Verifiable” configuration): setting:
“Activated” (factory setting).
– For display of geographical data:
In the “Device Parameters” menu, open the “Operating Parameters” submenu.
Menu item: “Display geogr. data”: setting: “Yes”.
( Unload and zero the scale.
) (> 2 sec) Start external calibration/adjustment.
CAL is shown for two seconds.
Example: The “Elevation” and “Latitude” parameters have been entered
(menu: “Calibration/Adjustment” - “Geographical Data” - “Input Parameters”).
 Loading...