OPM 250 en-GB 45
©
Scania CV AB 2016, Sweden
Cooling system
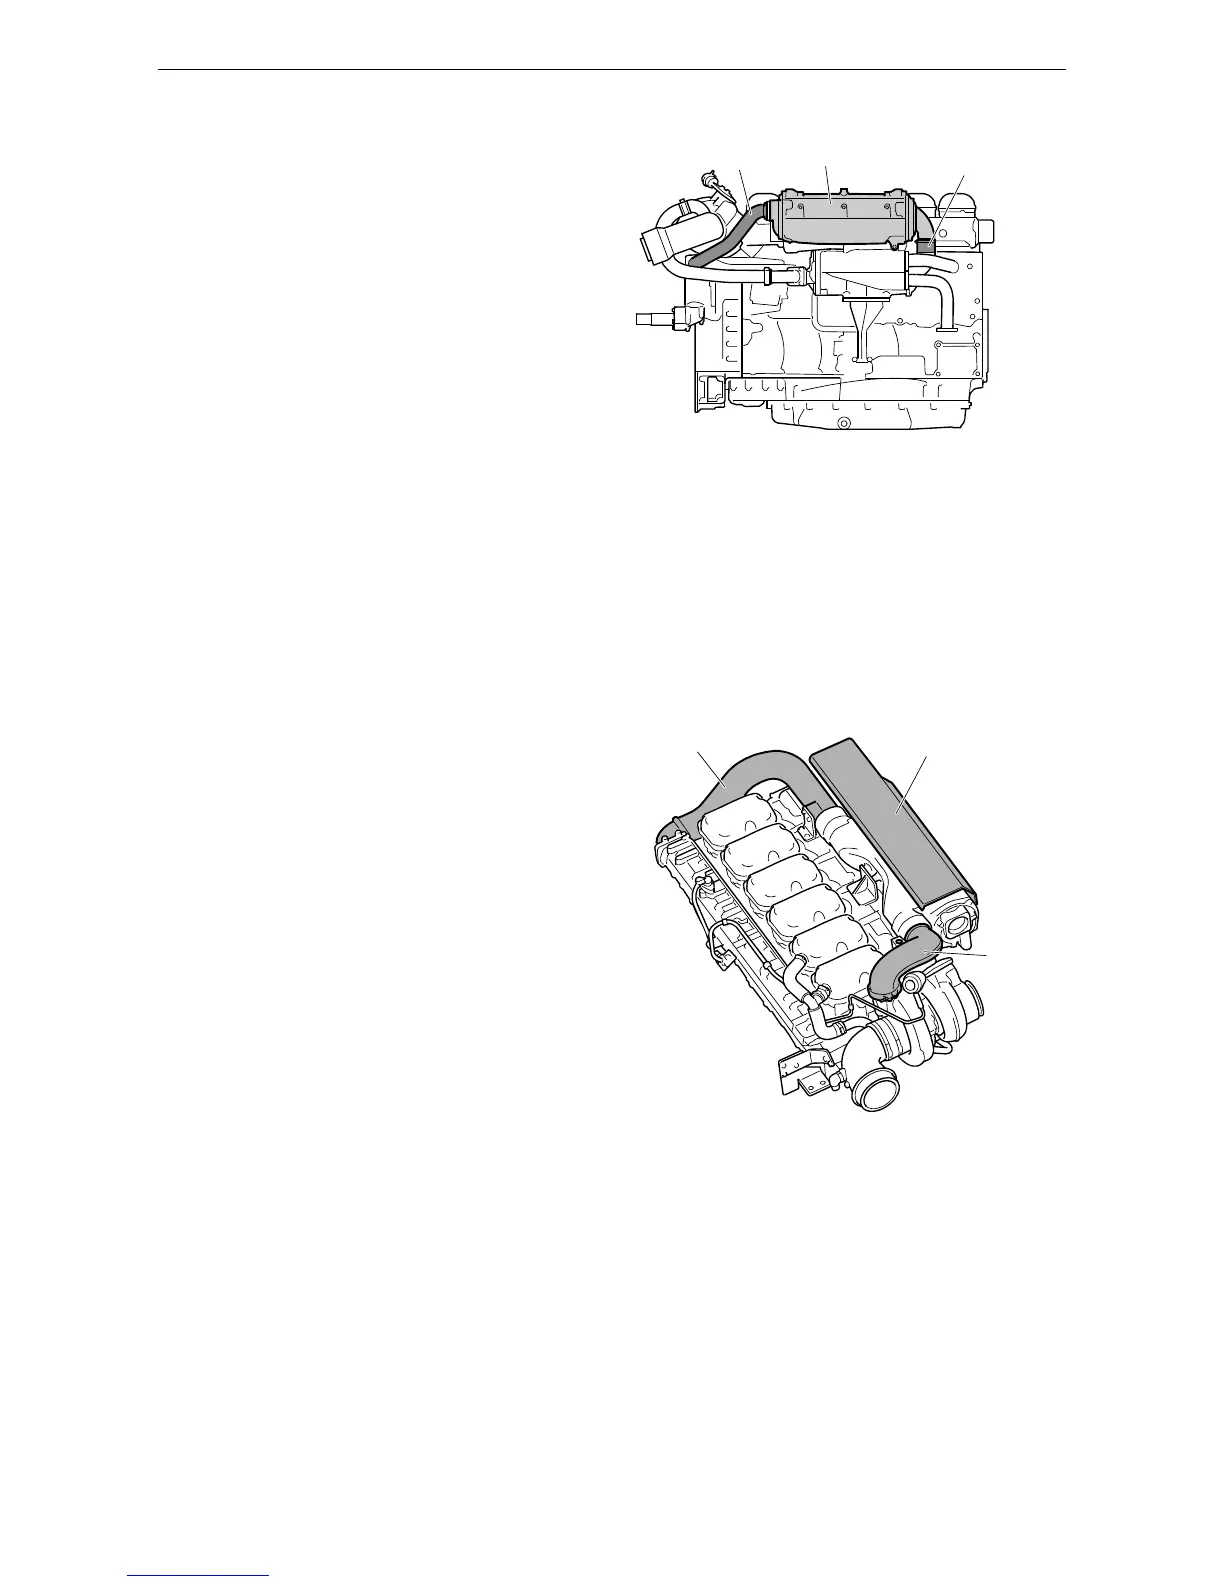
Fitting the charge air cooler
1. Fit the charge air cooler (6) in place against
the brackets.
2. Fit the sea water hose (5) between the charge
air cooler and heat exchanger (use vaseline if
necessary) and tighten the hose clamp.
3. Fit the screws for the charge air cooler brack-
ets and tighten them.
4. Fit the sea water pipe (4) between the sea wa-
ter pump and the charge air cooler.
5. Fit the charge air pipe (3) between the intake
manifold and charge air cooler. To facilitate
fitting, lubricate the O-ring and the inside of
the connection in the charge air cooler with
vaseline. Press the charge air pipe straight to-
wards the charge air cooler while carefully
twisting the pipe to the right and left. Check
that the charge air pipe is properly fitted.
6. Fit the charge air pipe (2) between the charge
air cooler and turbocharger. To facilitate fit-
ting, lubricate the O-ring and the inside of the
connection in the charge air cooler with
vaseline. Press the charge air pipe straight to-
wards the charge air cooler while carefully
twisting the pipe to the right and left. Check
that the charge air pipe is properly fitted.
7. Fit the protective plate (1) on the charge air
cooler.
Tightening torques
M6 10 Nm
M8 26 Nm
M10 50 Nm
 Loading...