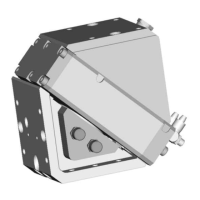
Assembly
10.00 | PGN-plus-P | Assembly- and Operating Manual | en | 389753
33
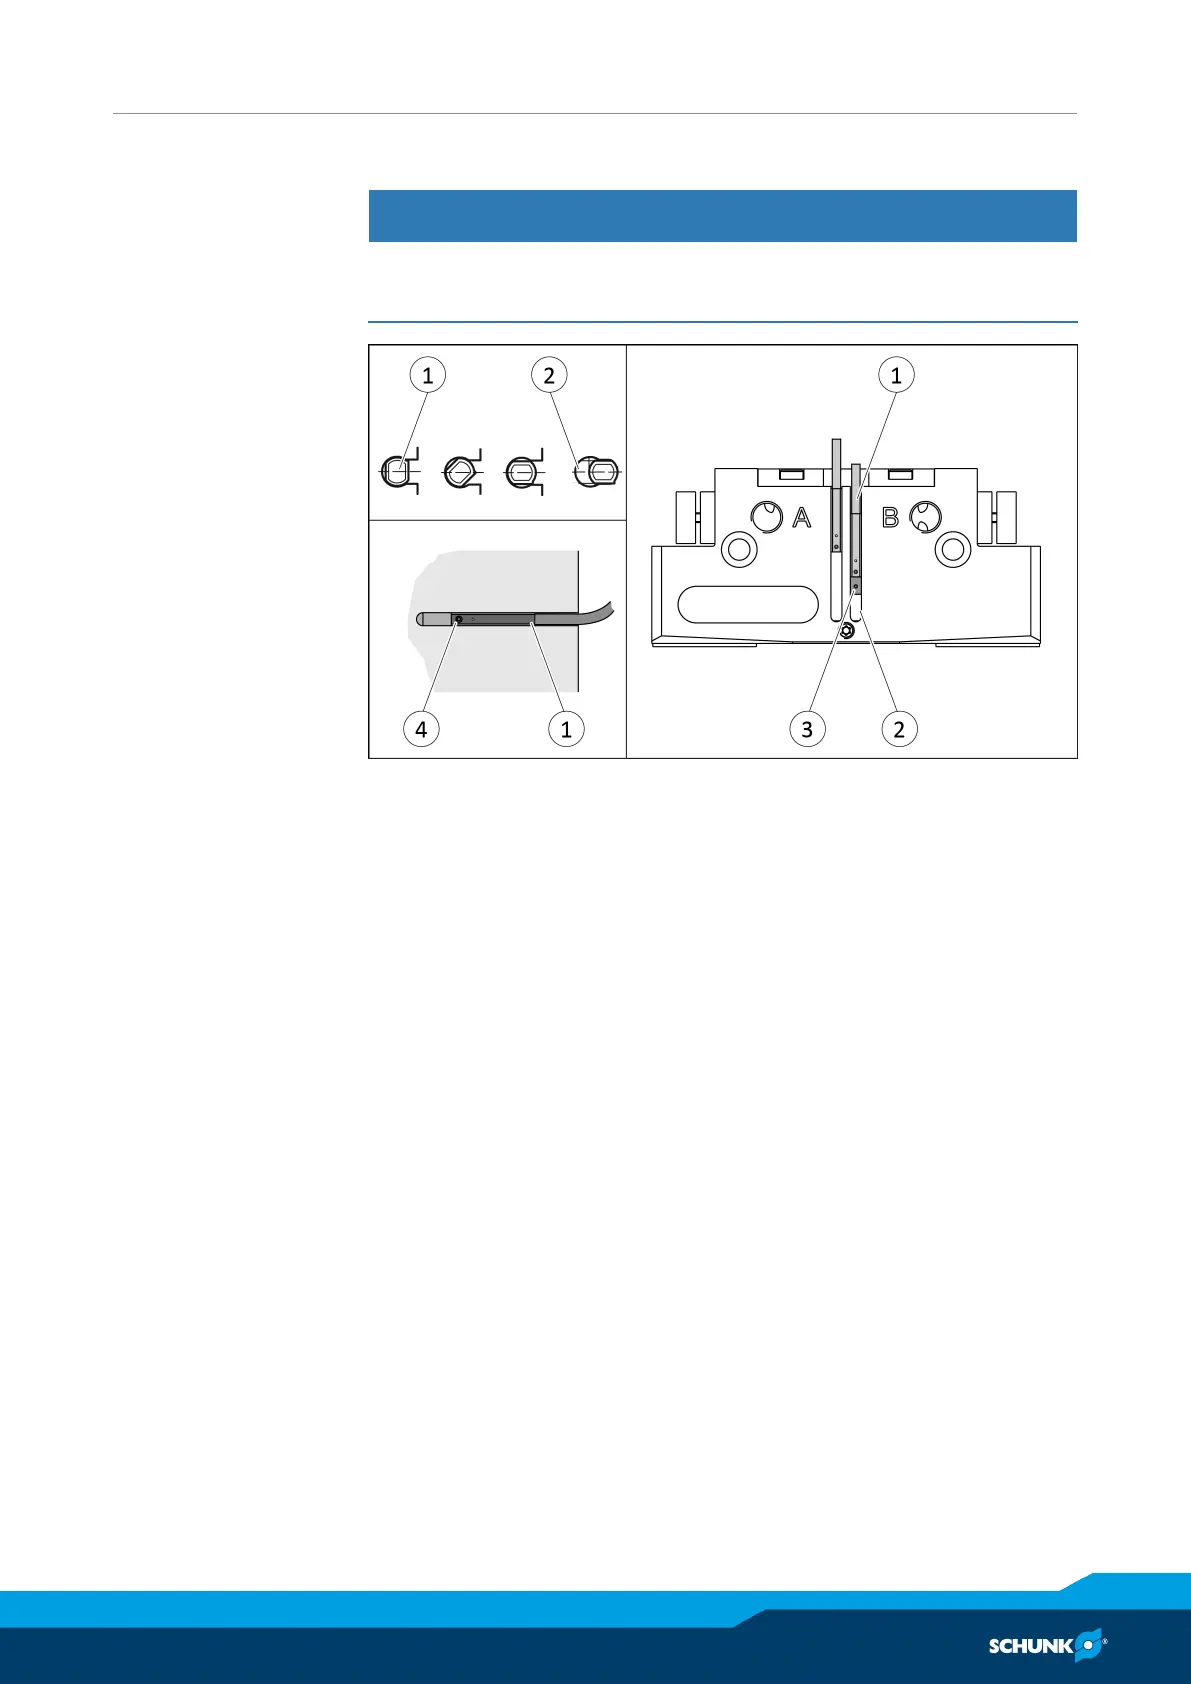
5.4.6 Mounting MMS 22 magnetic switch
CAUTION
Risk of damage to the sensor during assembly!
• Observe the maximal tightening torque.
Position "Gripper open" or "Part gripped (I.D. gripping)"
Ø Bring product in the position to be set.
Ø If necessary remove T-nut (3).
Ø Turn the sensor 1 (1) into the groove (2).
OR: Slide the sensor 1 (1) into the groove (2) until the sensor 1
(1) stops at the end of the groove.
Ø Pull the sensor 1 (1) back again slowly until it switches.
Ø Secure the sensor 1 (1) using the set-screw (4).
Tightening torque: 10 Ncm
Ø Bring product into the "Gripper open" or "Part gripped" position
and test the function.
Position "Gripper closed" or "Part gripped (O.D. gripping)"
Ø Bring product in the position in which it is to be set.
Ø If necessary remove T-nut (3).
Ø Turn the sensor 2 (1) into the groove (2).
OR: Slide sensor 2 (1) into the groove (2) in the direction of the
housing middle (3), until the sensor 2 (1) switches.
Ø Secure the sensor 2 (1) using the set-screw (4).
Tightening torque: 10 Ncm
Ø Bring product into the "Gripper closed" or "Part gripped"
position and test the function.