7-32 Maintenance and Testing Date Code 20000421
SEL-251, -2, -3 Instruction Manual
Self-Test Failure: ROM Checksum
1. EPROM failure. Replace EPROM(s).
Self-Test Failure: RAM
1. Static RAM IC failure. Replace RAM(s).
Self-Test Failure: A/D Converter
1. A/D converter failure.
2. RAM error not detected by RAM test.
Alarm Contact Closed
1. Power is off.
2. Blown power supply fuse.
3. Power supply failure.
4. Improper EPROMs or EPROM failure.
5. Board failure.
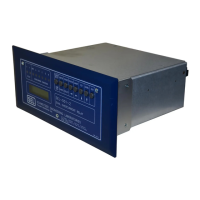
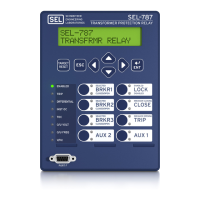
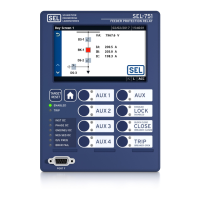
FIRMWARE UPGRADE INSTRUCTIONS
SEL may occasionally offer firmware upgrades to improve the performance of your relay. These
instructions explain how to remove the relay drawout assembly to install new firmware.
The modifications require that you power down the relay, remove the relay front panel, pull out
the drawout unit, exchange several integrated circuit chips, and reassemble the relay. If you do
not wish to perform the modifications yourself, we can assist you. Simply return the relay and
integrated circuit chips to us. We will install the new chips and return the unit to you within a
few days.
Upgrade Instructions
This procedure requires that you handle devices sensitive to Electrostatic
Discharge (ESD). If your facility is not equipped to work with these
components, we recommend that you return the relay to SEL for firmware
installation.
1. If the relay is in service, disable its control functions. Turn off control power to the relay.
Disconnect all communication cables from the rear panel of the relay.
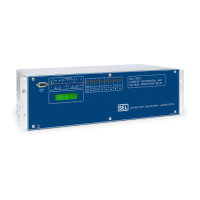
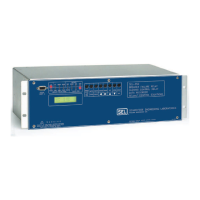
2. Remove the relay front panel by unscrewing the five front panel screws. With the front panel
removed, you can see the aluminum drawout assembly. The main board is attached to the top
CAUTION
!


 To Next Page