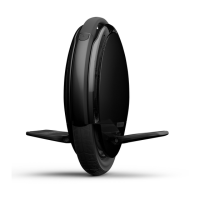
Frame
42
One S1
Front/Rear Frames
Tools Required
• Phillips screwdriver
Removal
Make sure the One S1 is powered off and the
charger is not connected.
1. Disassemble the One S1 (page28).
2. Remove the control board (page38).
Front Frame
1. Using a Phillips screwdriver, remove the four
fasteners holding the handle clasp (Figure 53).
2. Remove the handle clasp.
3. Lift the front frame off the upper frame.
Rear Frame
1. Using a Phillips screwdriver, remove the four
fasteners holding the handle clasp (Figure 55).
2. Remove the charge port wire guide (Figure 56).
NOTE
For better access, you may have to slide the
handle back.
3. Gently lift the rear frame off the upper frame
while carefully guiding the wires through the hole
in the upper frame.
Installation
1. Install in the reverse order of removal.
NOTE
Inspect the handle to determine which end has
the magnet embedded in it (end closest to the
“n” in “ninebot”). Orient this end toward the ON/
OFF button.
Figure 53: Front handle clasp present (left) and removed (right)
Figure 54: Front frame
Figure 55: Rear handle clasp present (left) and removed (right)
Figure 56: Wire guide present (left) and removed (right)
Figure 57: Rear frame

 Loading...