49
Take 5 User’s Guide
Step Sequencer
When recording a chord as a step, as long as you continue to hold at least one
note down, you can keep adding notes to the chord/step, and even use the transpose
buttons to extend the keyboard range while doing it.
3. To add a rest as you play, press the settings button for that
step, then continue playing. To add multiple rests, press the
settings button multiple times.
4. To add a “tie” that extends the length of a note, play a note, then press
the button repeatedly to extend the note for the number of steps
you want for that note.
5. When you’re done, press to listen to your sequence. Use the ,
, or controls to adjust sequencer playback speed
6. To save the sequence, save the program and they are saved together.
If you want to play live along with the sequencer, be sure to leave voices avail-
able. In other words, don’t play 5-note chords for every step in the sequence!
To transpose a sequence:
1. Press . e sequence begins playback.
2. Press and hold and press a key on the keyboard. “Middle C”
is the reference point. Playing a note above middle C transposes the
sequence higher by that interval. Playing a note below middle C trans-
poses the sequence lower by that interval.
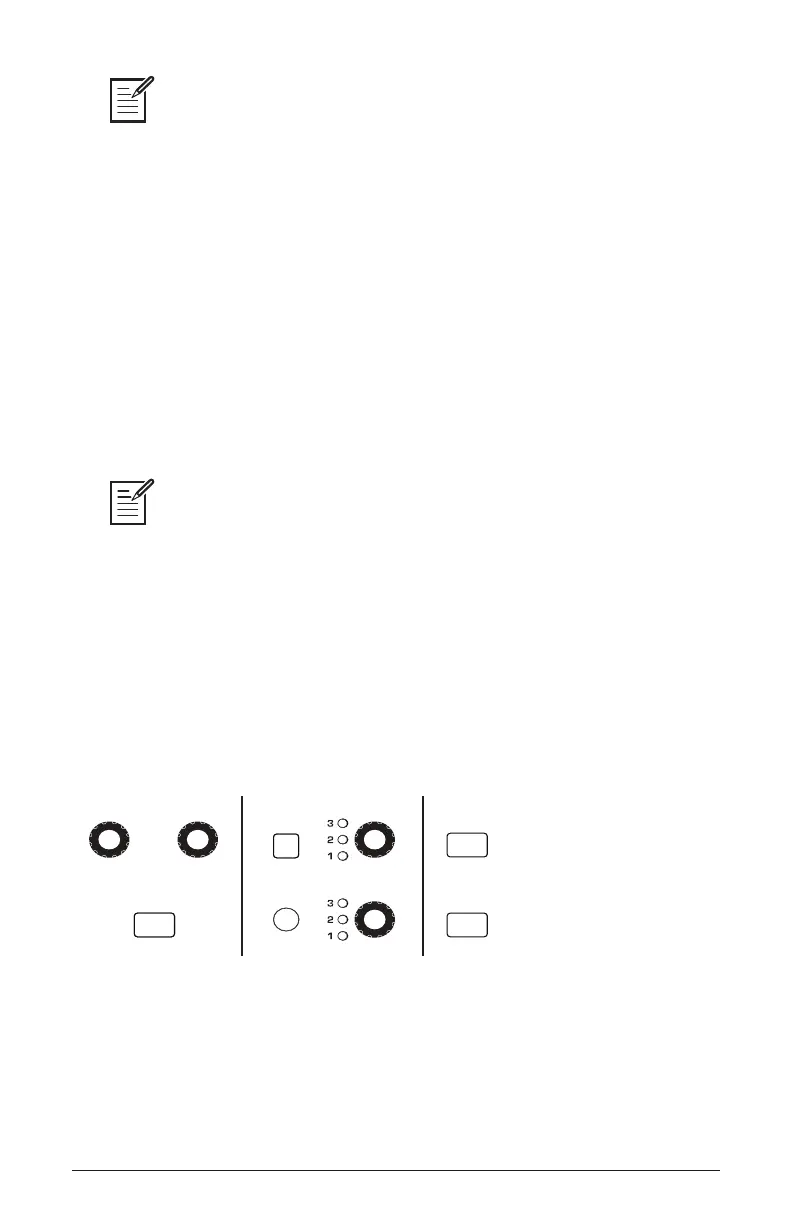
CLOCK ARPEGGIATOR
STEP SEQ
REPEAT
TAP TEMPO
BPM CLK DIVIDE ON OCTAVE
RECORD
MODE
PLAY
The Sequencer and Clock controls