98
USER SETTINGS
SETTING THE IP ADDRESS
This section explains how to set the IP address on the machine.
1
Refer to the system settings
procedure on page 95 to enter setting
code "37", and press the [START] key
().
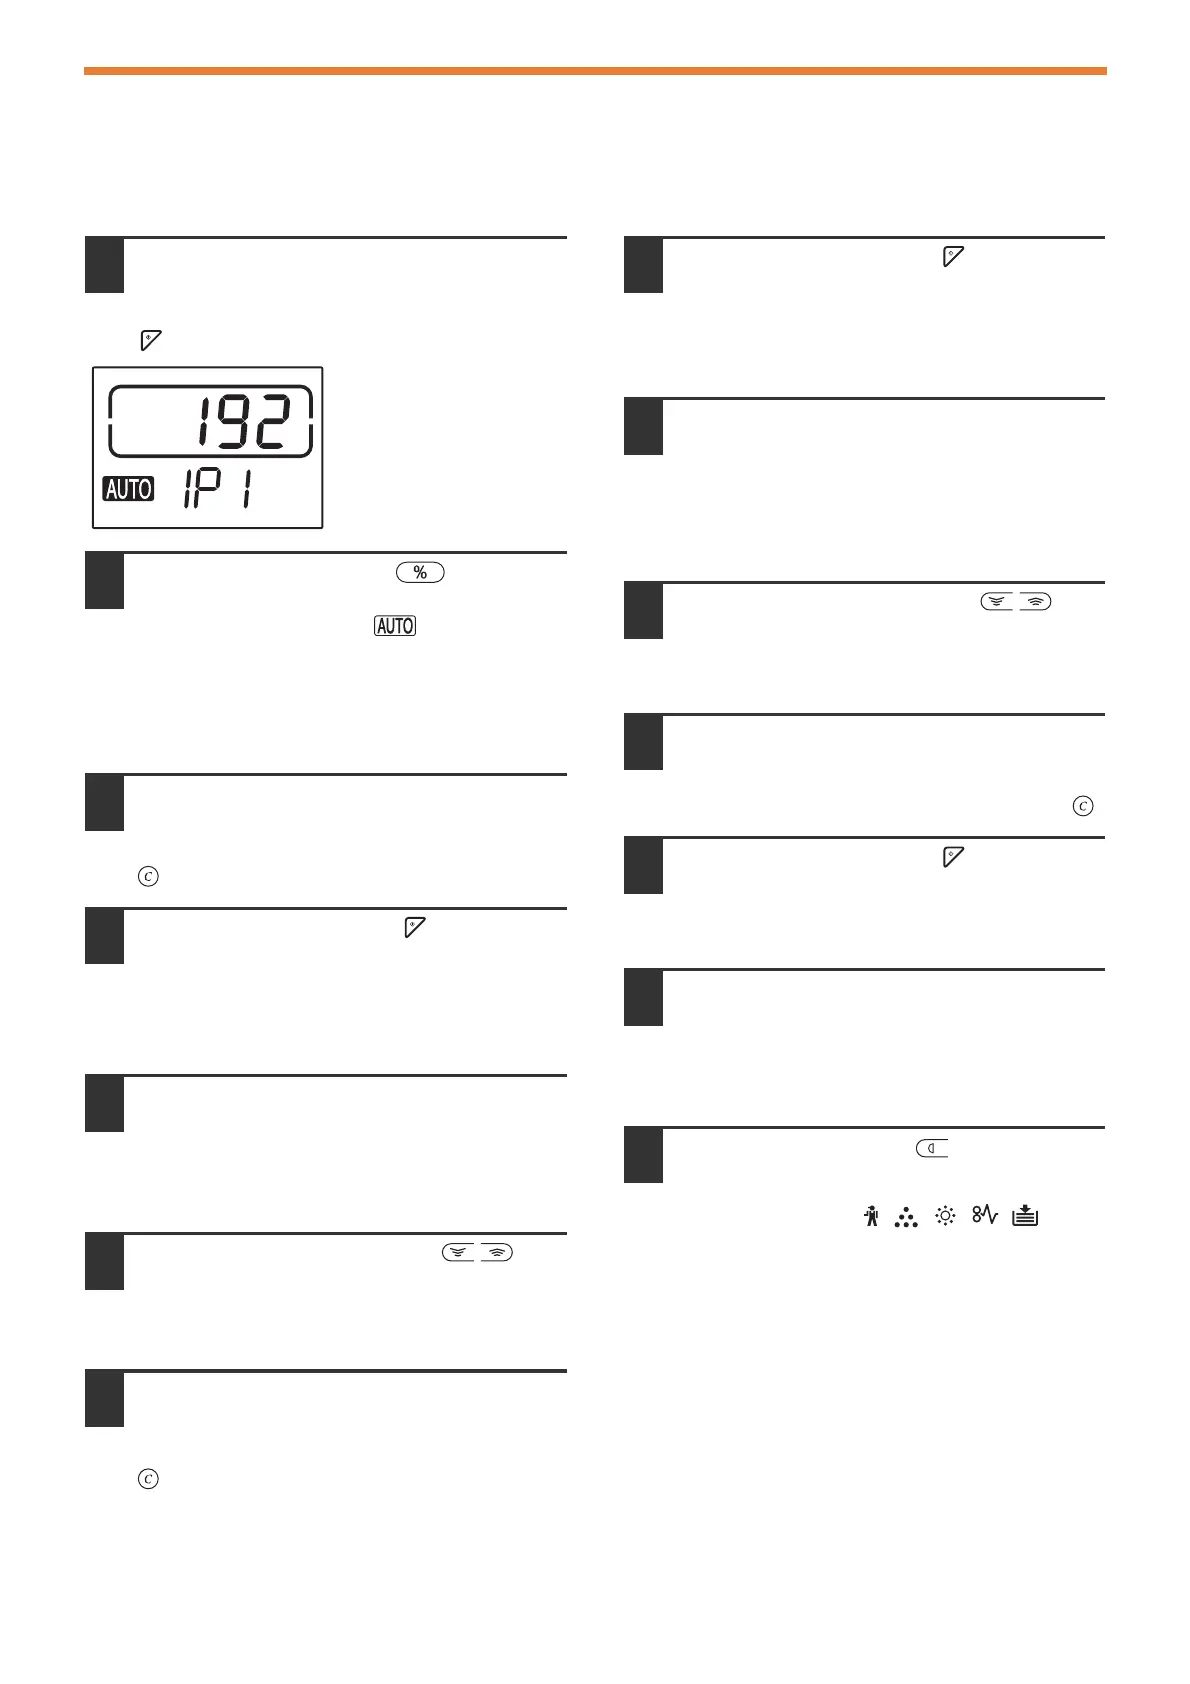
The left 3 digits of the IP
address appear in the
number of copies
display. "IP1" appears in
the ratio display.
2
Press the [ZOOM] key ( ).
• The ratio auto select indicator ( ) turns off, and the
leftmost 3 digits of the IP address can be entered.
• The ratio auto select indicator lights up for factory
default settings. It is necessary to press the [ZOOM]
key when you set the IP address for the first time. When
you change the IP address, go to step 3.
3
Enter the IP address with the numeric
keys.
To return the display to 000, press the [Clear] key
().
4
Press the [START] key ( ).
The leftmost 3 digits of the IP address are finalized.
"IP2" appears in the ratio display, and the second
3 digits from the left can be entered.
5
Repeat steps 3 and 4 to enter the
remaining digits of the IP address.
Enter the second 3 digits from the left, the third
3 digits from the left, and the rightmost 3 digits of
the IP address in the same way.
6
Press the [Copy ratio] key ( ).
"SU1" appears in the ratio display, and the subnet
mask can be entered.
7
Enter the subnet mask with the
numeric key.
To return the display to 000, press the [Clear] key
().
8
Press the [START] key ( ).
The leftmost 3 digits of the subnet mask are finalized.
"SU2" appears in the ratio display, and the
second 3 digits from the left can be entered.
9
Repeat steps 8 and 9 to enter the
remaining digits of the subnet mask.
Enter the second 3 digits from the left, the third
3 digits from the left, and the rightmost 3 digits of
the subnet mask in the same way.
10
Press the [Copy ratio] key ( ).
"dE1" appears in the ratio display, and the default
gateway can be entered.
11
Enter the default gateway with the
numeric key.
To return the display to 000, press the [Clear] key ( ).
12
Press the [START] key ( ).
"dE2" appears in the ratio display, and the
second 3 digits from the left can be entered.
13
Repeat steps11 and 12 to enter the
remaining digits of the default gateway.
Enter the second 3 digits from the left, the third
3 digits from the left, and the rightmost 3 digits of
the default gateway in the same way.
14
Press the [Light] key ( ) to complete
the settings.
The alarm indicators ( , , , , ) go off
and the display returns to the number of copies
display.
Complete the setting, restart the machine.