Commissioning
24 © SICK AG • Subject to change without notice • 8014865/ZUJ3/2018-11-29
1. Position object at 1.
2. Apply "L+" to "MF" for approximately 3 seconds until both LEDs ash
simultaneously.
3. When both LEDs ash alternately, apply "L+" to "MF" for approximately
3 seconds until both LEDs again ash alternately.
b The ultrasonic sensor's switching point has been taught-in.
The ultrasonic sensor is in normal operational mode.
Congure the switching output as normally closed or normally open.
→ See Page 25, Chapter 7.1.5.
7.1.3 Teach-inthewindow
Window The switching output is set when the object is located within the window.
The orange LED lights up when the switching output is active.
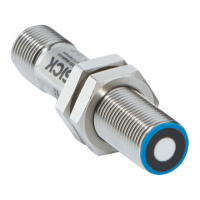
Fig. 10: Teach-in the window
1 Switching point 1
2 Switching point 2
1. Position object at 1.
2. Apply "L+" to "MF" for approximately 3 seconds until both LEDs ash
simultaneously.
3. When both LEDs ash alternately, position object at 2.
4. Apply "L+" to "MF" for approximately 1 second.
b The ultrasonic sensor's switching point has been taught-in.
The ultrasonic sensor is in normal operational mode.
Congure the switching output as normally closed or normally open.
→ See Page 25, Chapter 7.1.5.
7.1.4 Teach-in the background
ObjectbetweenSensorand
Background(ObSB)
The output is set when the object is located between the sensor and a xed
background. The orange LED lights up when the switching output is active.
Even at changing ambient conditions the object is detected in the range of
0 % ... 85 % of the taught-in distance.
85 %
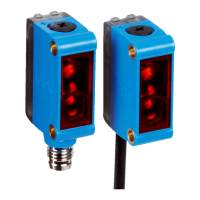
Fig. 11: Teach-in the background
1 Background