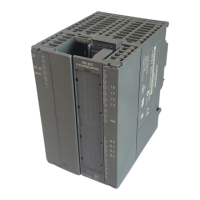
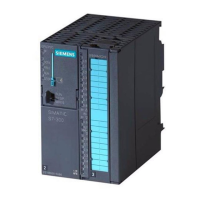
Installing and Removing the FM 351
3-2
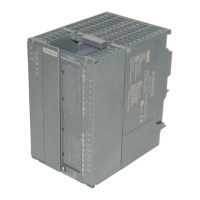
FM 351 Positioning Module
C79000-G7076-C351-02
Installing the FM 351 Positioning Module
1. The FM 351 is supplied with a bus interconnector. Plug this onto the bus
connector of the module to the left of the FM 351. (The bus connector is on the
back of the module and you may need to loosen the module again first).
2. If further modules are installed to the right, first plug the bus interconnector of
the next module onto the right bus connector of the FM 351.
If the FM 351 is the last module in the tier, do not attach a bus interconnector!
3. Fit the FM 351 onto the rail from above and push it in from below.
4. Secure the FM 351 with screws (torque approximately 0.8 to 1.1 Nm).
5. After installation, you can assign a slot number to the FM 351. Slot labels are
supplied with the CPU.
The numbering scheme and numbering of slots and how to insert the slot labels
is described in the installation manual
S7-300 Programmable Controller,
Hardware and Installation
.
6. Fit the shield contact element.
Order no.: 6ES7 390-5AA00-0AA0
Removing the FM 351 Positioning Module
1. Turn off the power controller.
2. Turn off the 24 V supply for the FM 351.
3. Switch the CPU to STOP.
4. Open the front hinged panels.
Remove any labeling strips.
5. Unlock the front connector and remove it.
6. Remove the D sub connector to the encoder.
7. Loosen the securing screws on the module.
8. Tilt the module upwards and remove it from the rail.
 Loading...