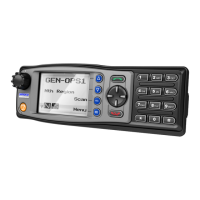
Figure 20: Call Divert – Target Type screen
2. On the Target Type screen, using the ▴ and ▾ keys, select ‘Custom’ to enter the
radio ID manually or select ‘Contact’ to choose the radio ID from the contact
list. Press the Select key.
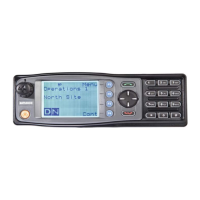
3. If the Custom option is selected, the Call Divert – Enter Target screen will be
displayed.
Figure 21: Call Divert – Enter Target screen
4. On the Enter Target screen, use the keypad to enter the required radio ID that
the calls/data are to be diverted to. Press the Select key to complete the
diversion.
5. If the Contact option is selected the Call Divert – Contact list screen will be
displayed.
Figure 22: Call Divert – Contact List screen
6. On the Call Divert – Contact List screen, use the ▴ and ▾ keys to select the radio
entity that the calls/data are to be diverted to. Press the Select key to complete
the diversion.
Cancel a Diversion
If a diversion has been set up, the Call Divert screen displays details of the diversion on
the top part of the screen (see Figure 23). The options in lower part of the screen
change to provide the relevant ‘Un-Dvt’ (undivert) options.
Document Number: TNM-U-E-0145 Issue: 1.0 Page 23