Contrast
The Contrast menu allows the user to change the “contrast” of the control units
display (when adjustable). This optimises the LCD display for the best contrast at
varying viewing angles and lighting conditions.
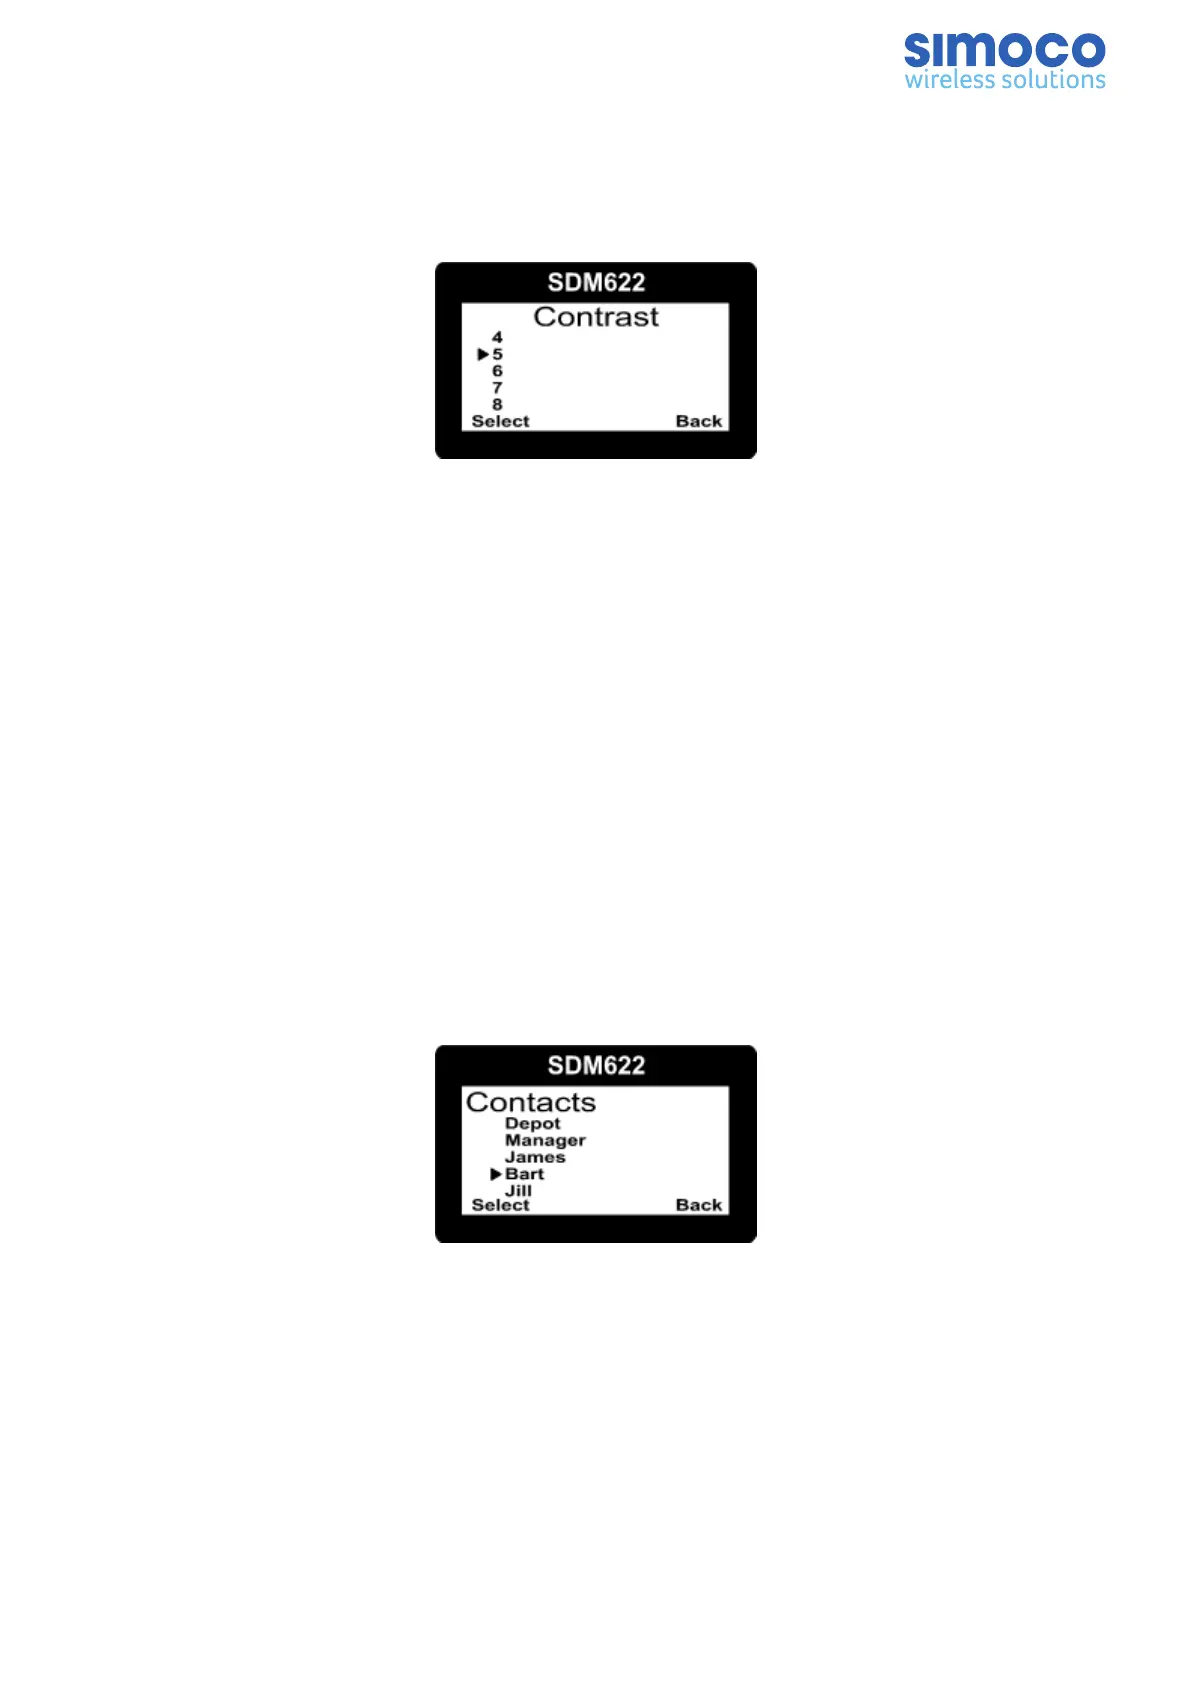
Figure 26: Contrast Menu Screen
Use the ▴ and ▾ keys to choose the required contrast level. Press the Select key to save
the selected contrast level and return to the previous screen.
Contacts
The Contacts Menu allows user to select the communication entity they wish to call,
e.g. individual radio unit (UID), talk group of radio units (TGID), group of addresses,
dialled external network access gateway (phone, internet, other radio networks,
dispatchers), and PABX/PSTN.
Up to 20 Contact Lists can be created and programmed into the Radio with the FPP.
Each Contact List can have up to 600 entries. Each Contact List is assigned on a per
“Channel” basis in the Zone set up section of the FPP.
Therefore, the Contact List displayed via the Contacts menu is the Contact List
assigned to the radio’s currently selected Channel. This ensures that a user can’t select
a Contact who uses a different mode than the one selected.
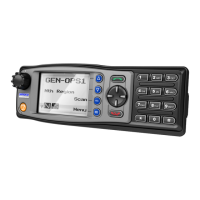
Figure 27: Contact Menu Screen
Use the ▴ and ▾ keys to scroll through the available contacts. Pressing the Select key
will display the details for the selected contact (see Figure 27 and Figure 28).
Pressing the PTT key will place a call to the selected contact.
Document Number: TNM-U-E-0145 Issue: 1.0 Page 25