85
Start machine.
11
Designate location of pattern
to be embroidered next.
13
14
Sewing machine
will embroider
pattern located
in designated
position.
1
Touch screen at far left
point along X-axis
horizontal line.
This will move embroi-
dery frame.
324
Turn handwheel to check
that needle is positioned
directly above X axis
horizontal line.
Press needle position
direction arrows so that
needle point is directly above
X axis horizontal line. For
each needle entry point, be
sure to turn handwheel to
lower needle to verify that
needle point is directly above
X axis horizontal line.
Once needle entry point
is correctly specified on
X axis horizontal line,
press position memory
[1] to enter position of X-
axis.
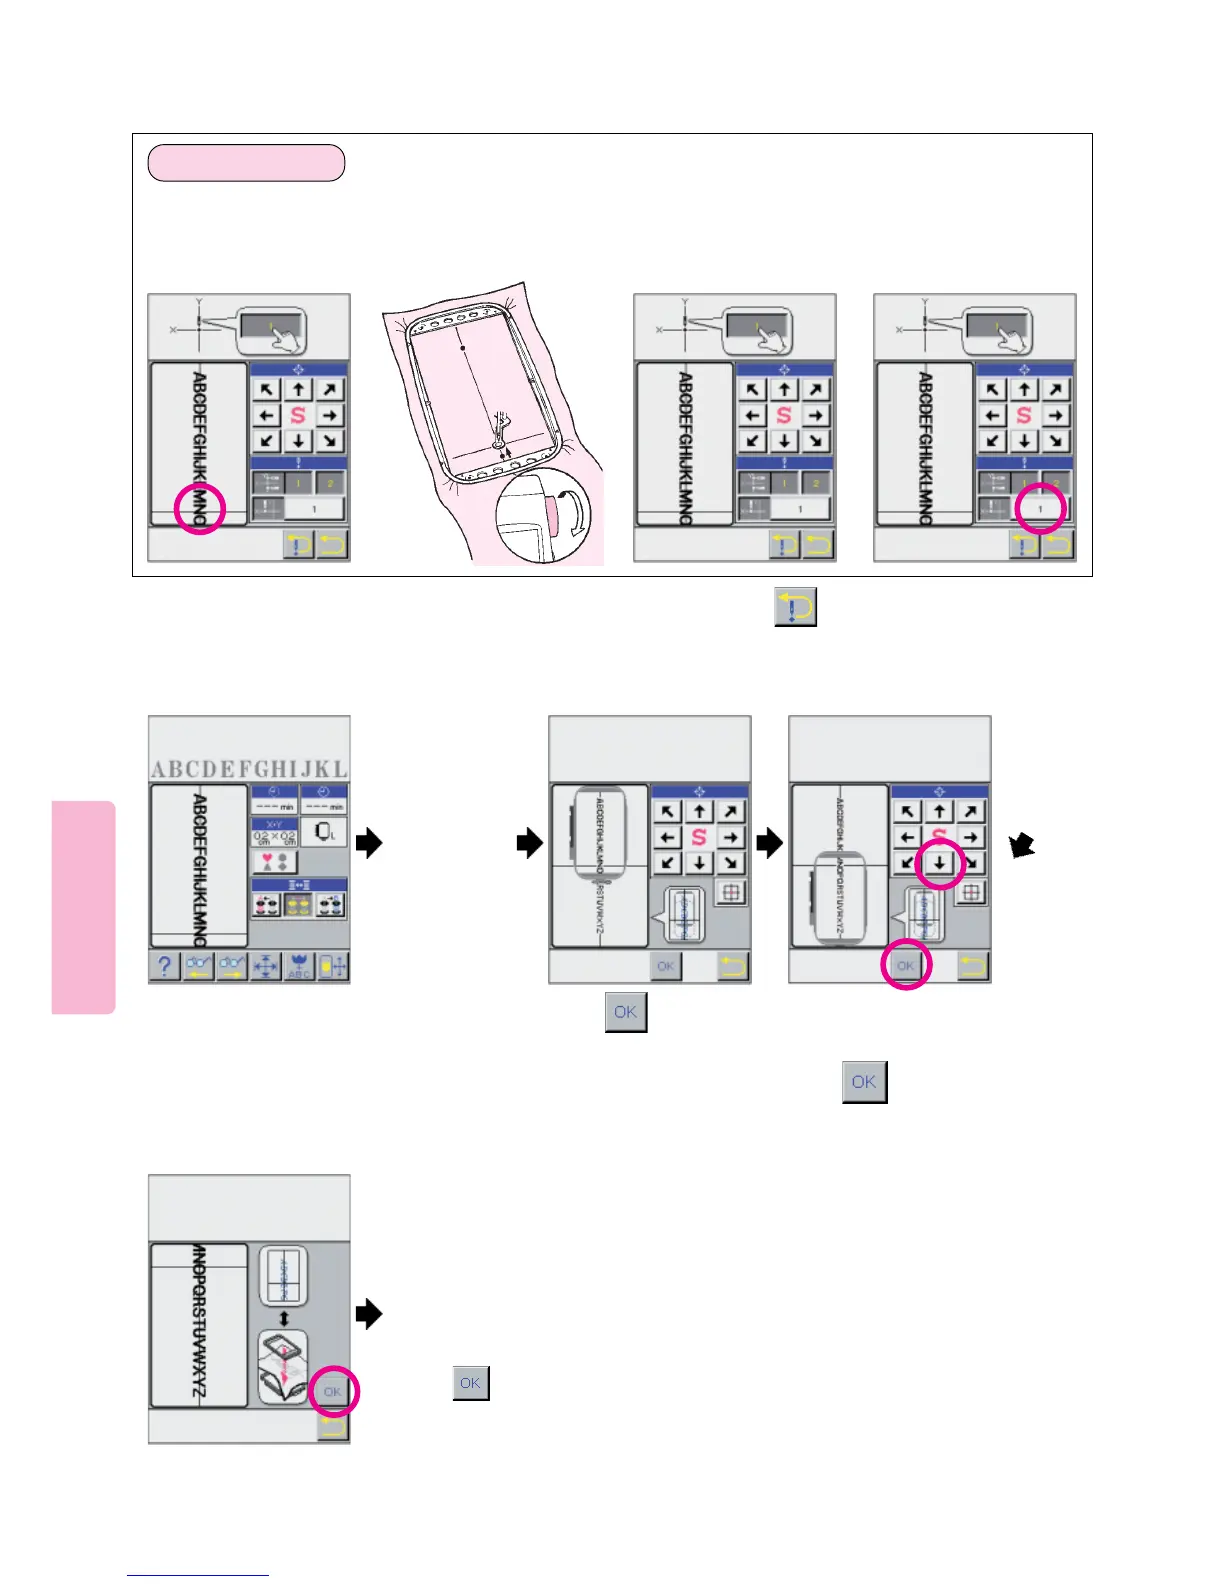
3. Specifying point “c”
* To re-specify needle entry point locations of Y axis (before memorizing X axis) press pictogram.
Press the arrow to position the on-
screen frame around the second group
of letters to be sewn.
12
c
Press
After re-hooping the fabric to
match the LCD Screen
press .
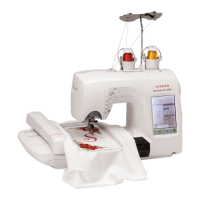
Install the embroidery frame
onto machine.
Press
See top of next page for Preparation of Fabric Instructions.
 Loading...